


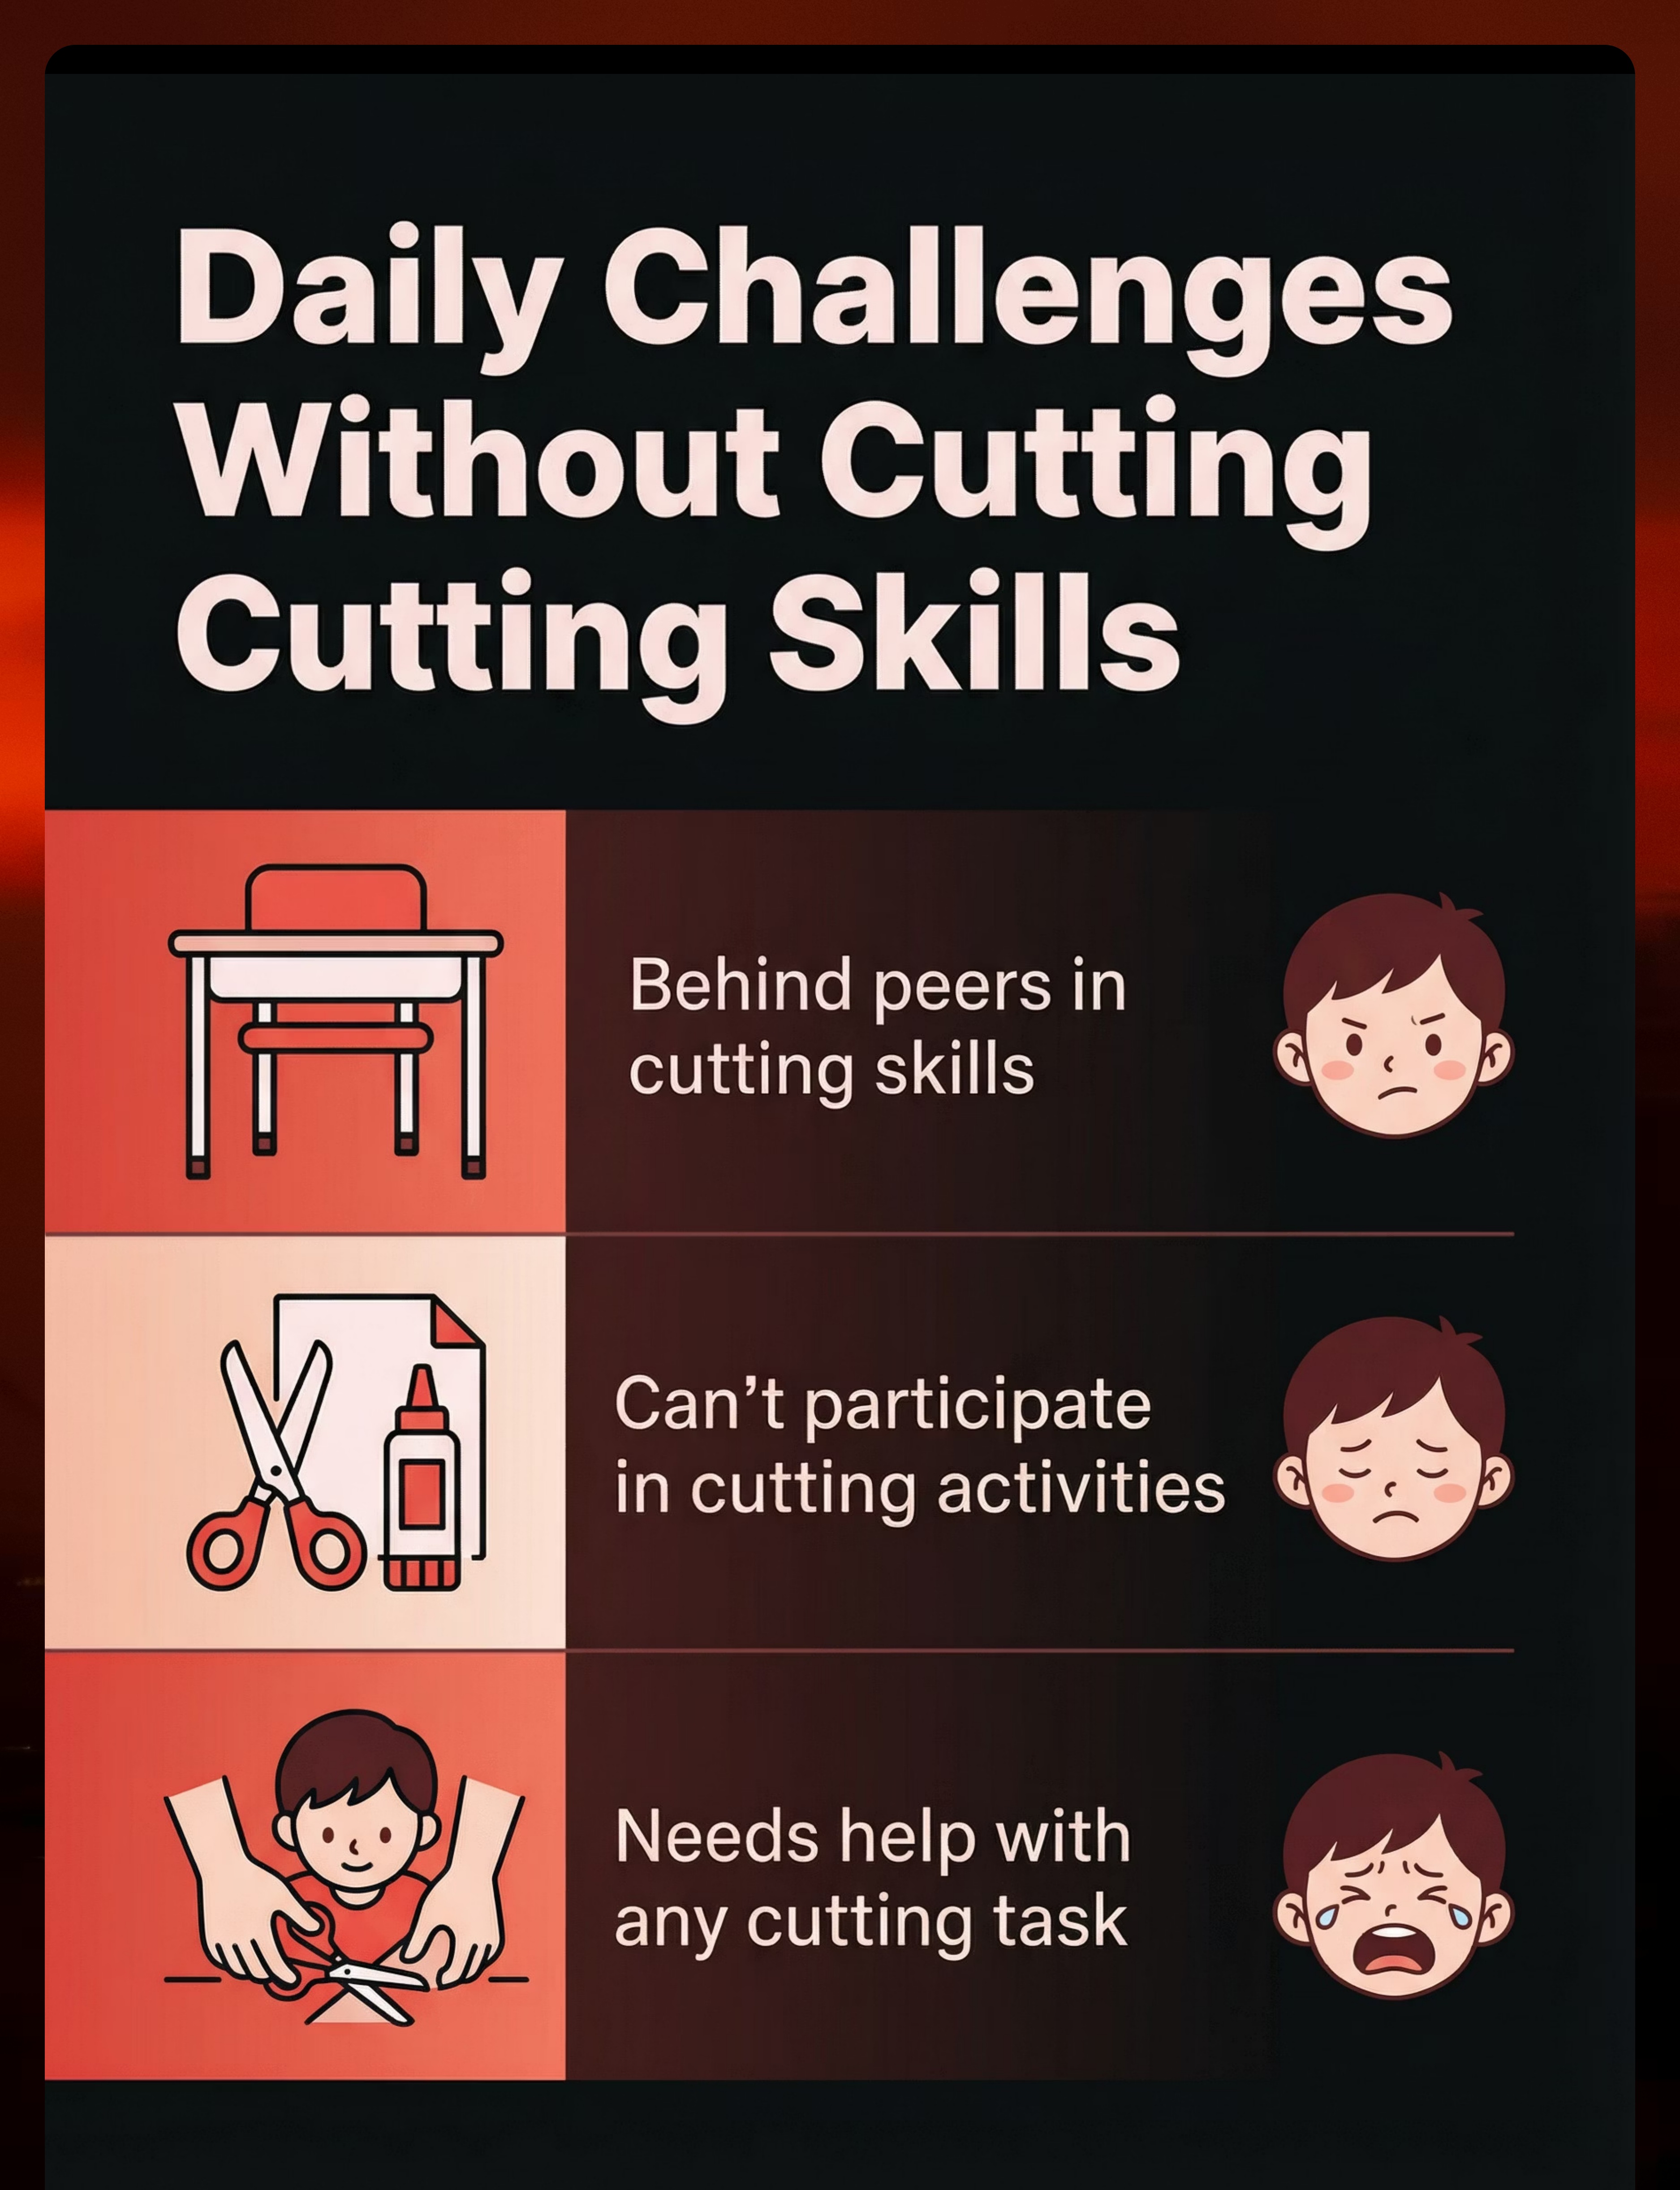
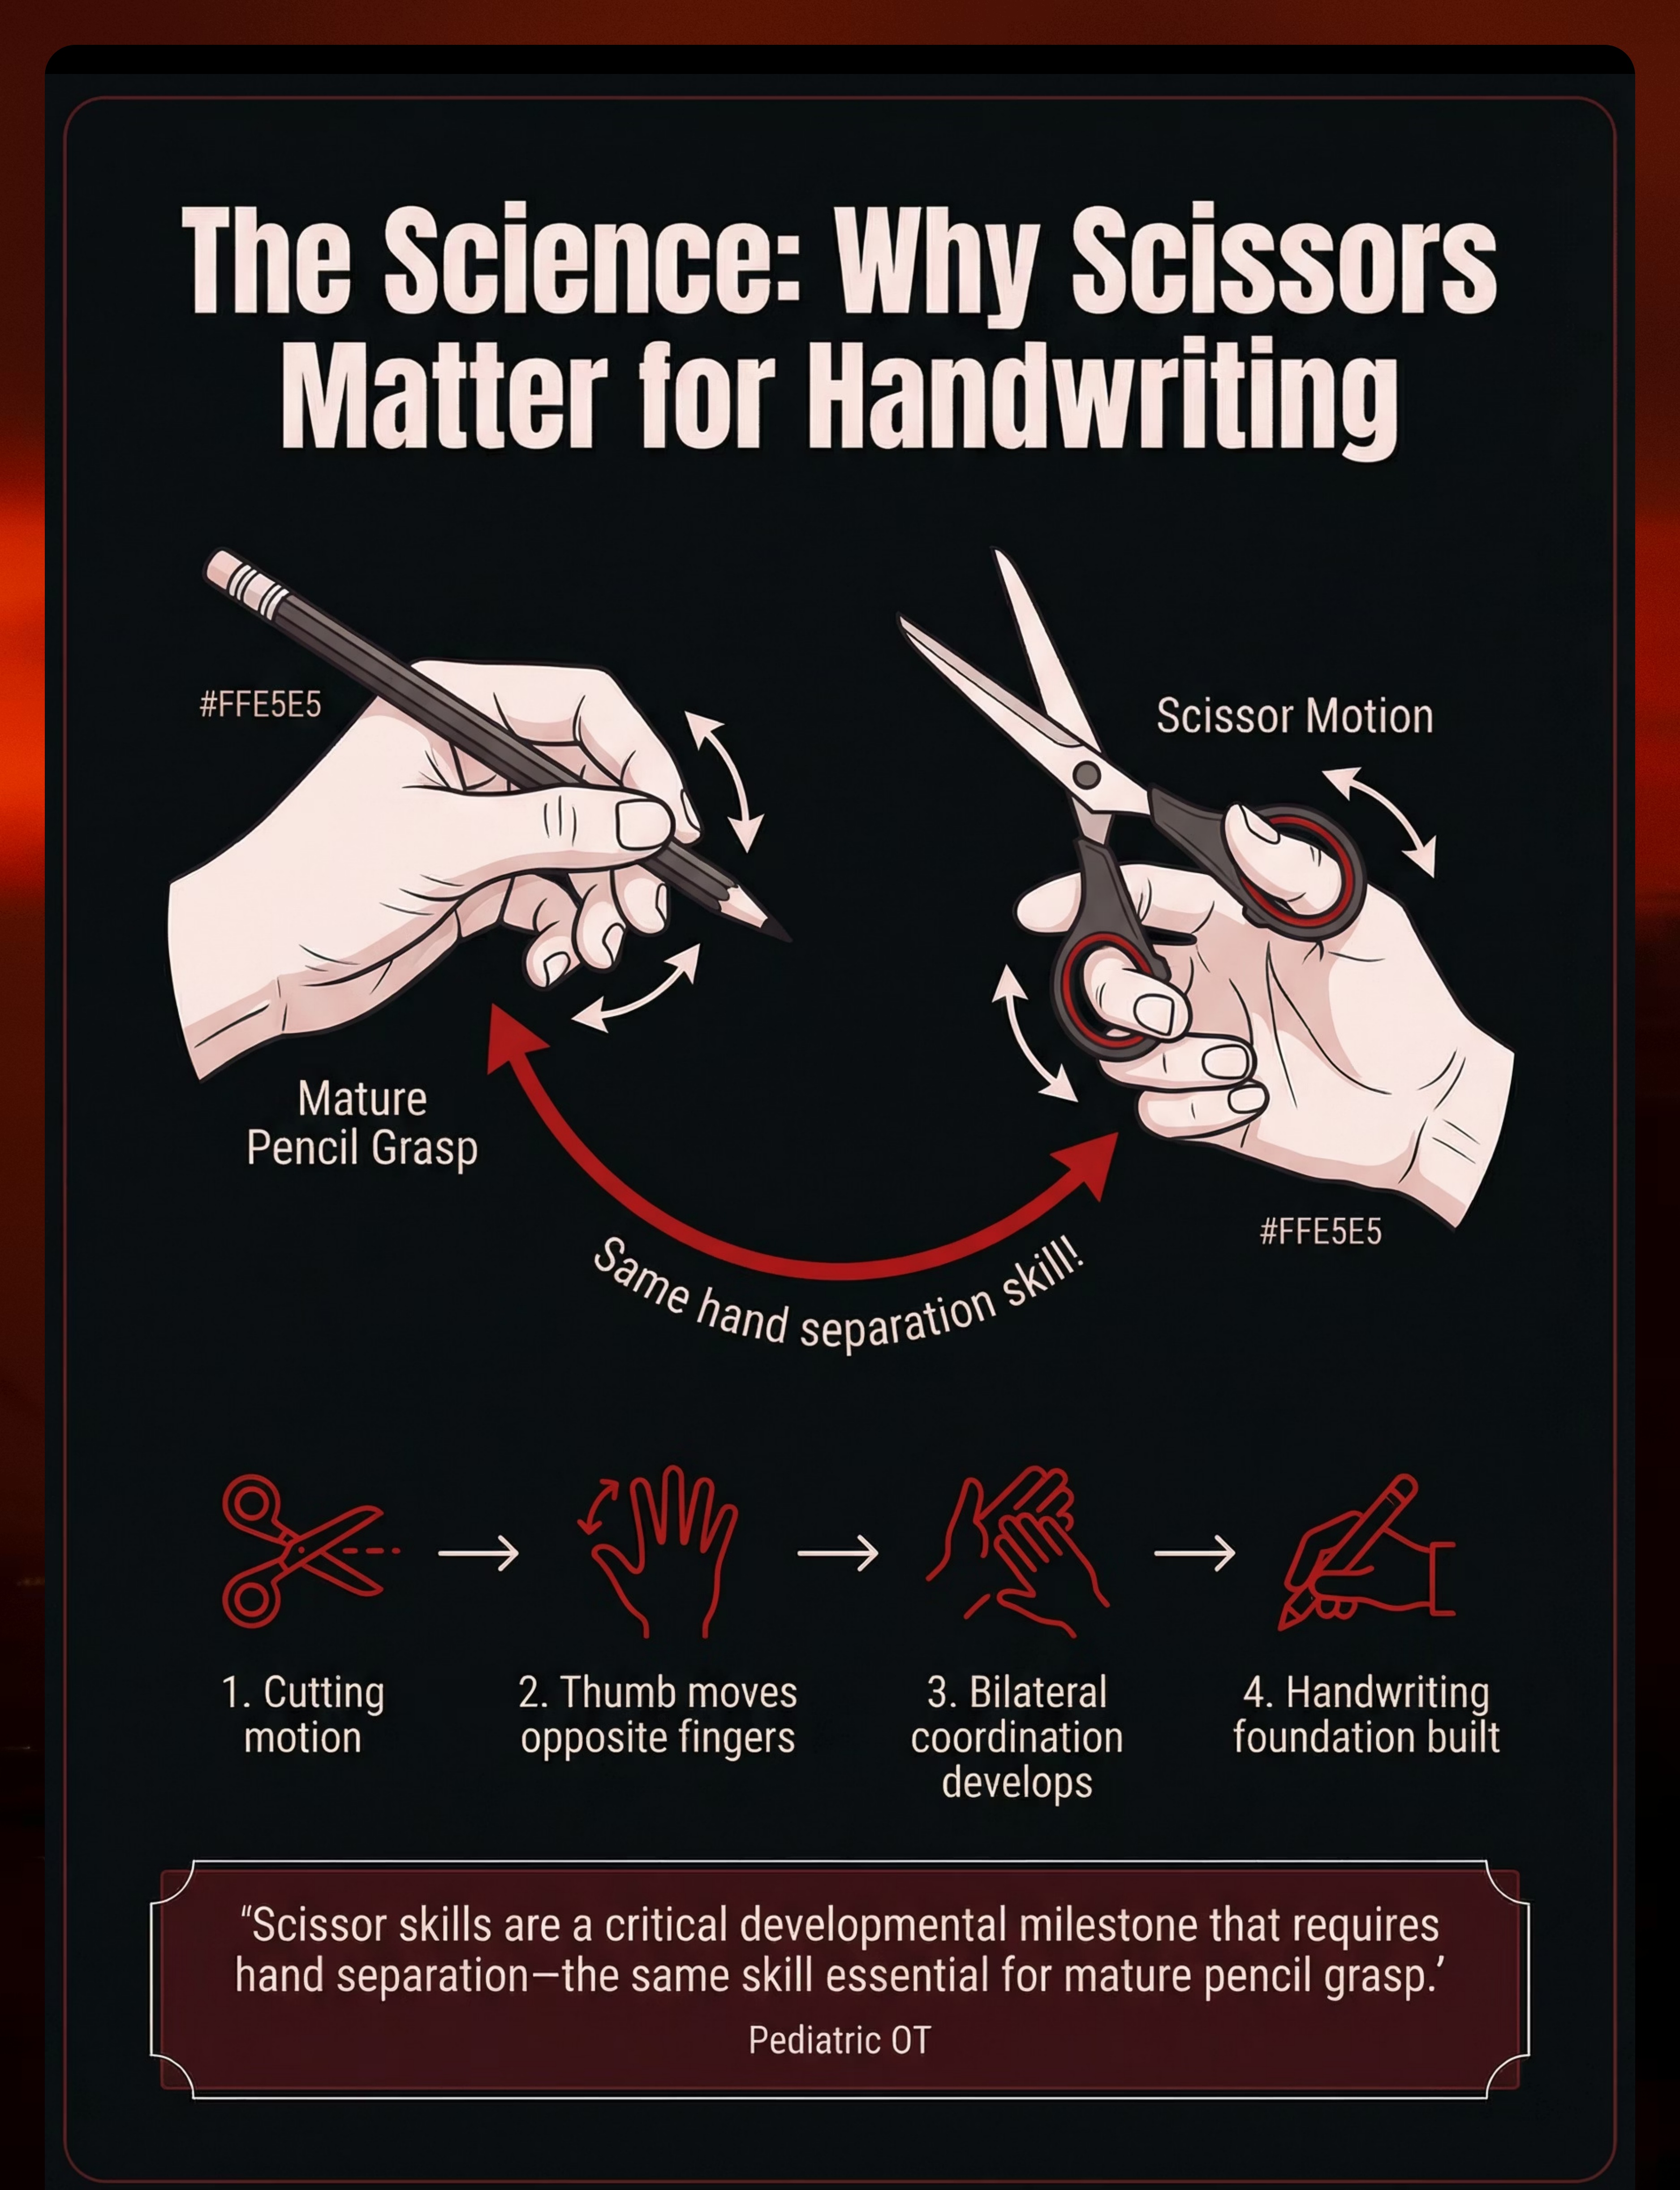
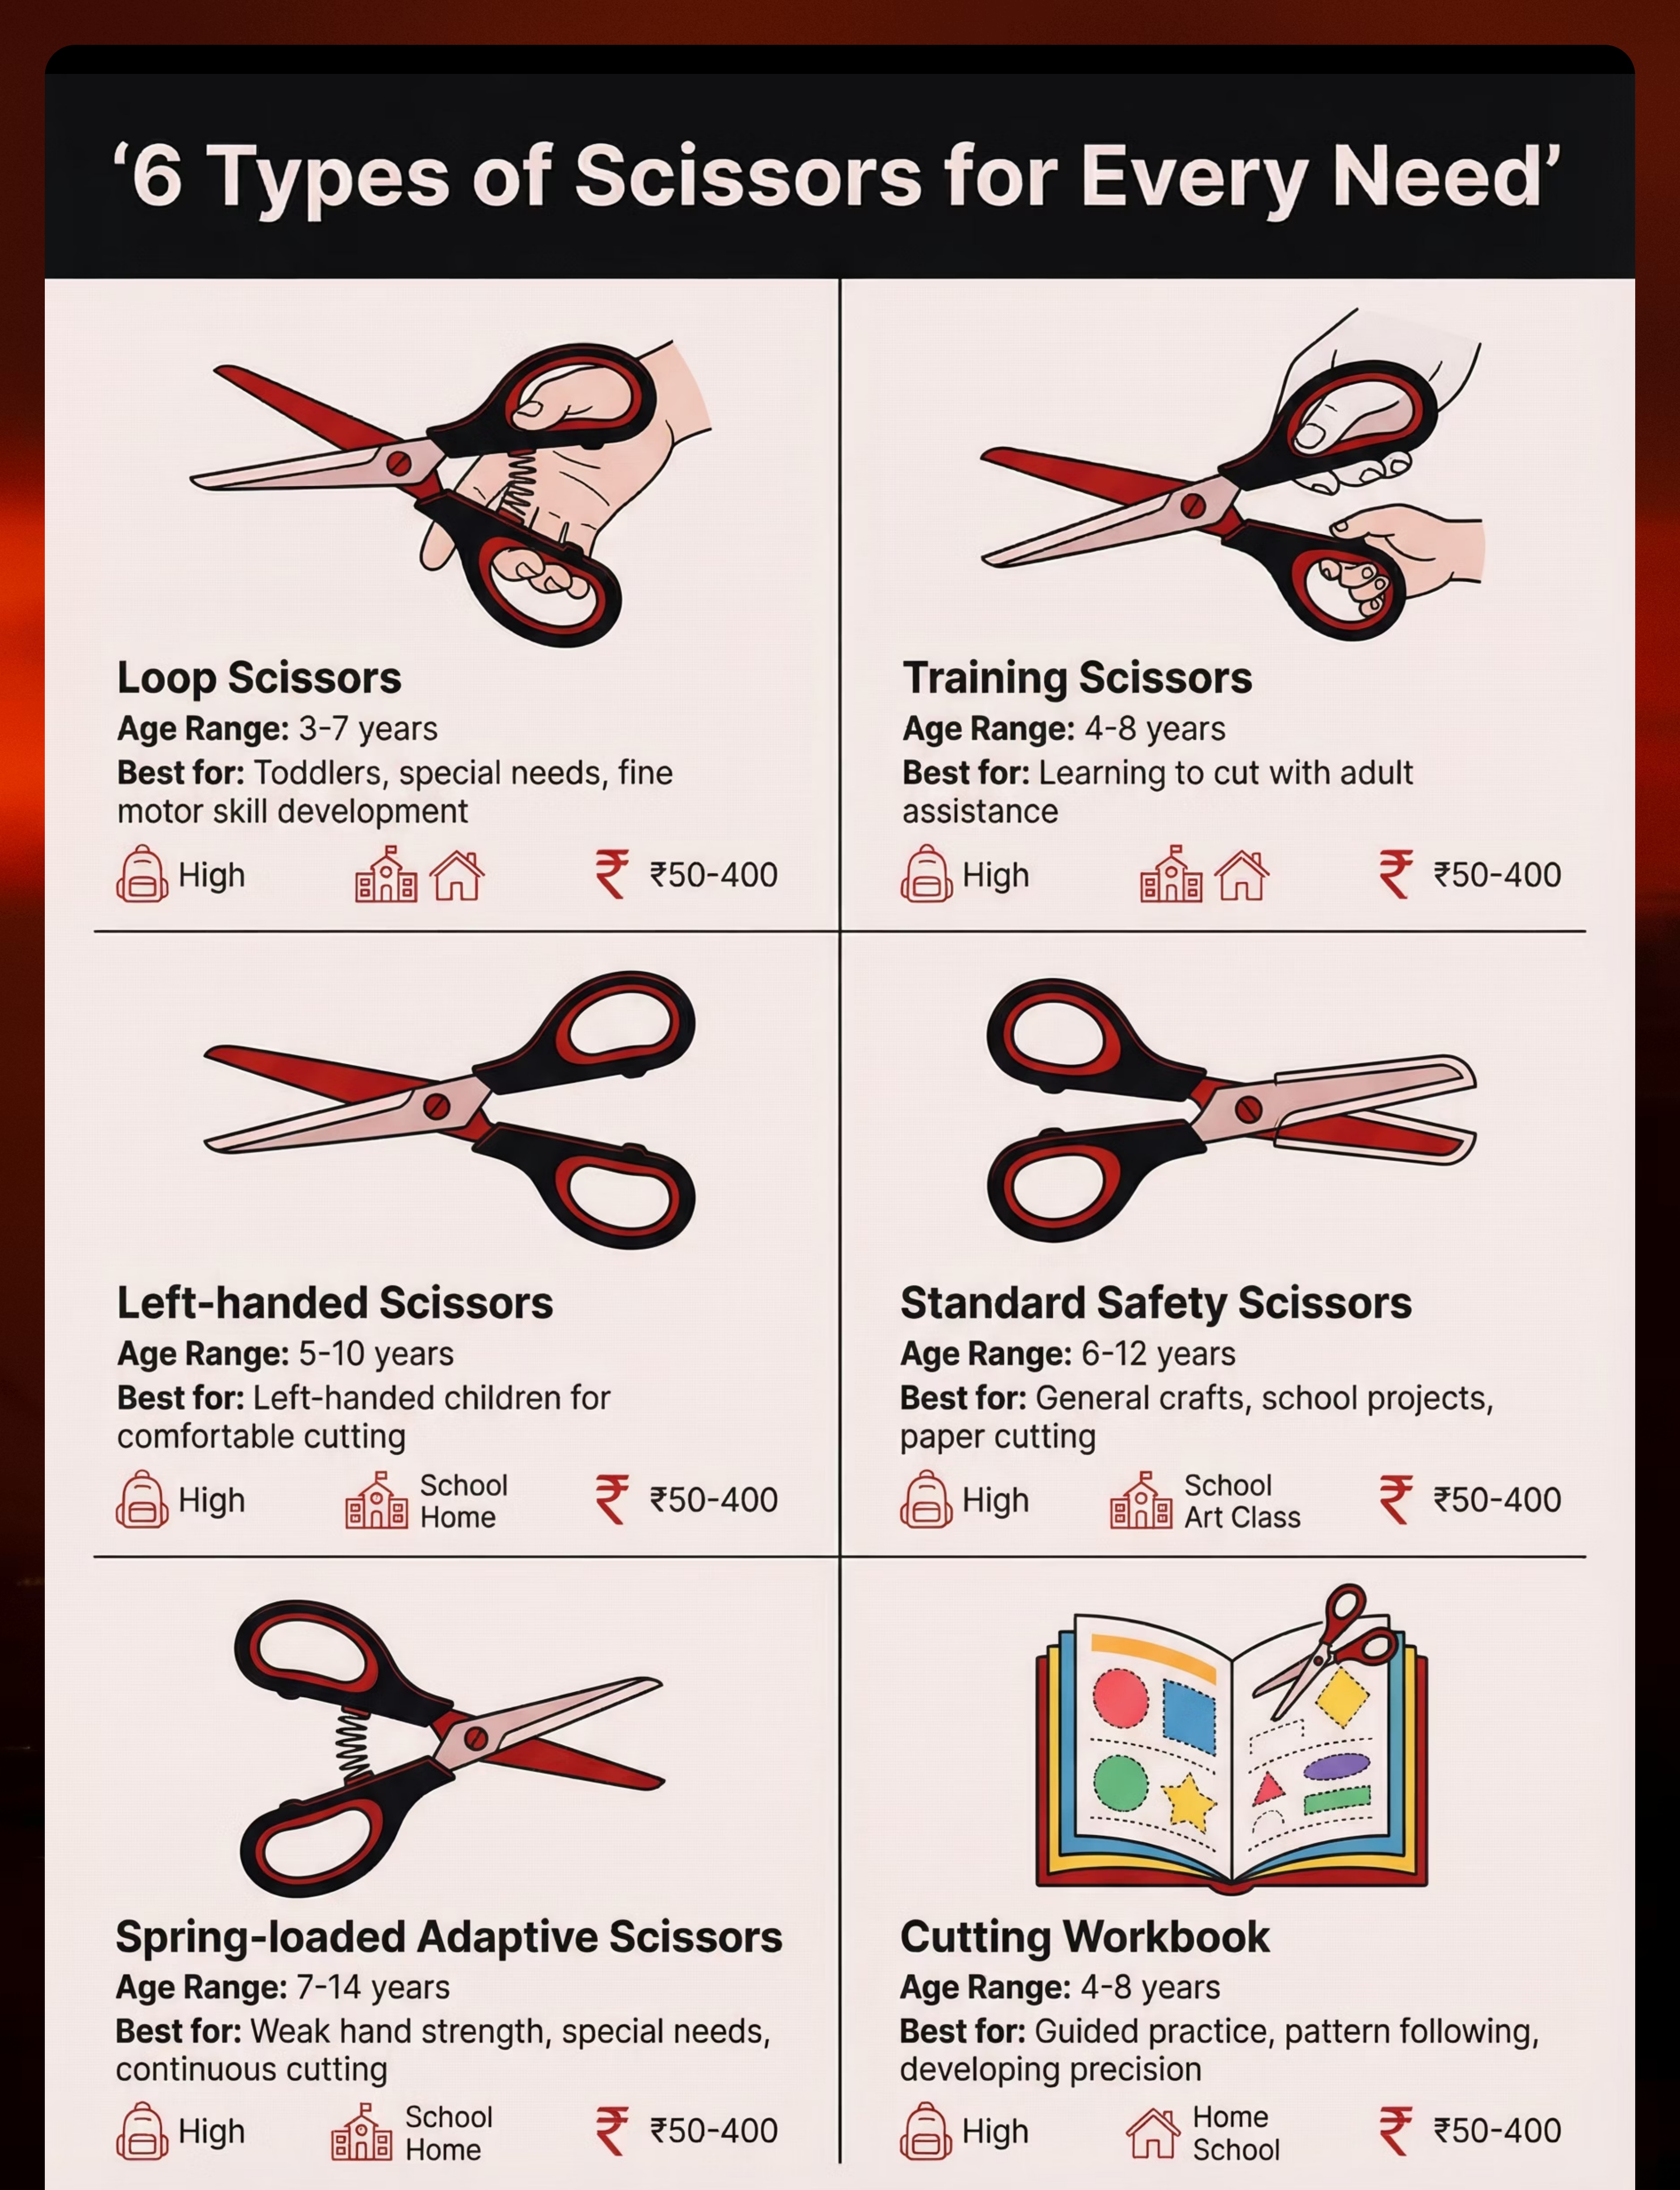
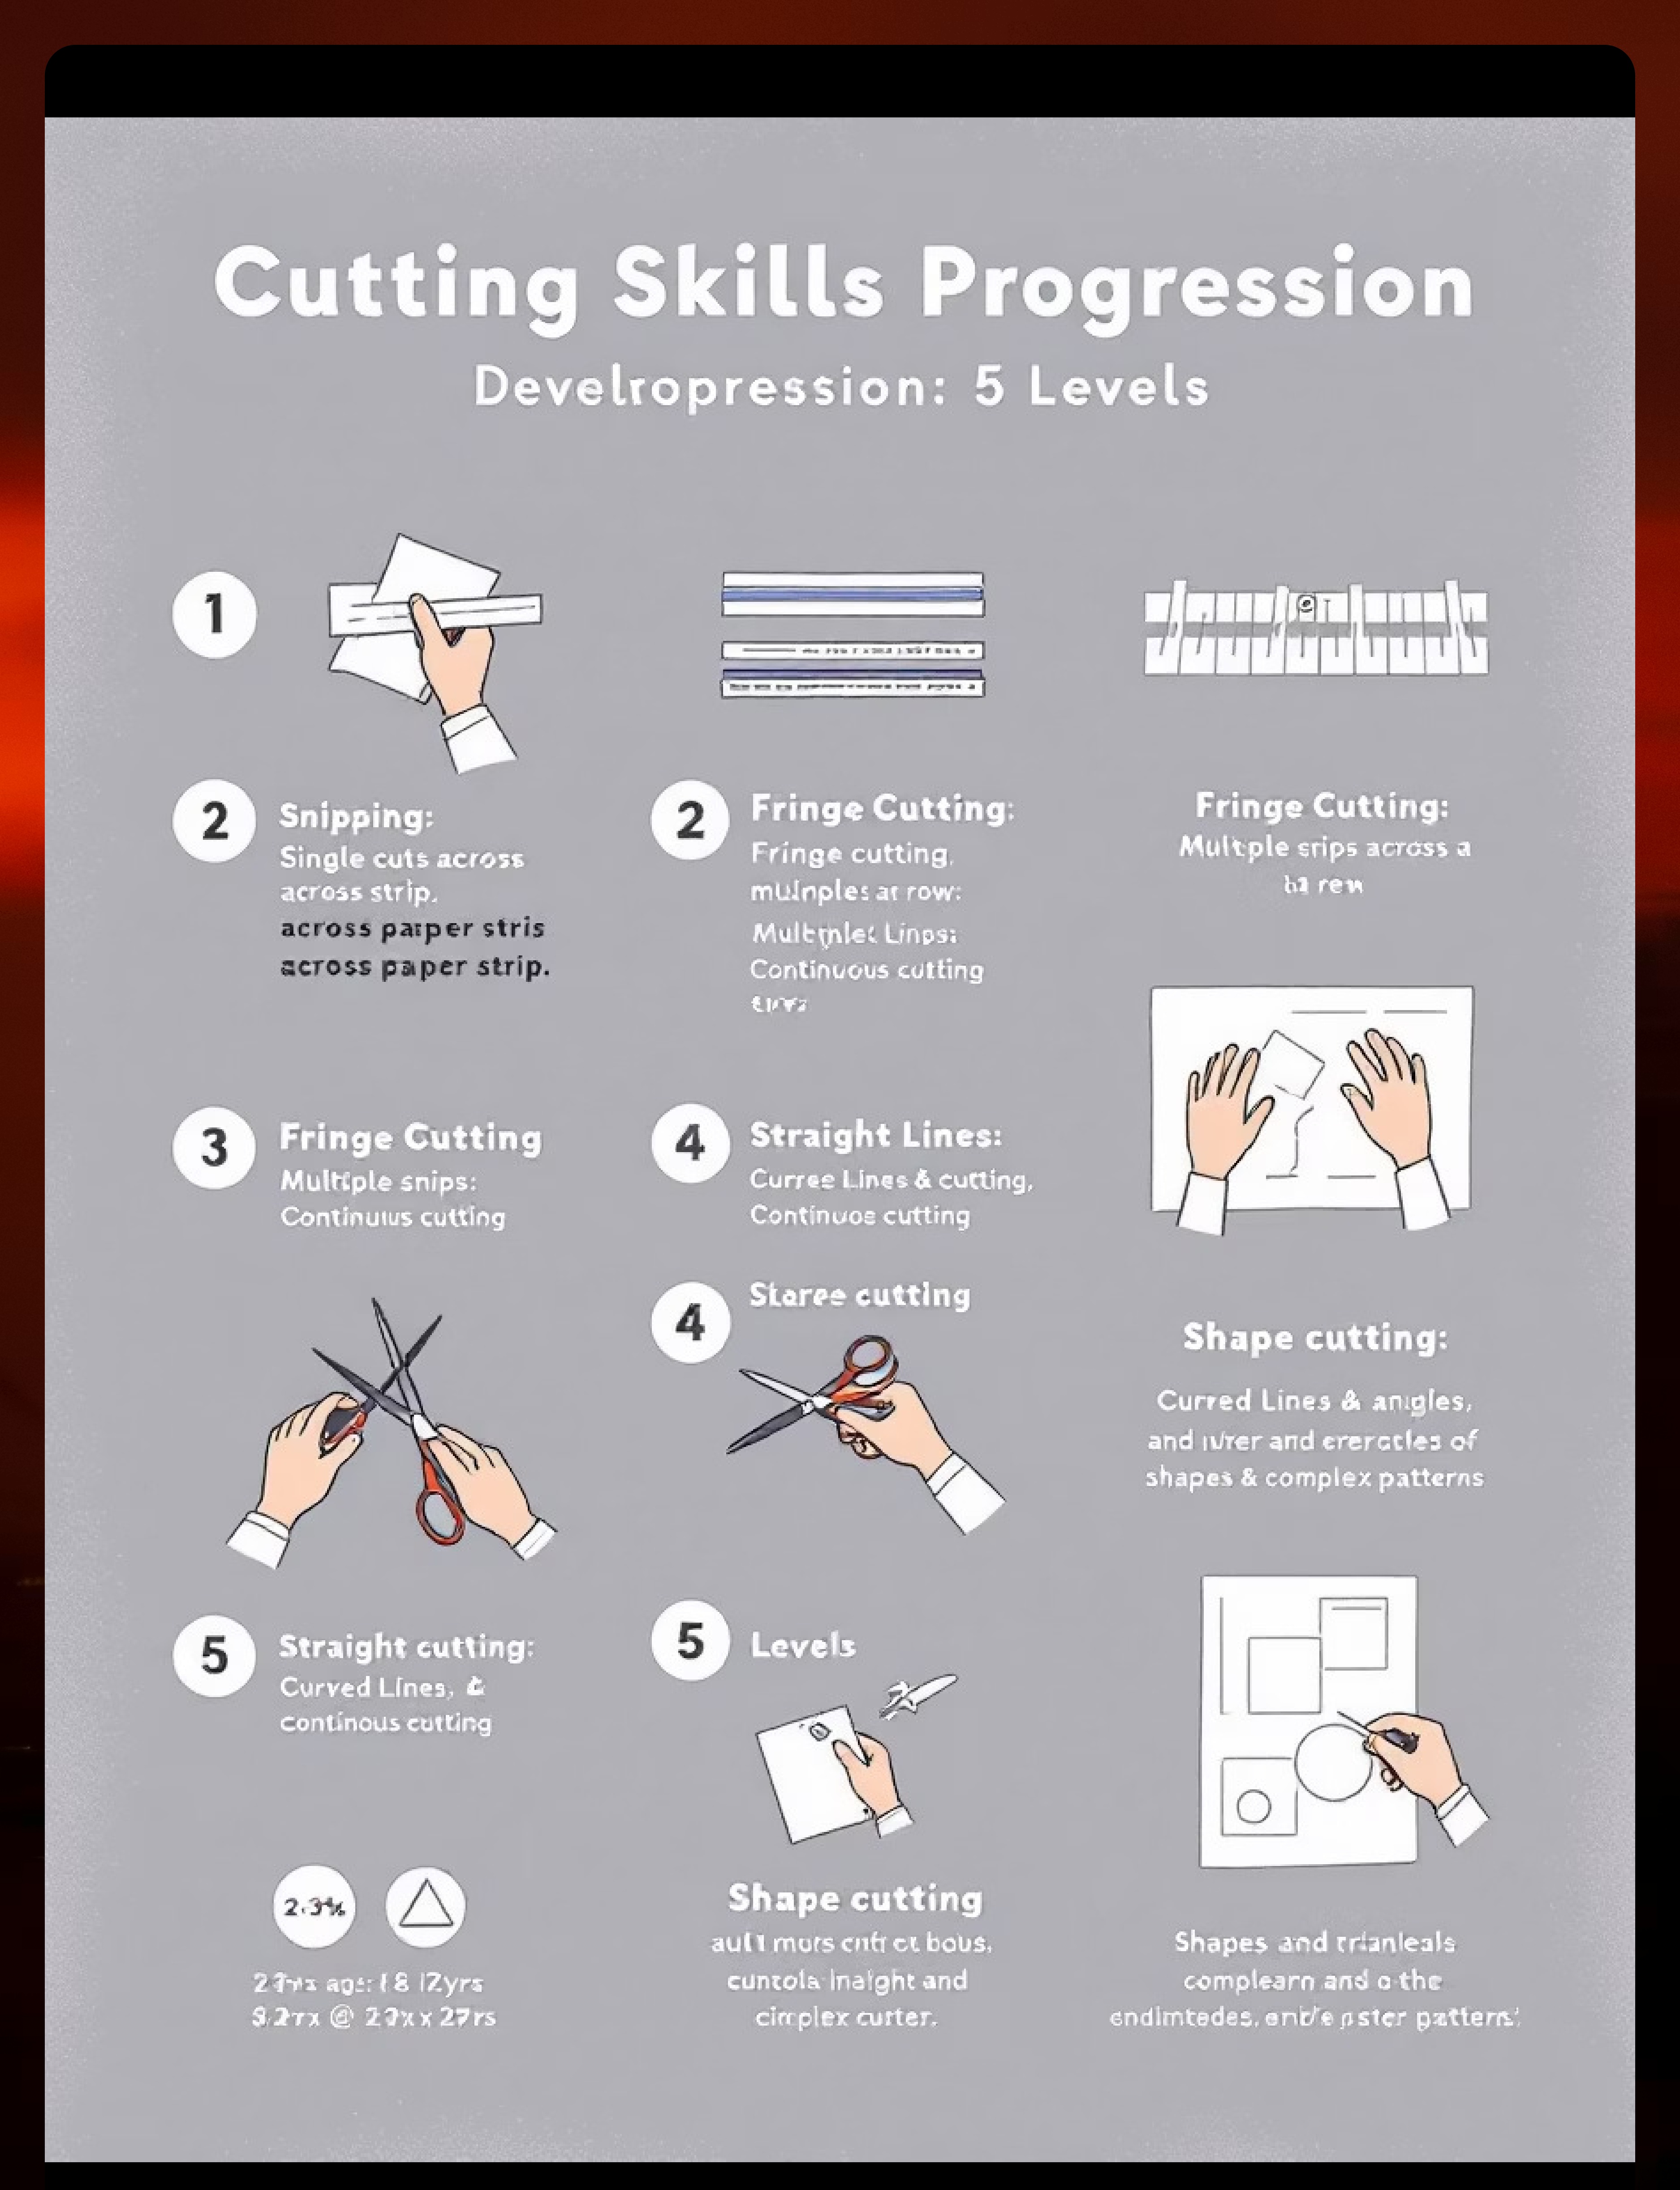
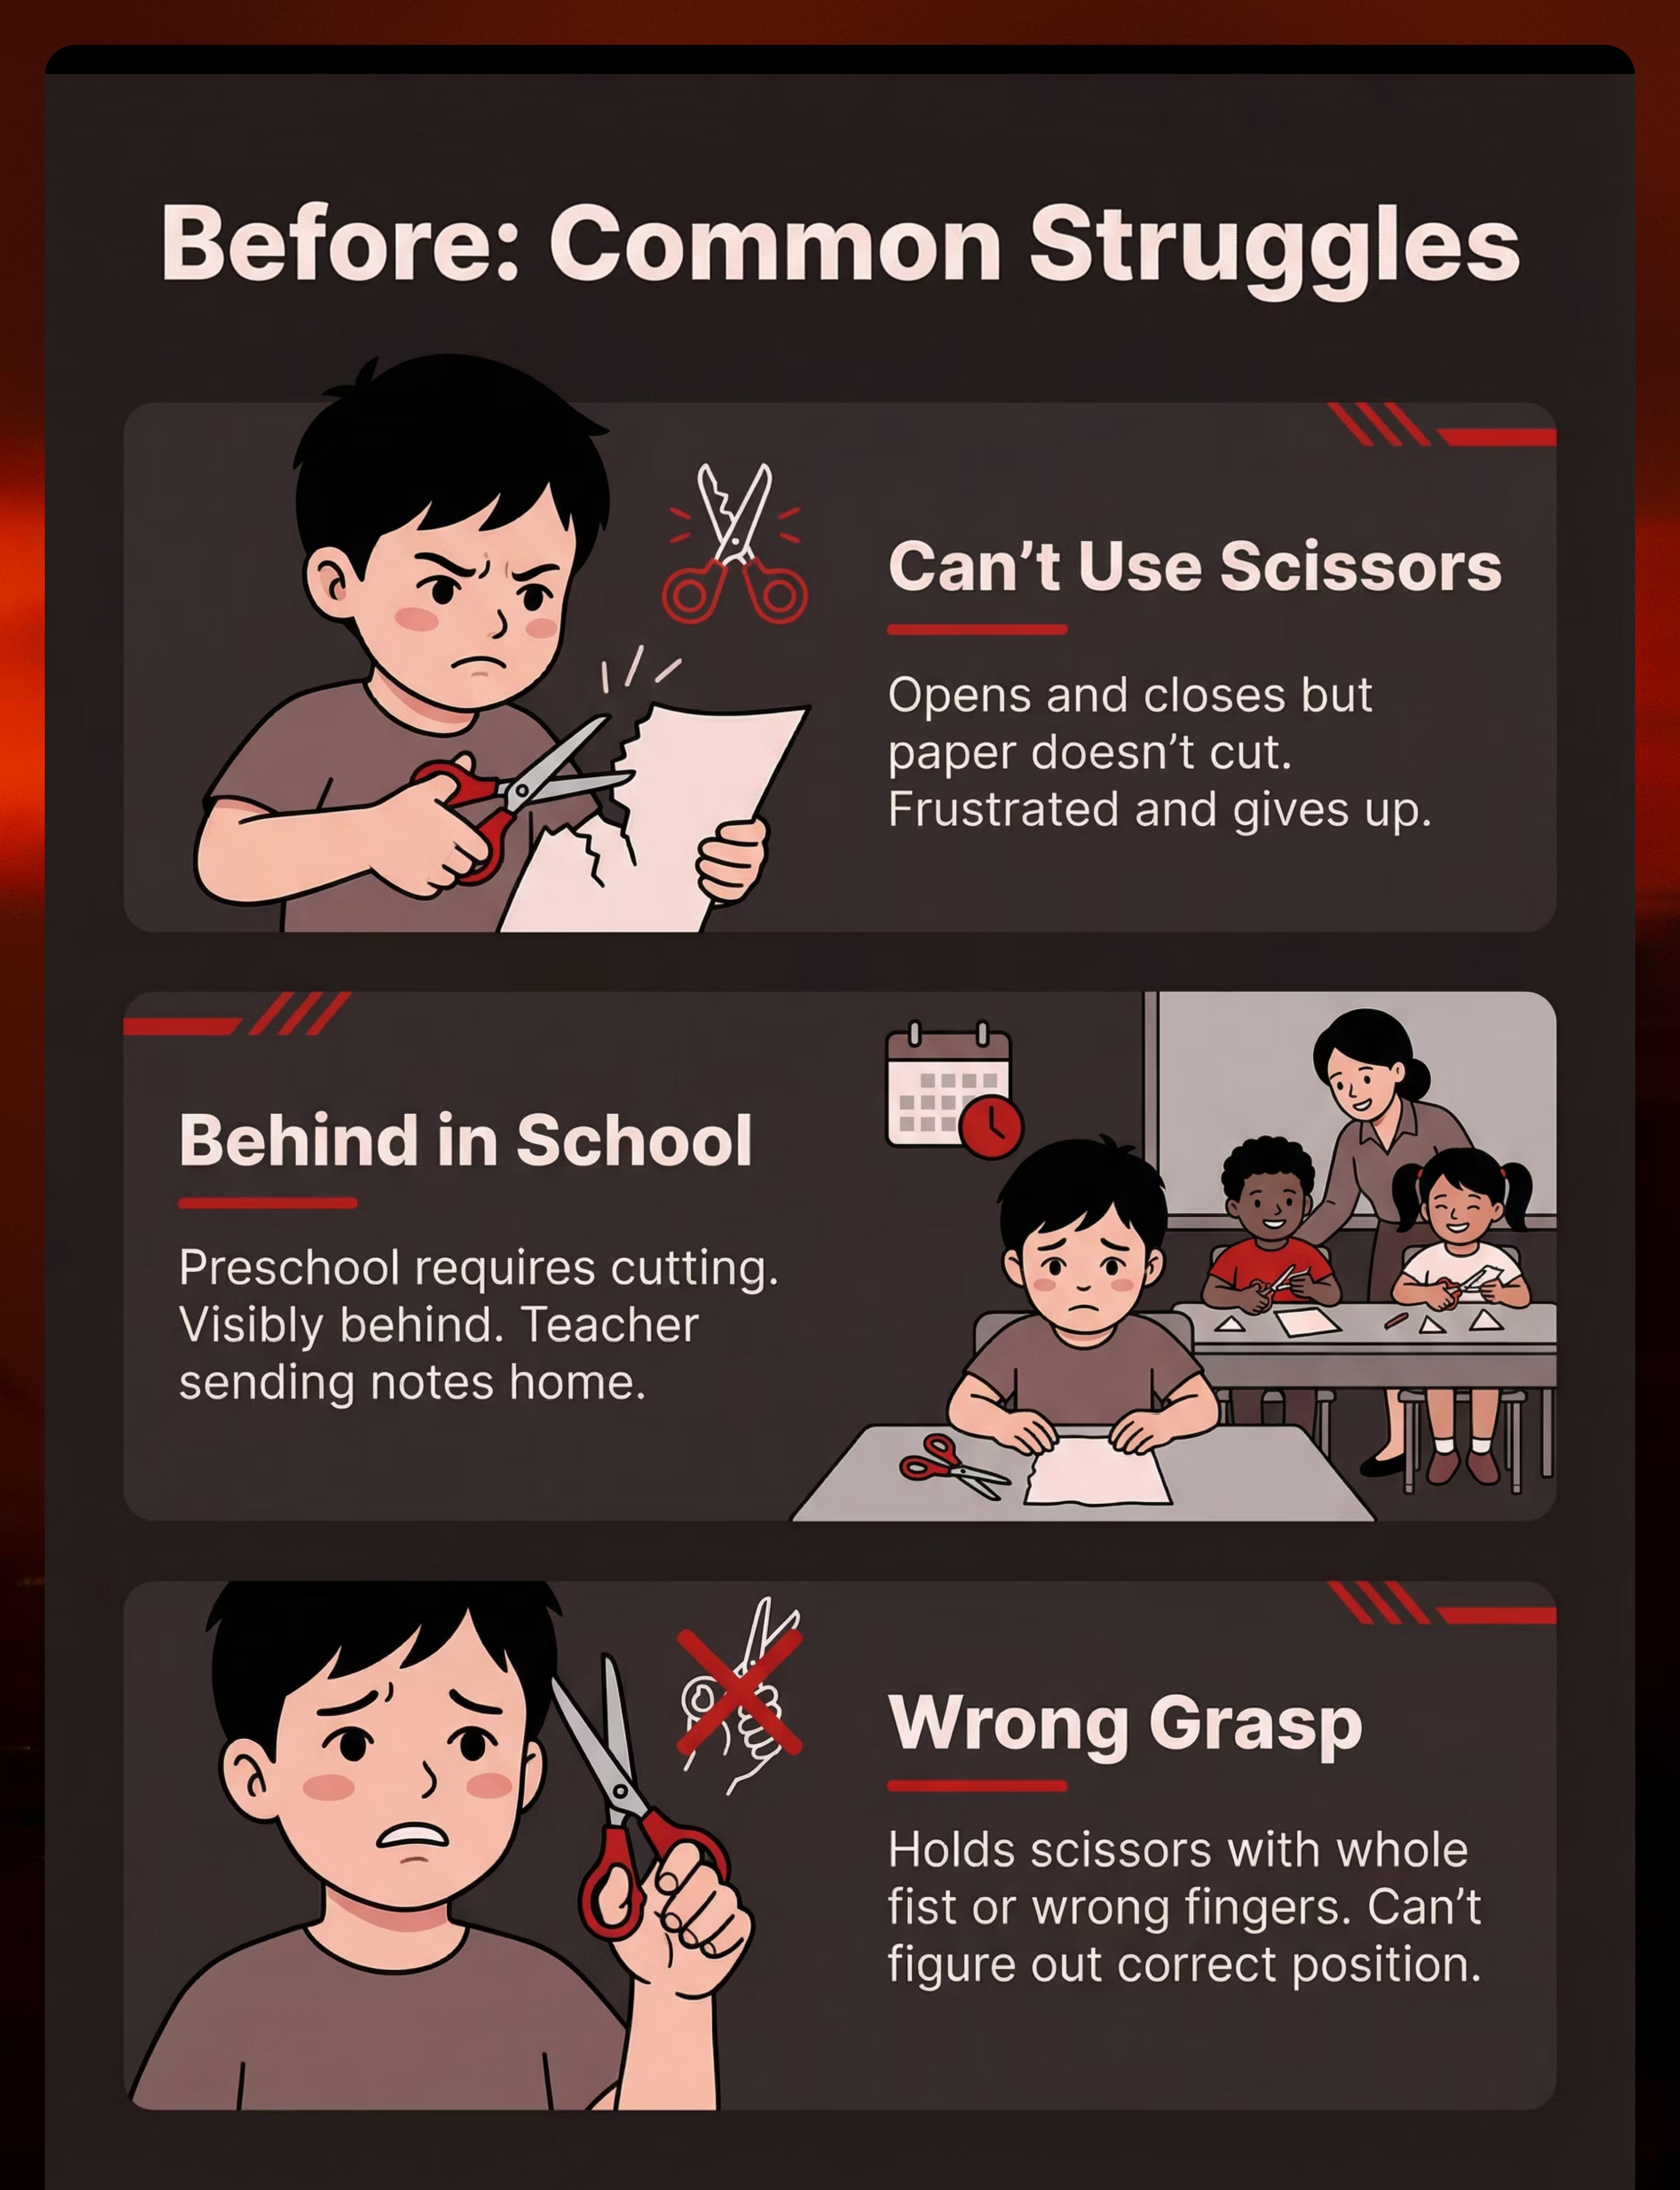


Category 7: Fine Motor & Hand Skills
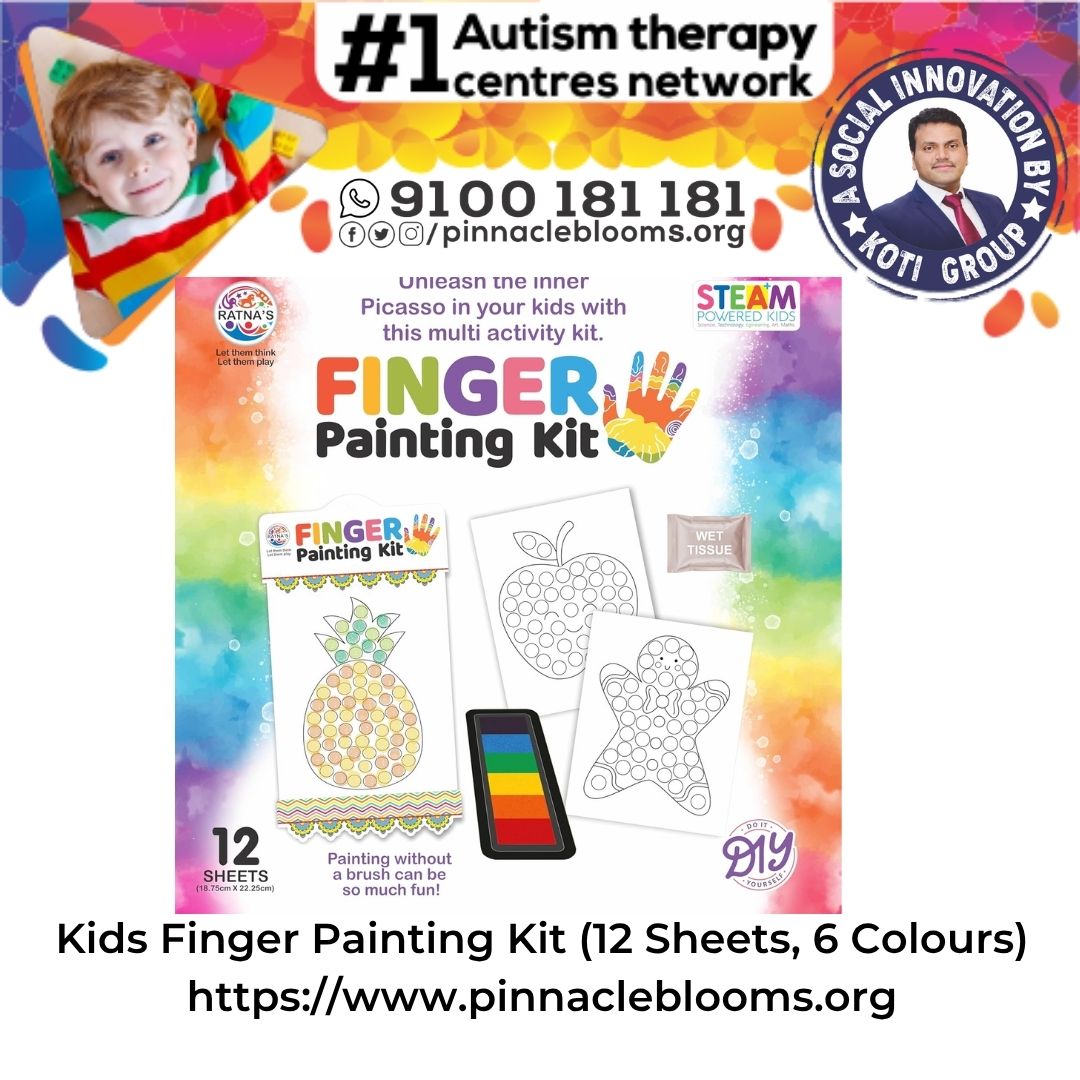
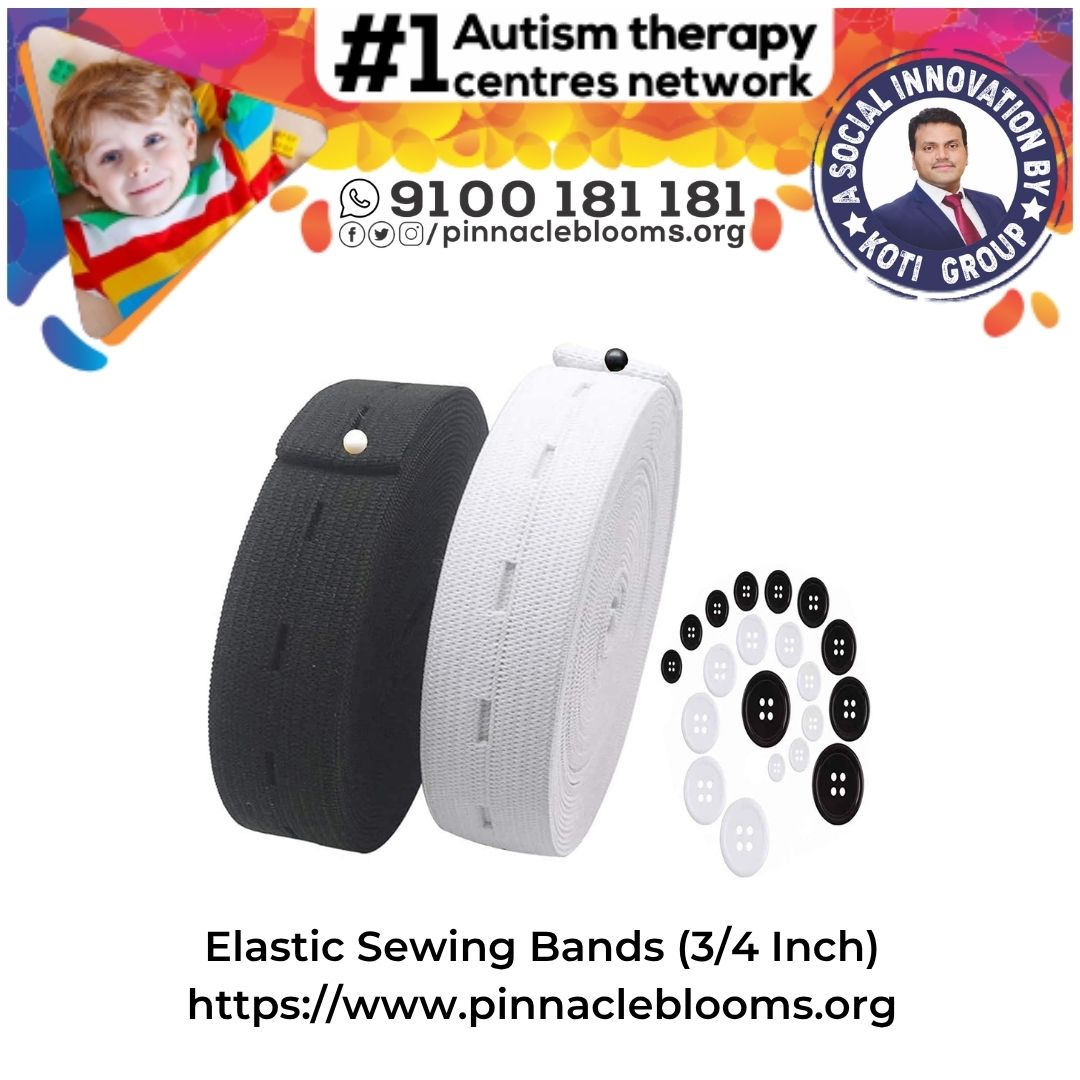
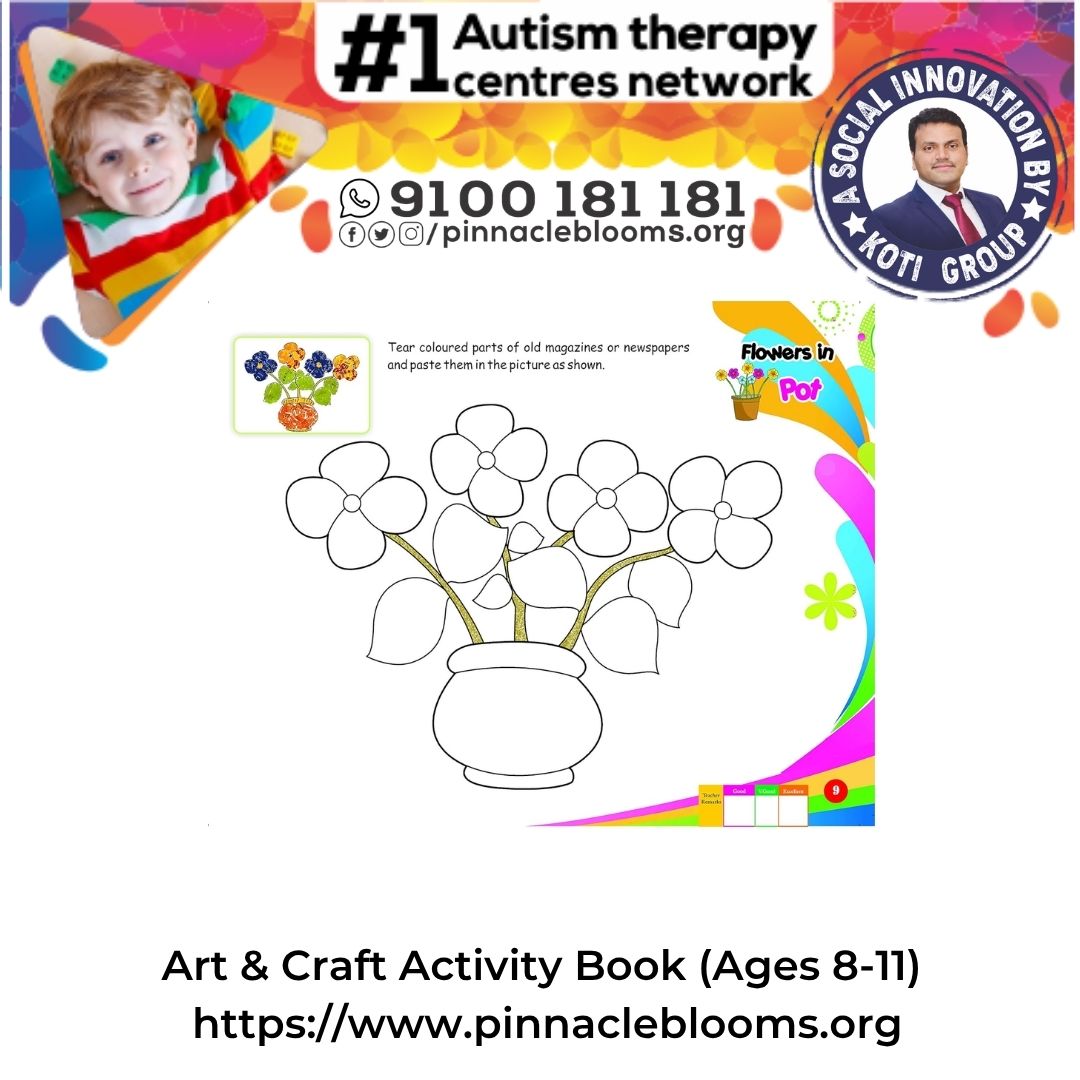
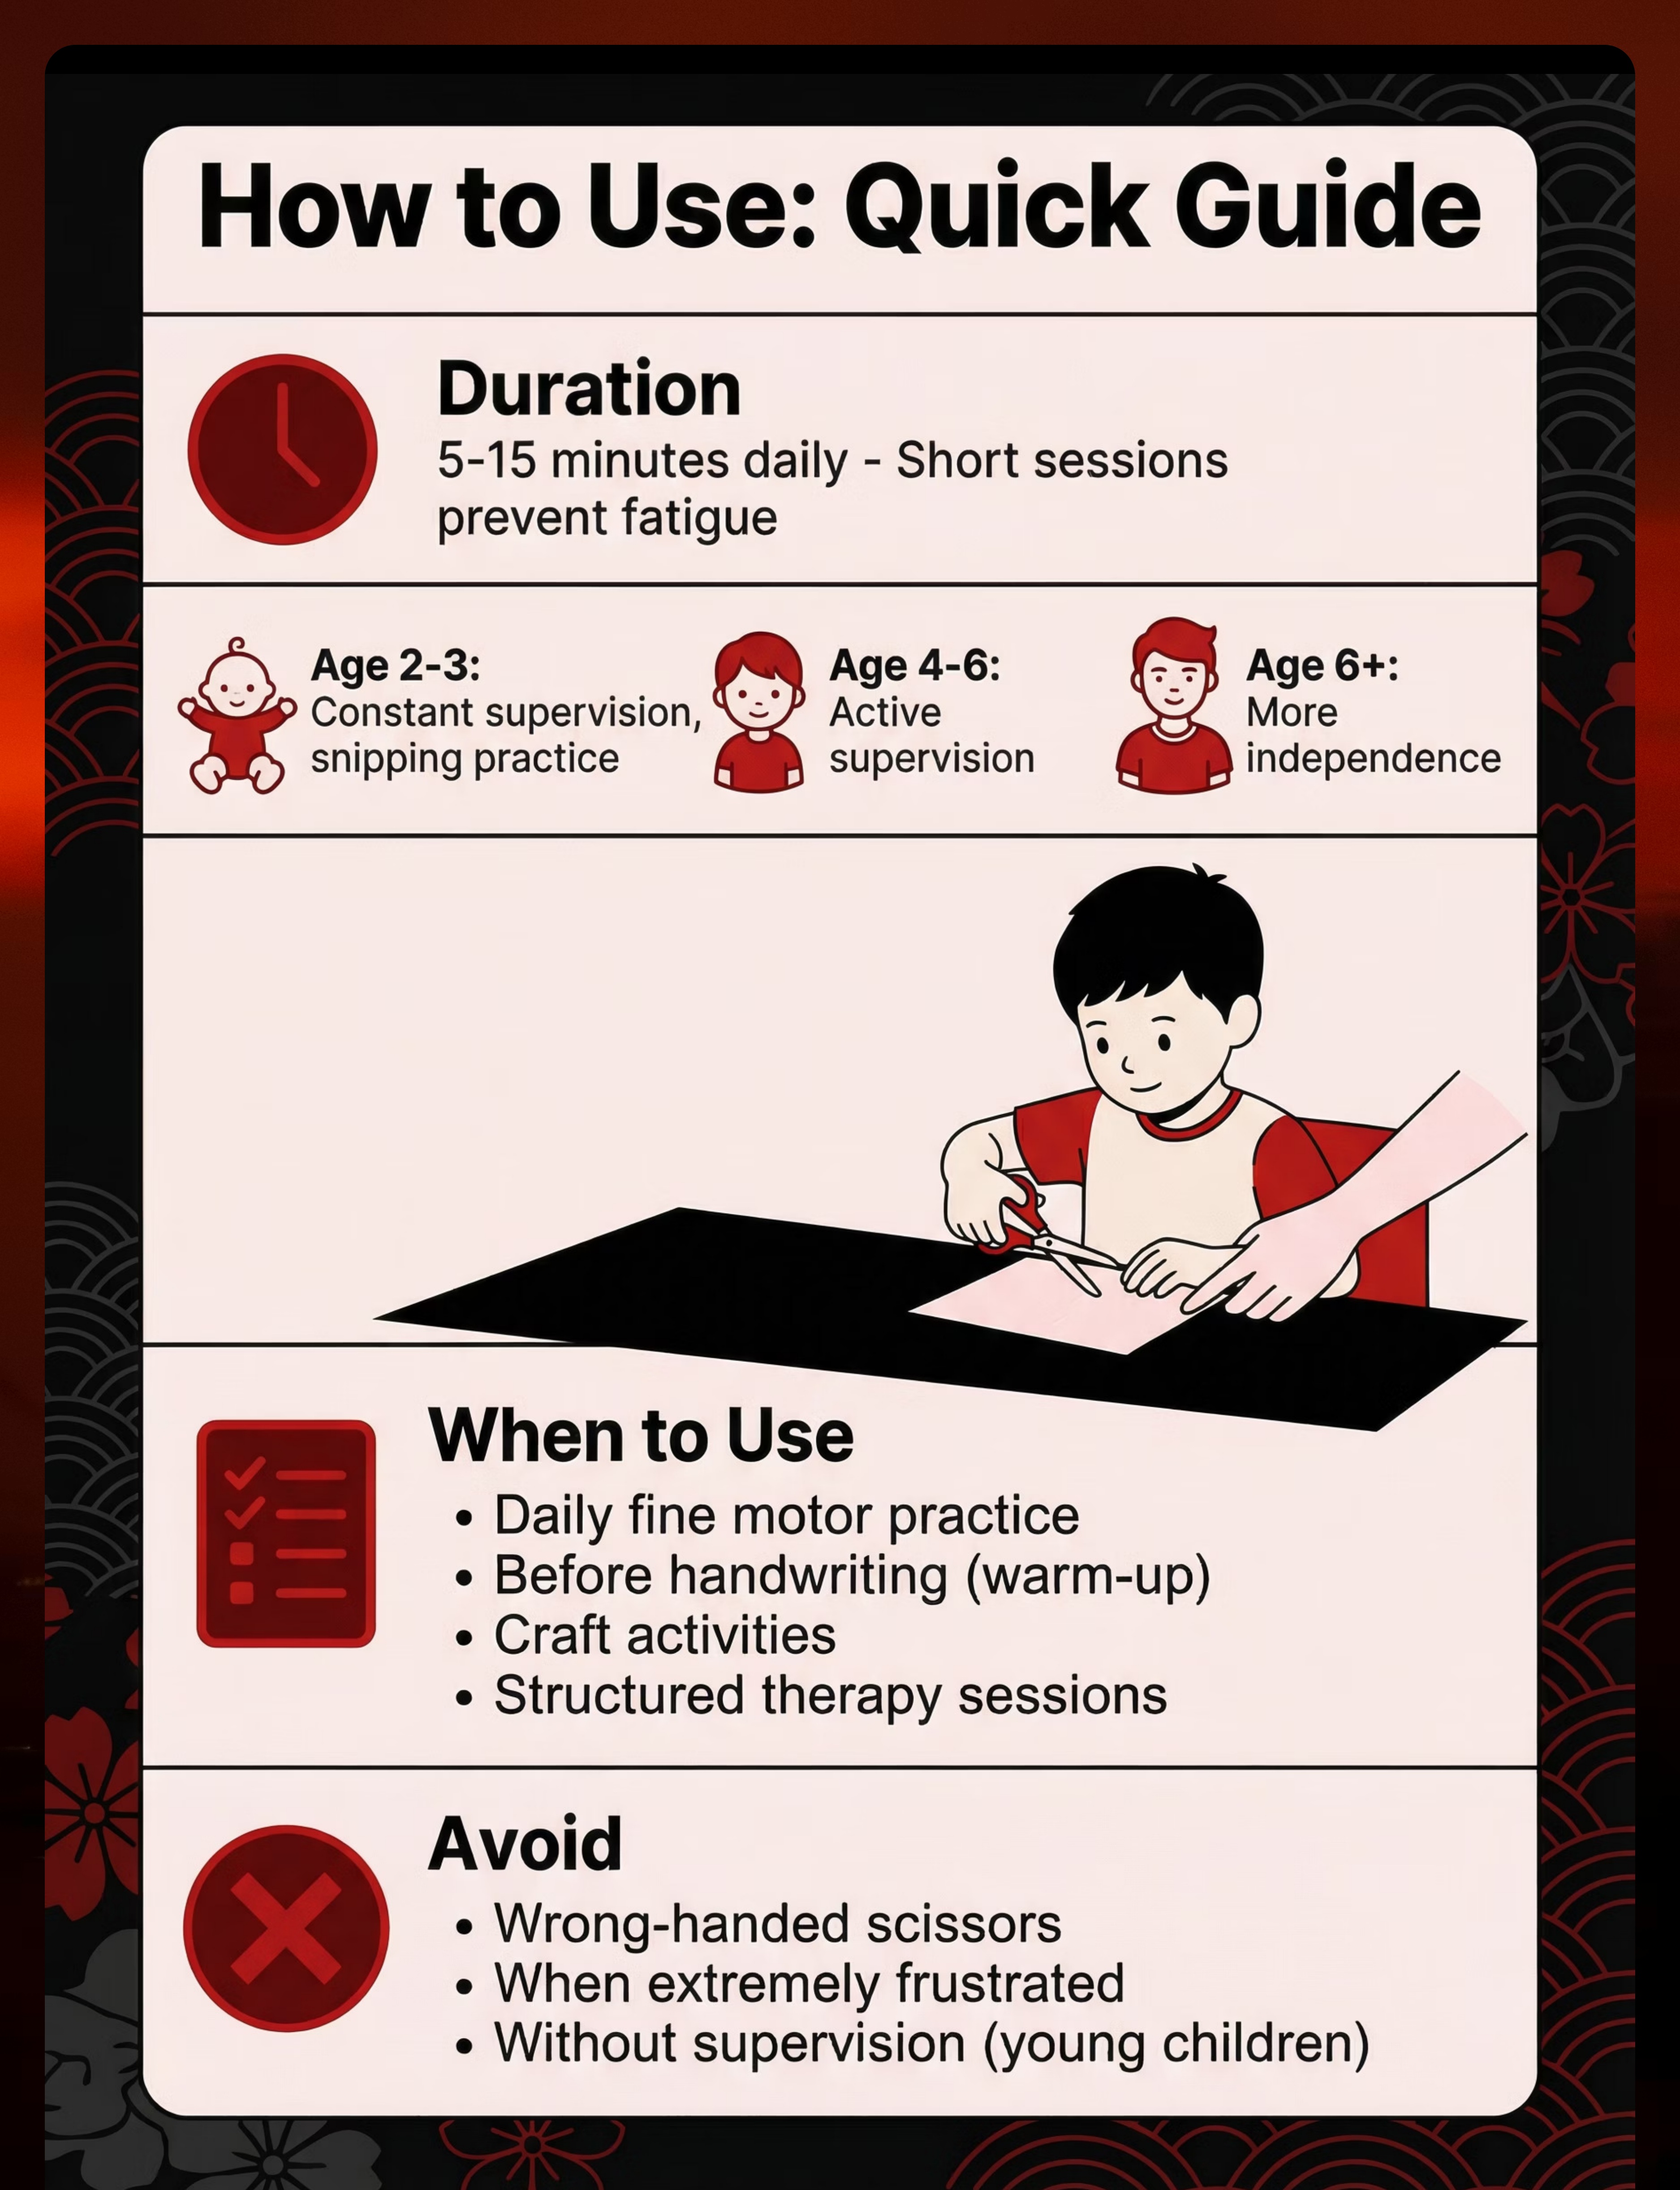
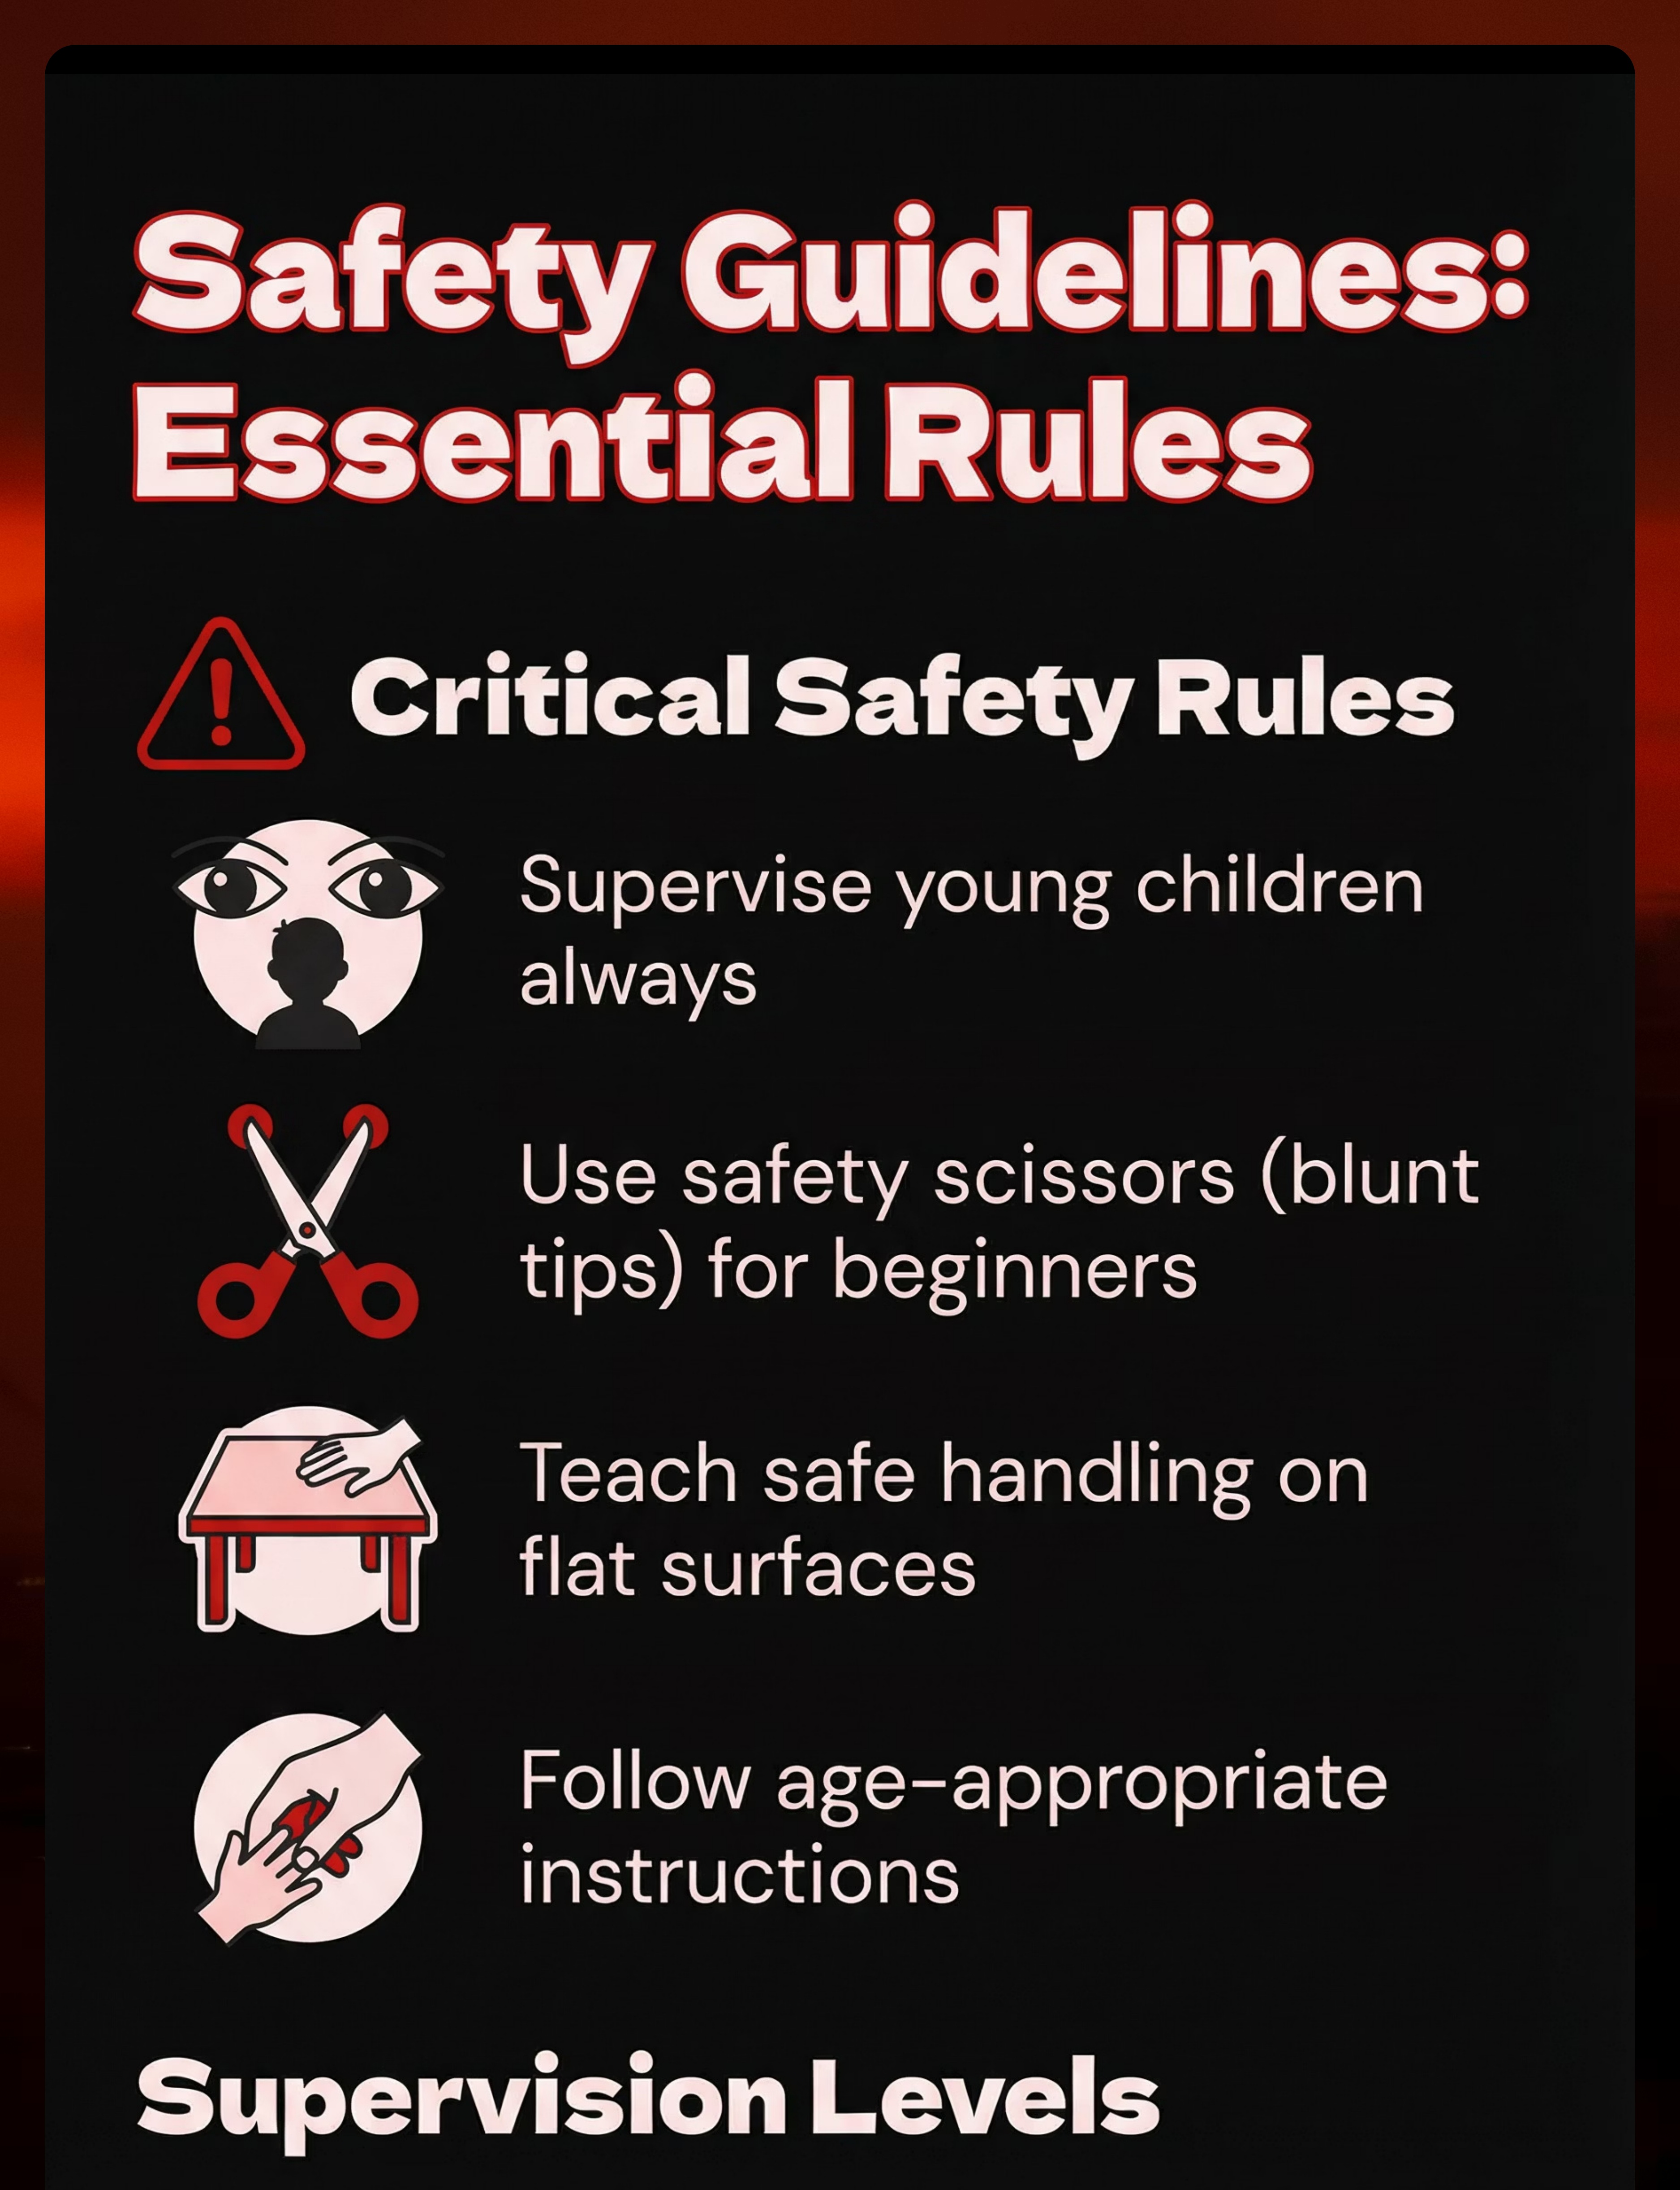
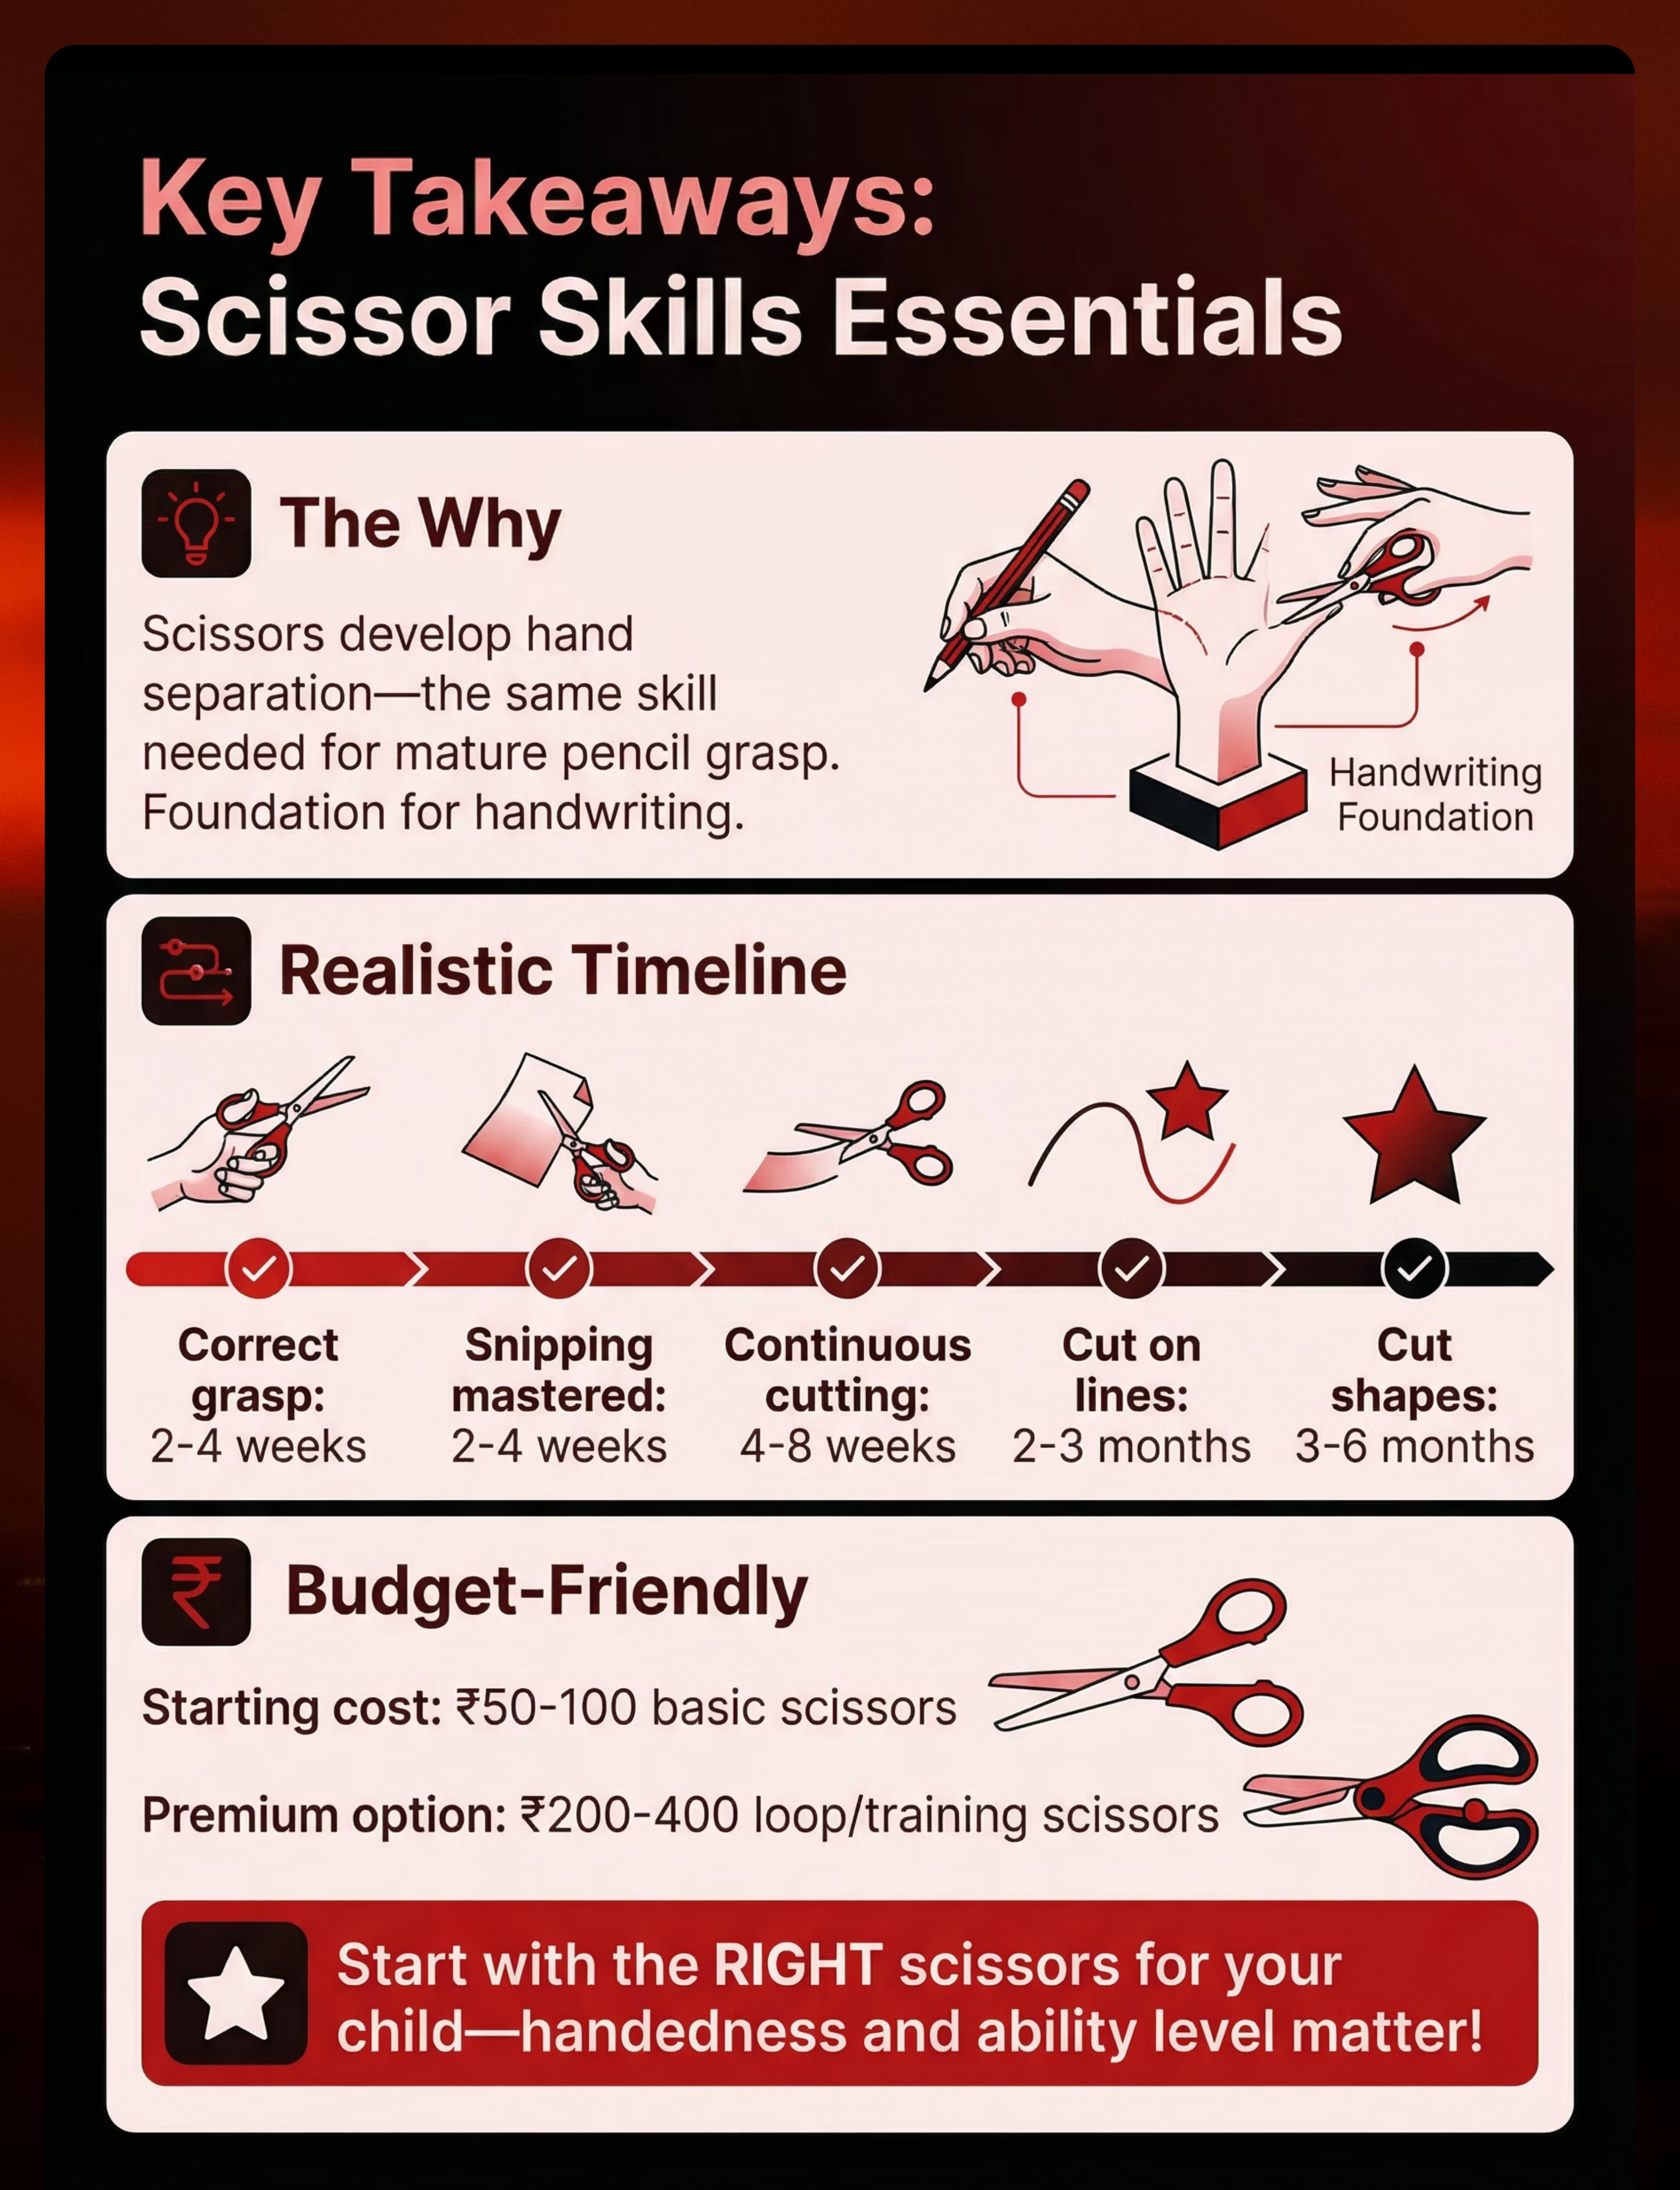
8 MATERIALSTools and activities developing hand strength, dexterity, coordination, and pre-writing skills. These materials build foundational fine motor abilities essential for daily tasks including self-care, feeding, and academic activities such as writing and cutting.
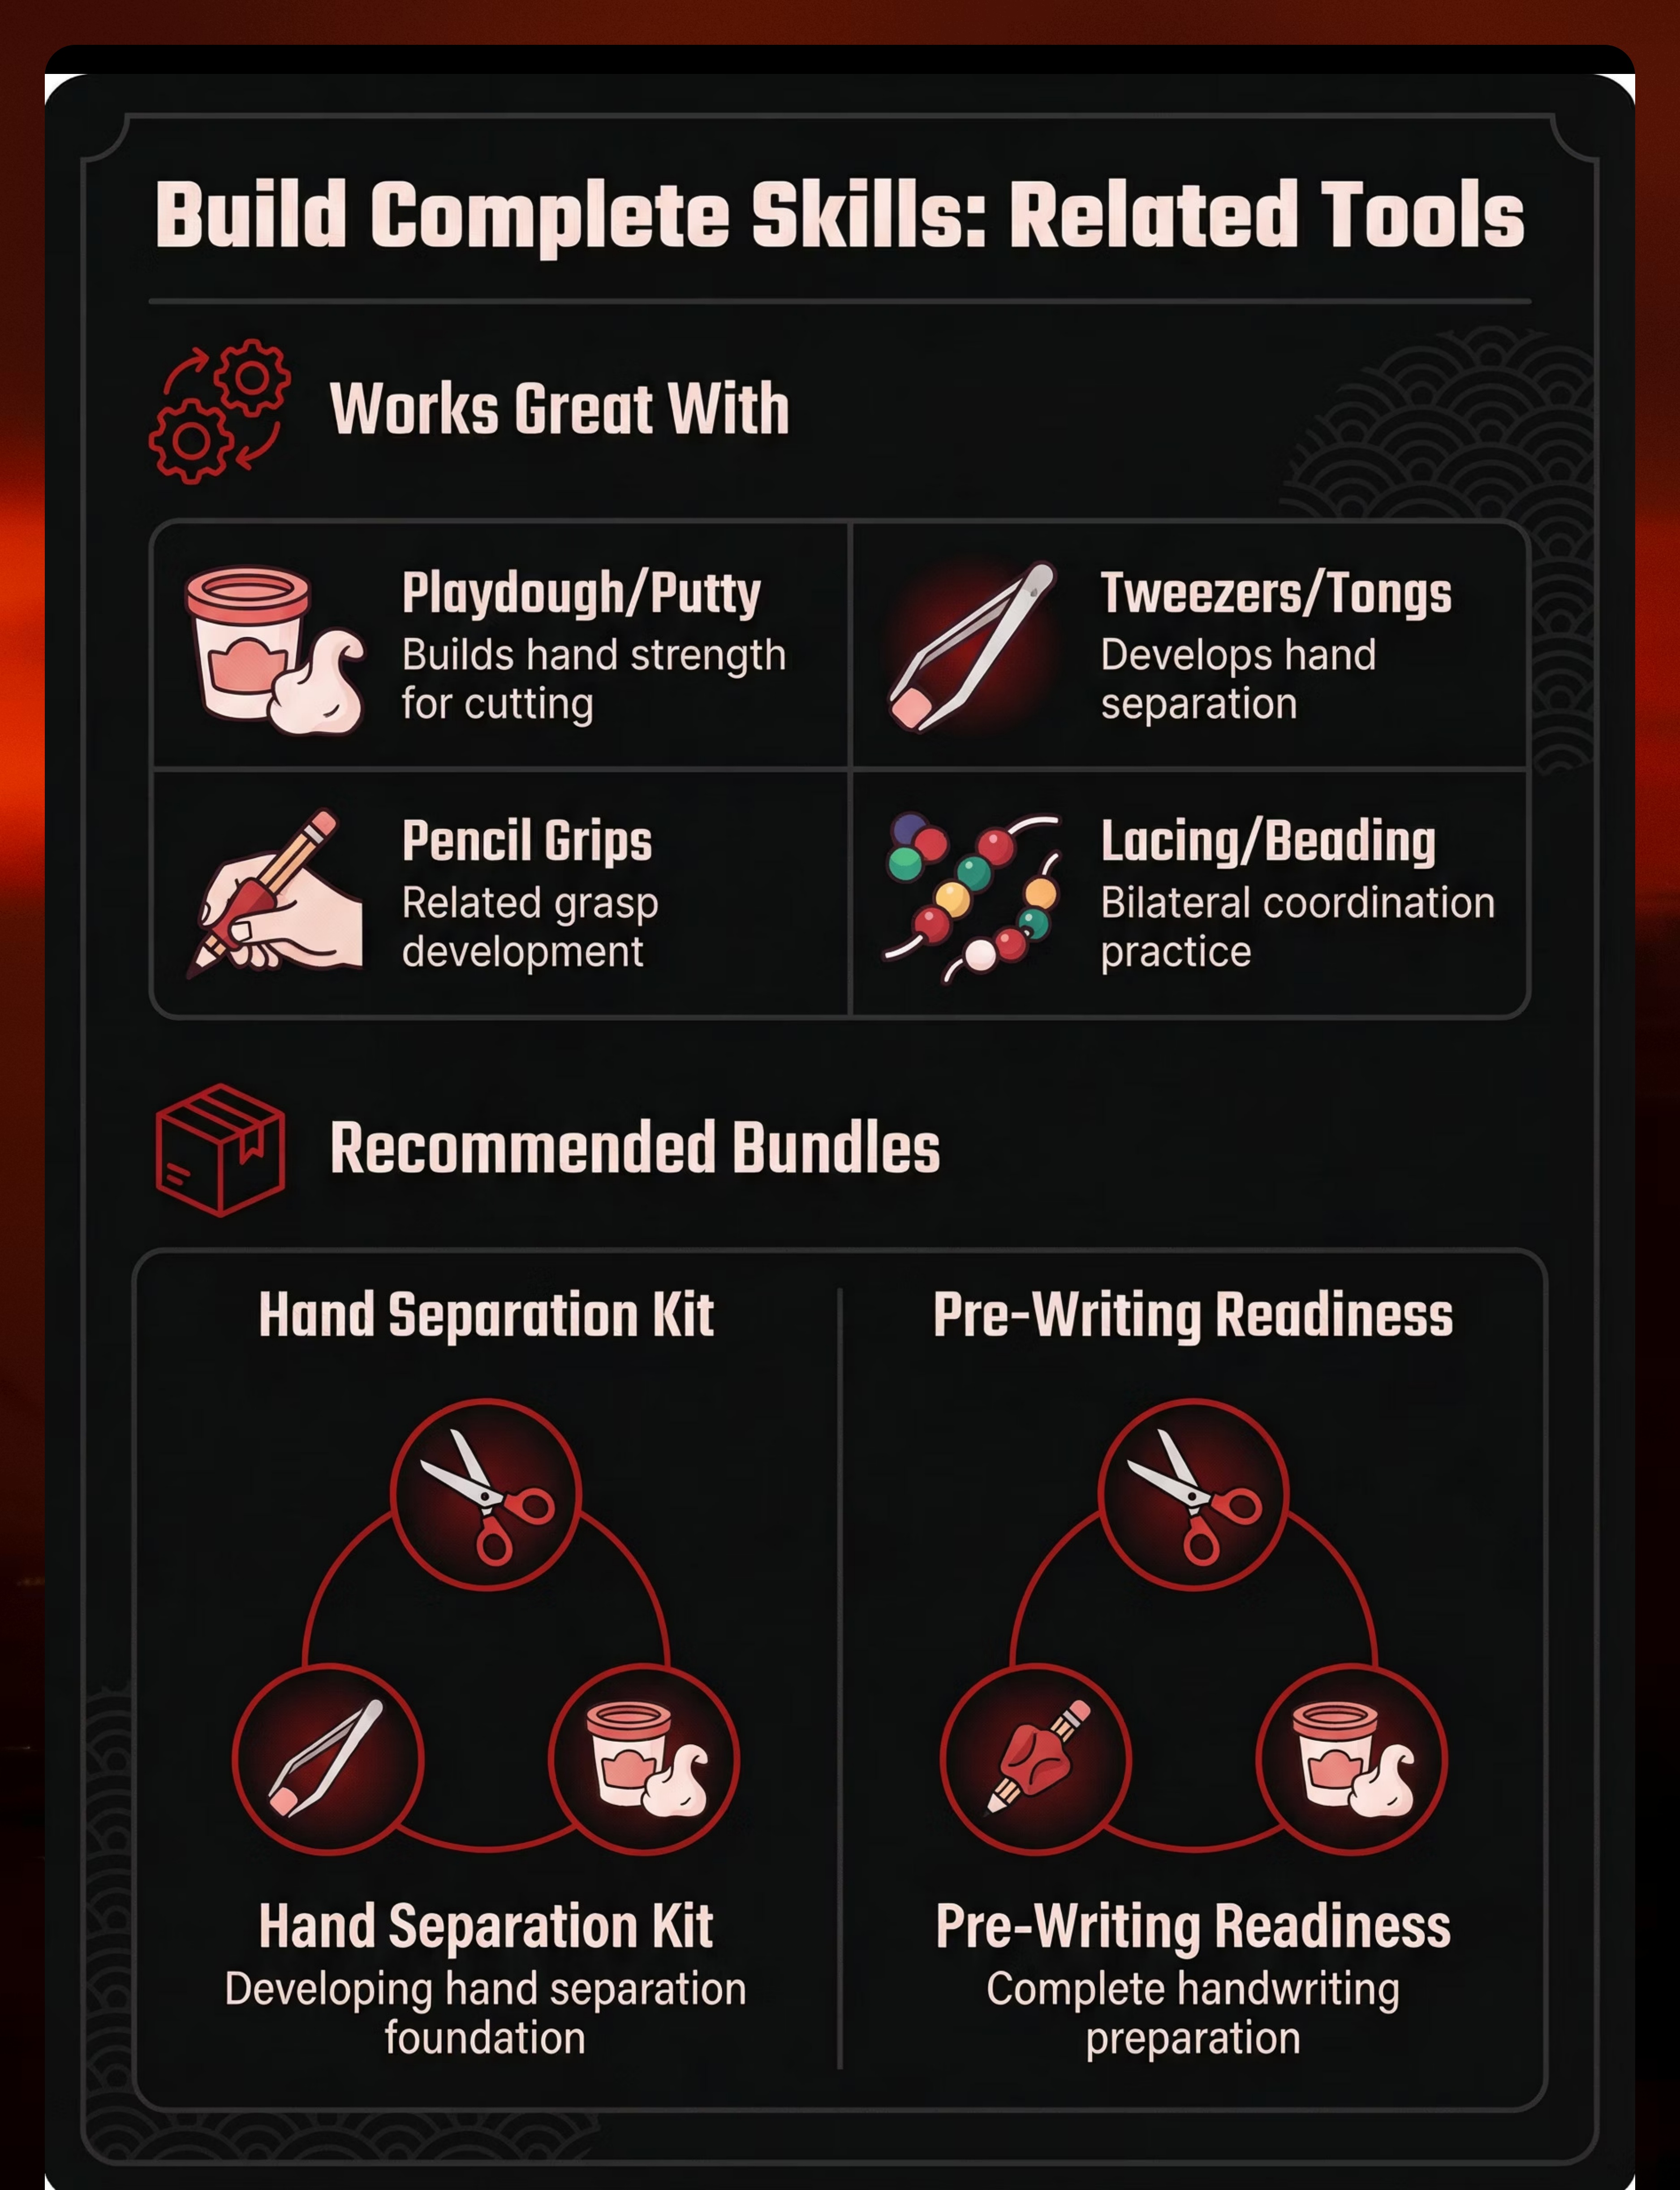
Key Materials
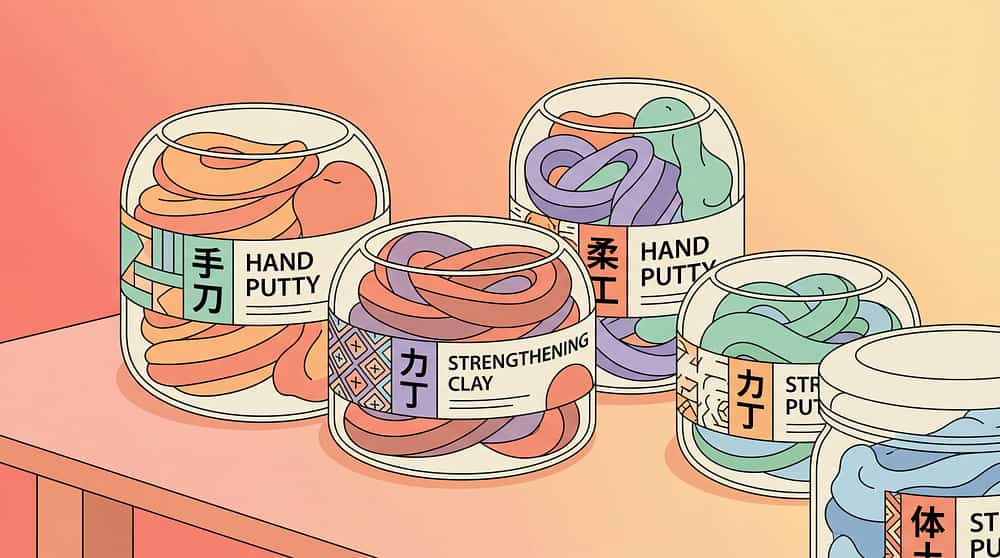
- Playdough and manipulation tools
- Lacing and threading activities
- Tweezers, tongs, and pincer tools
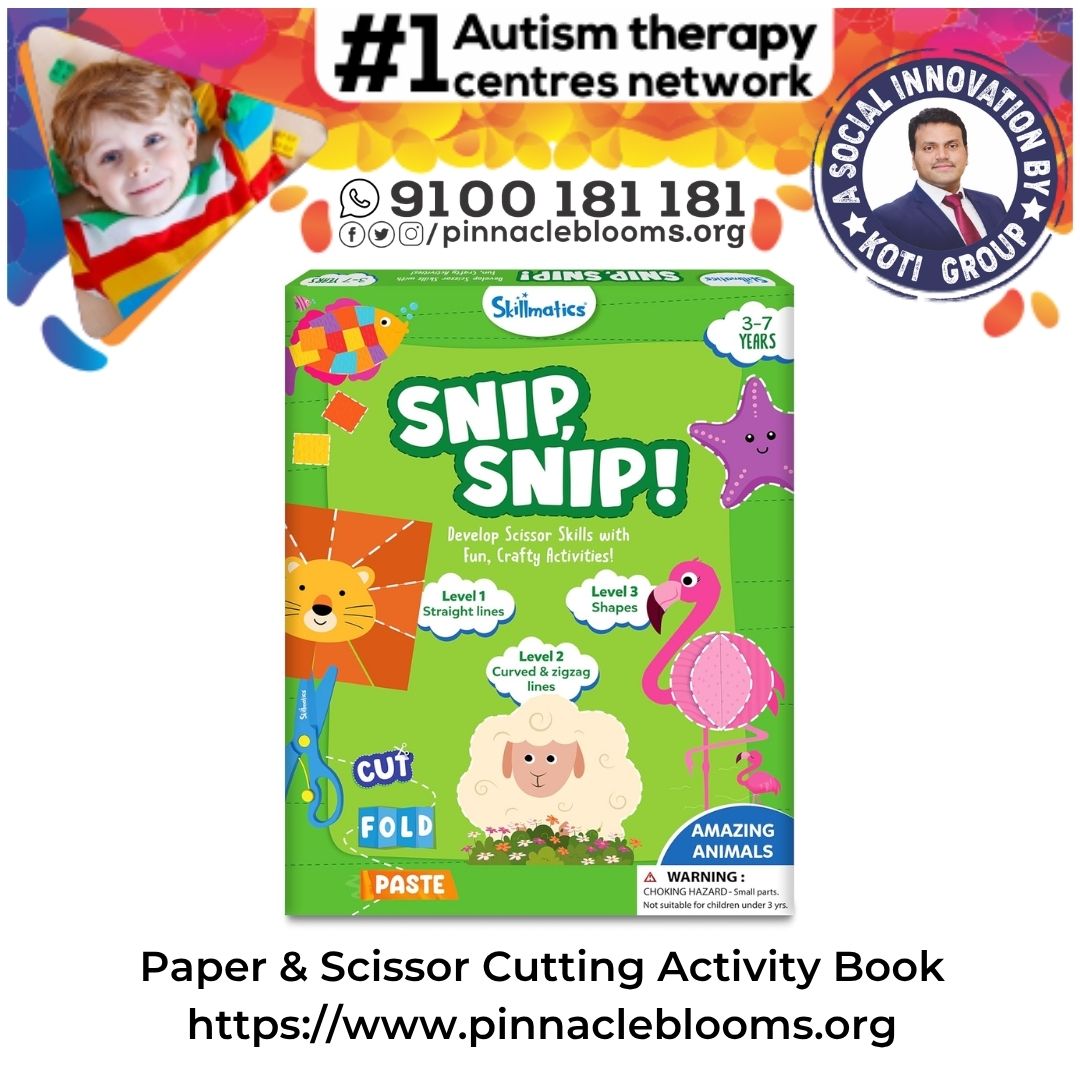
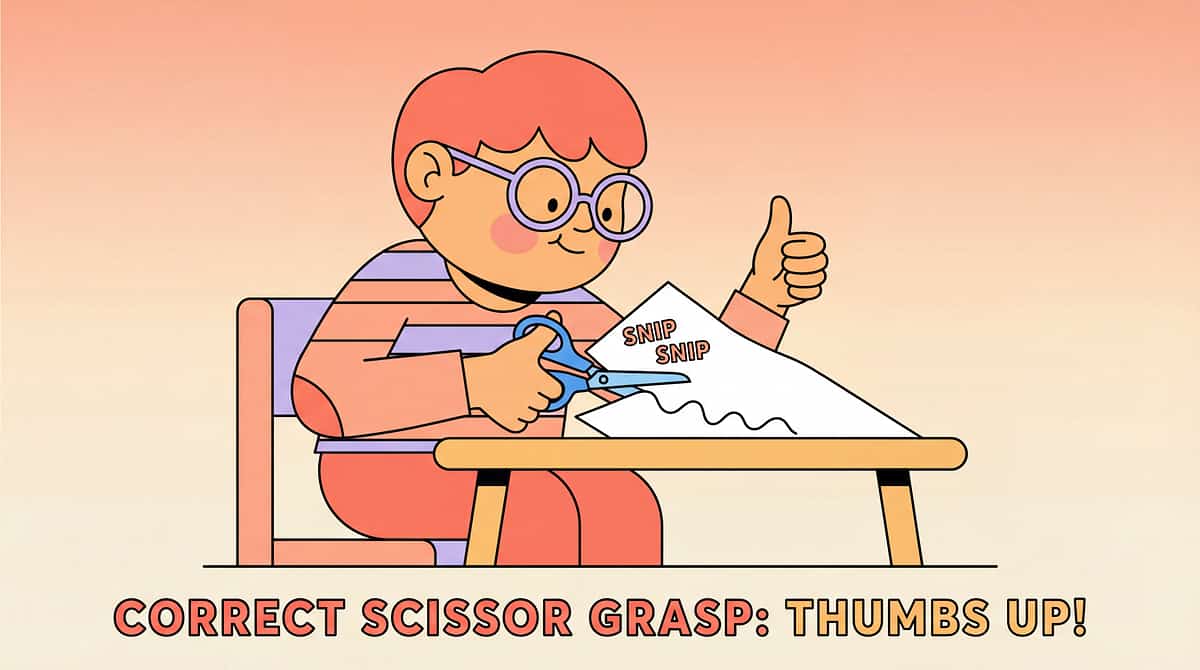
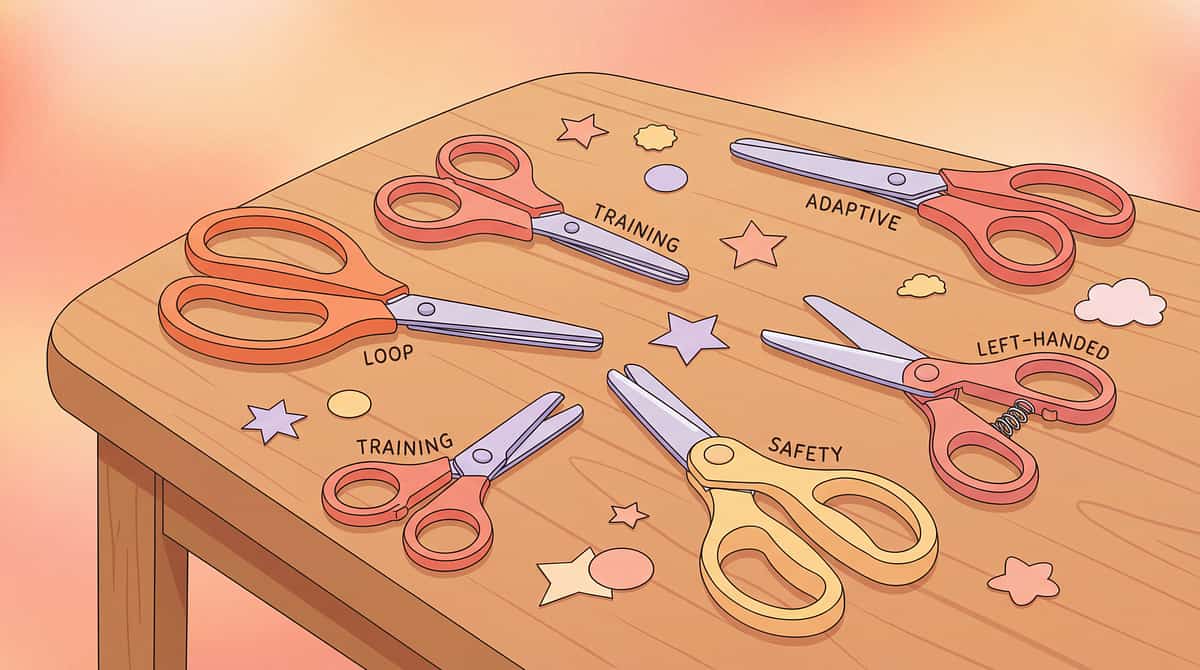
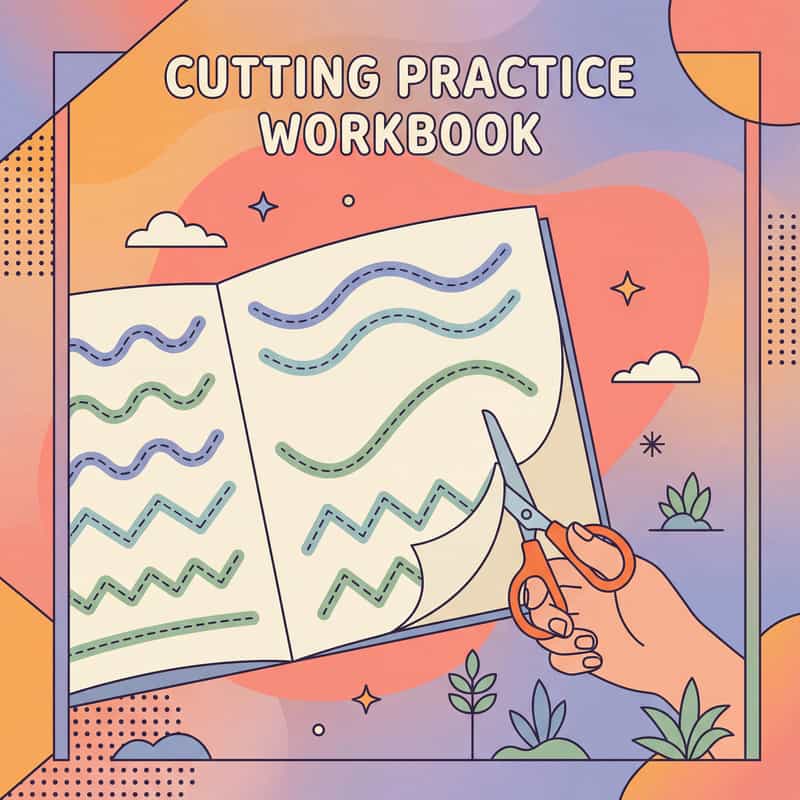
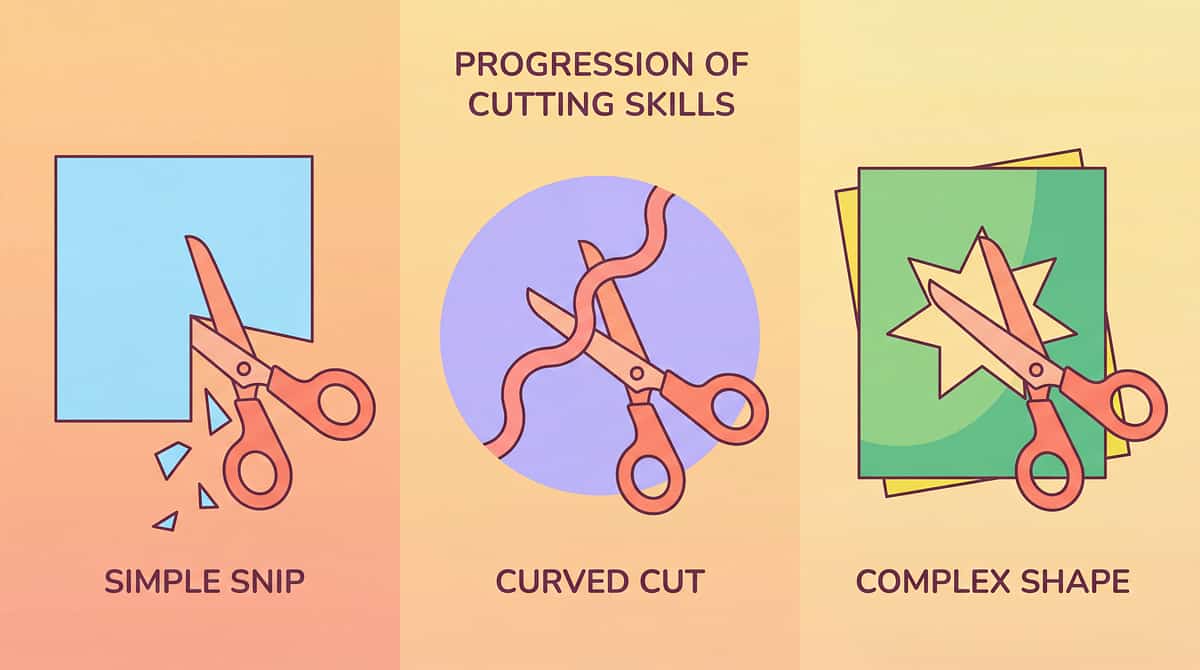
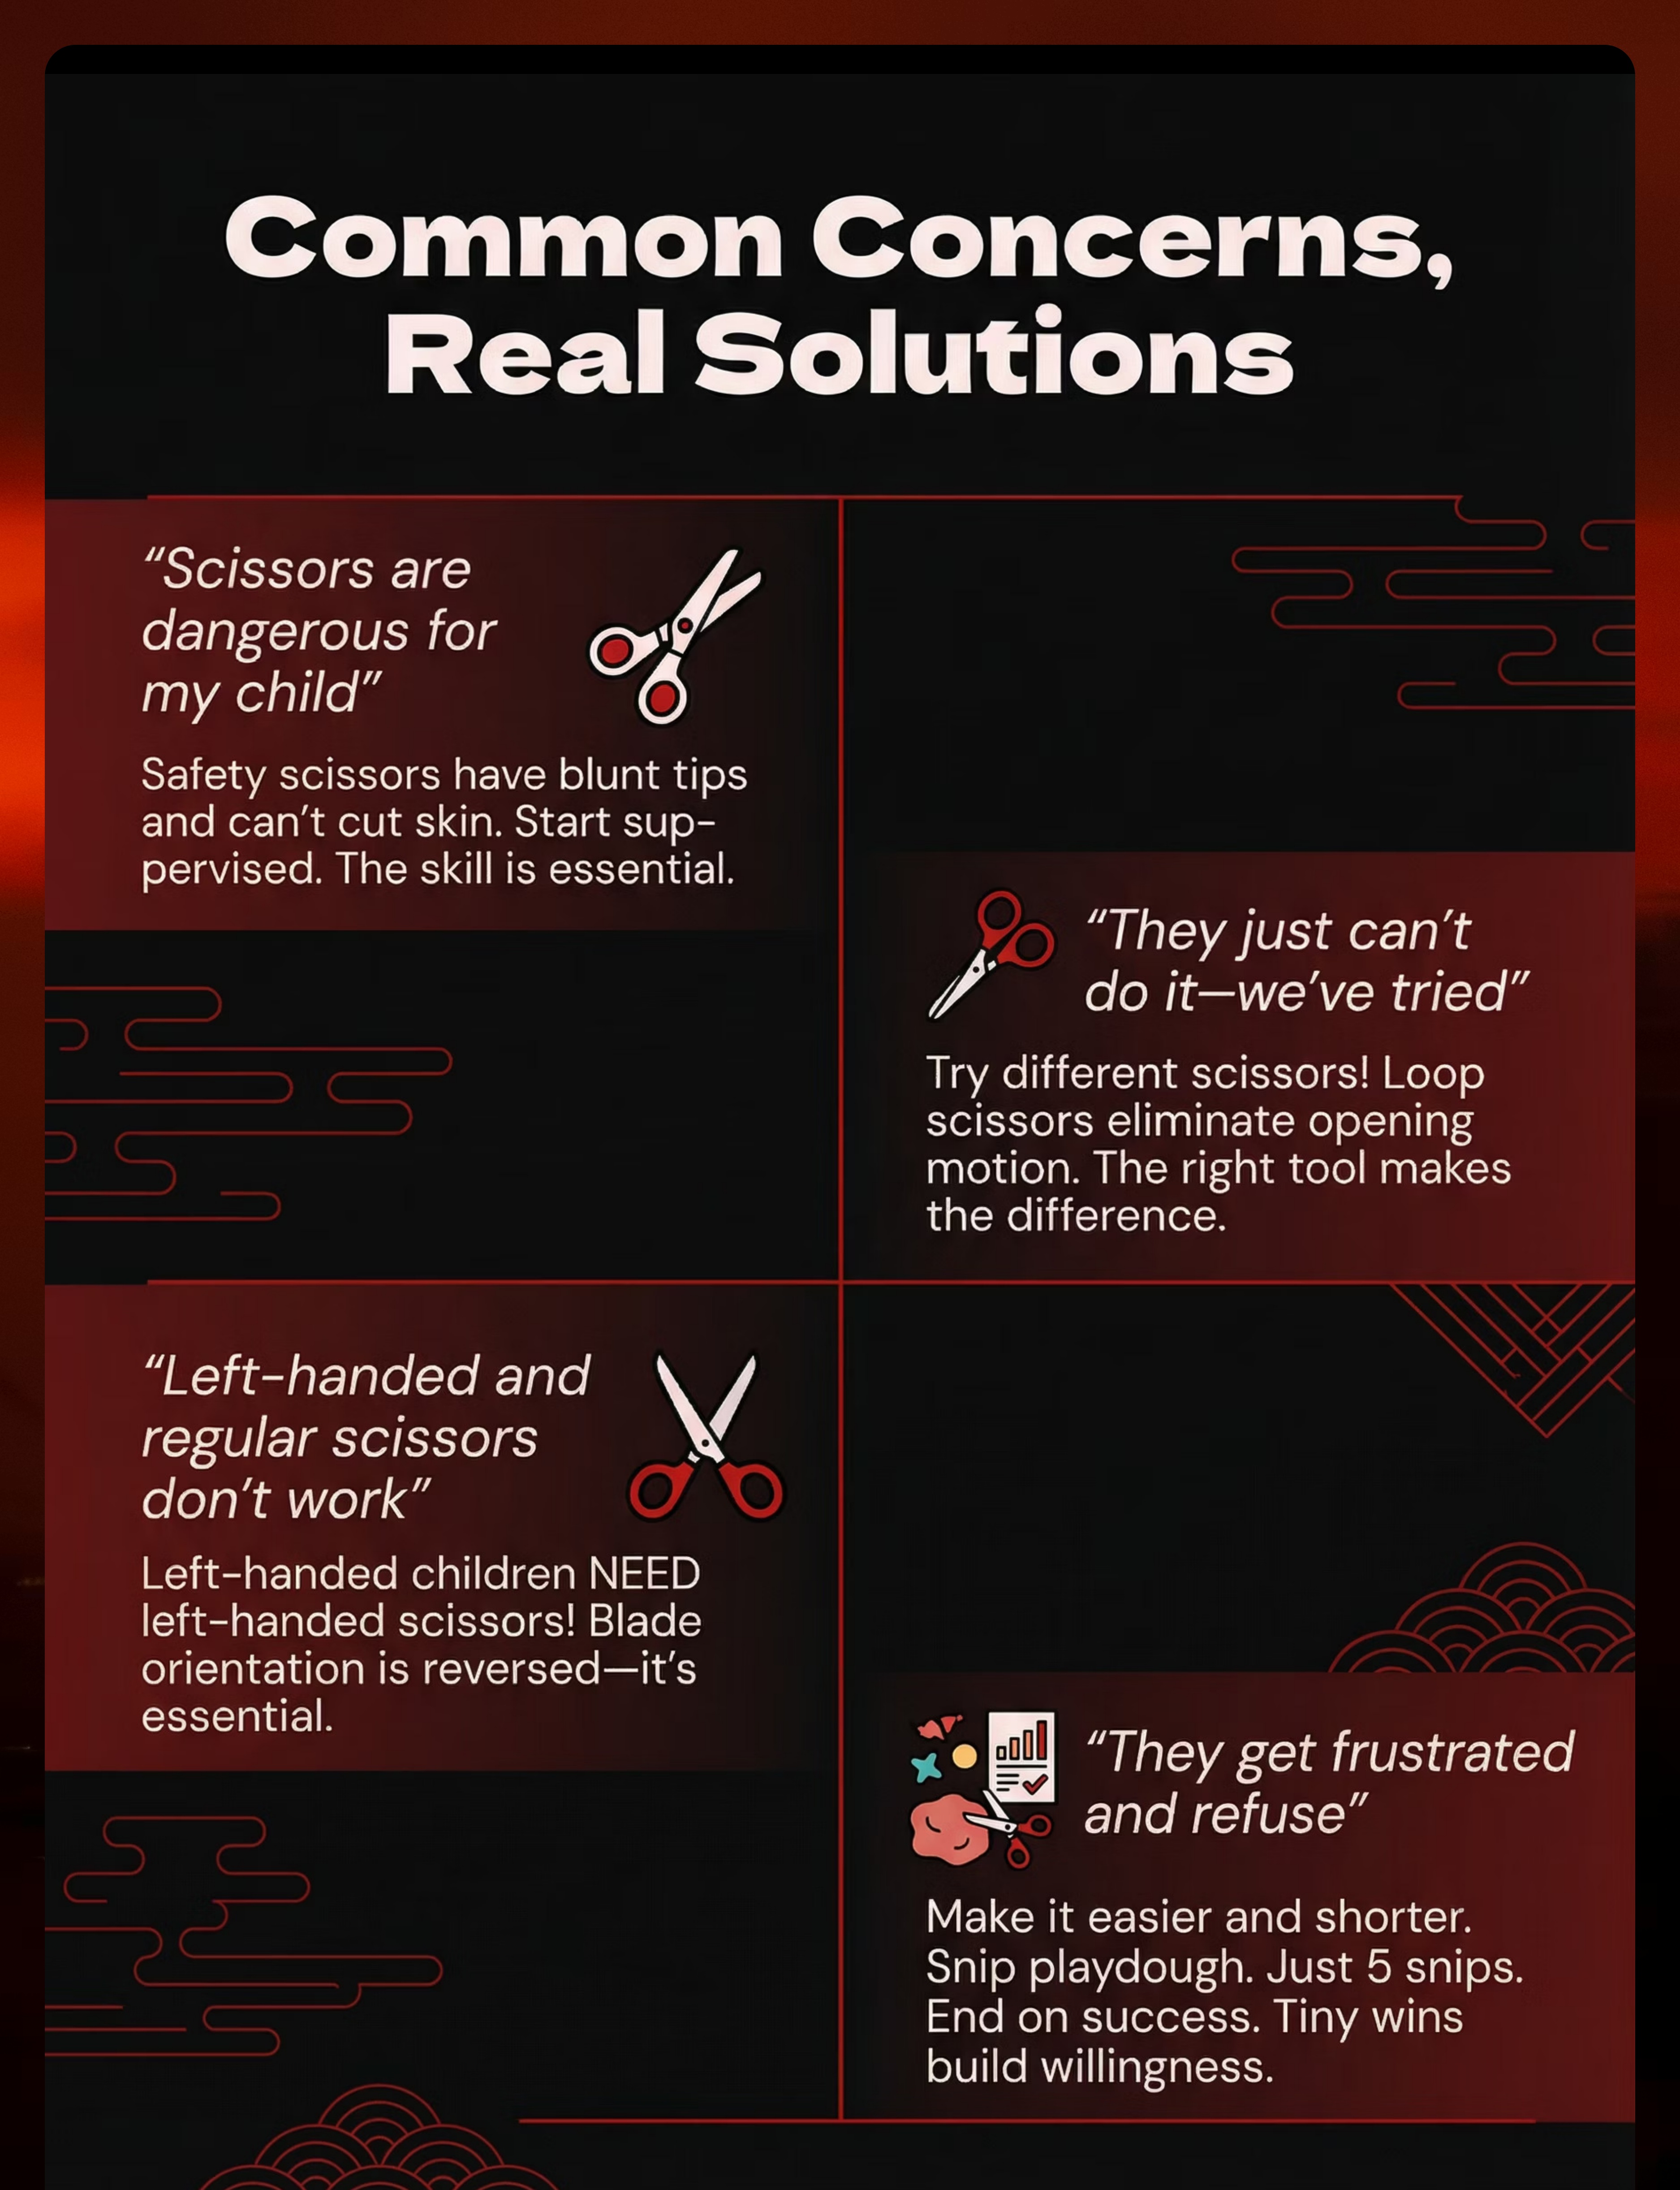
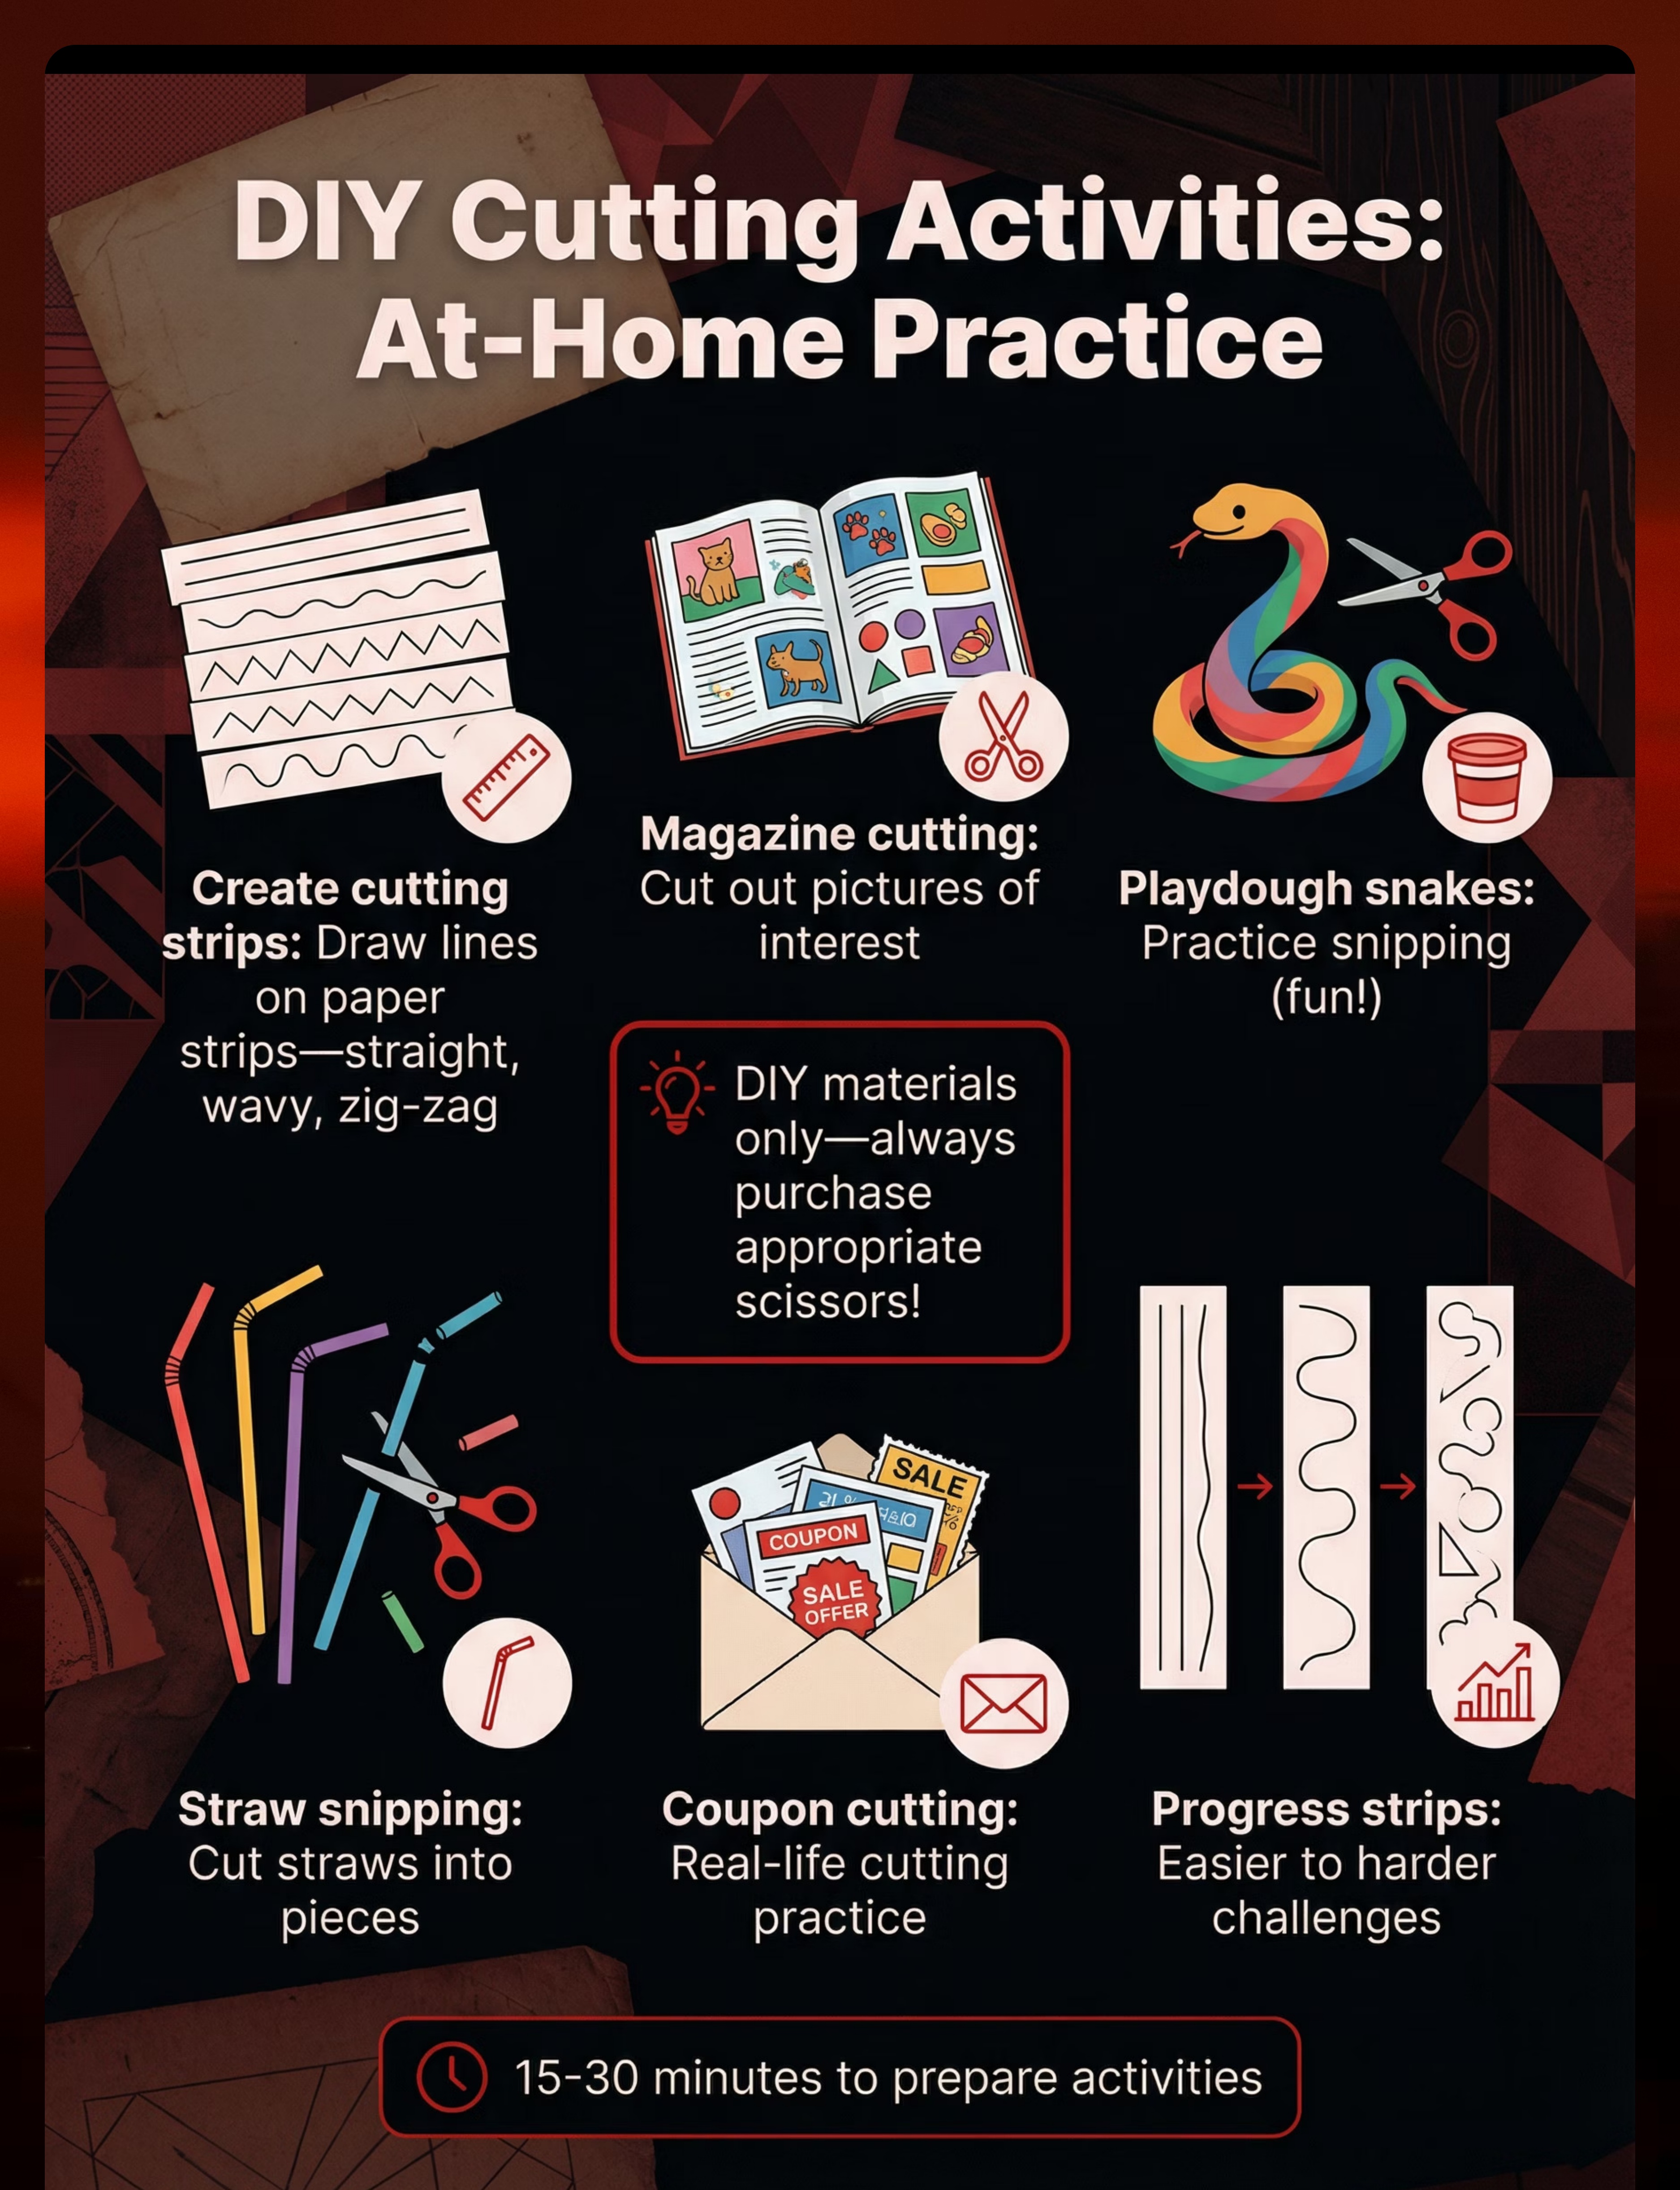
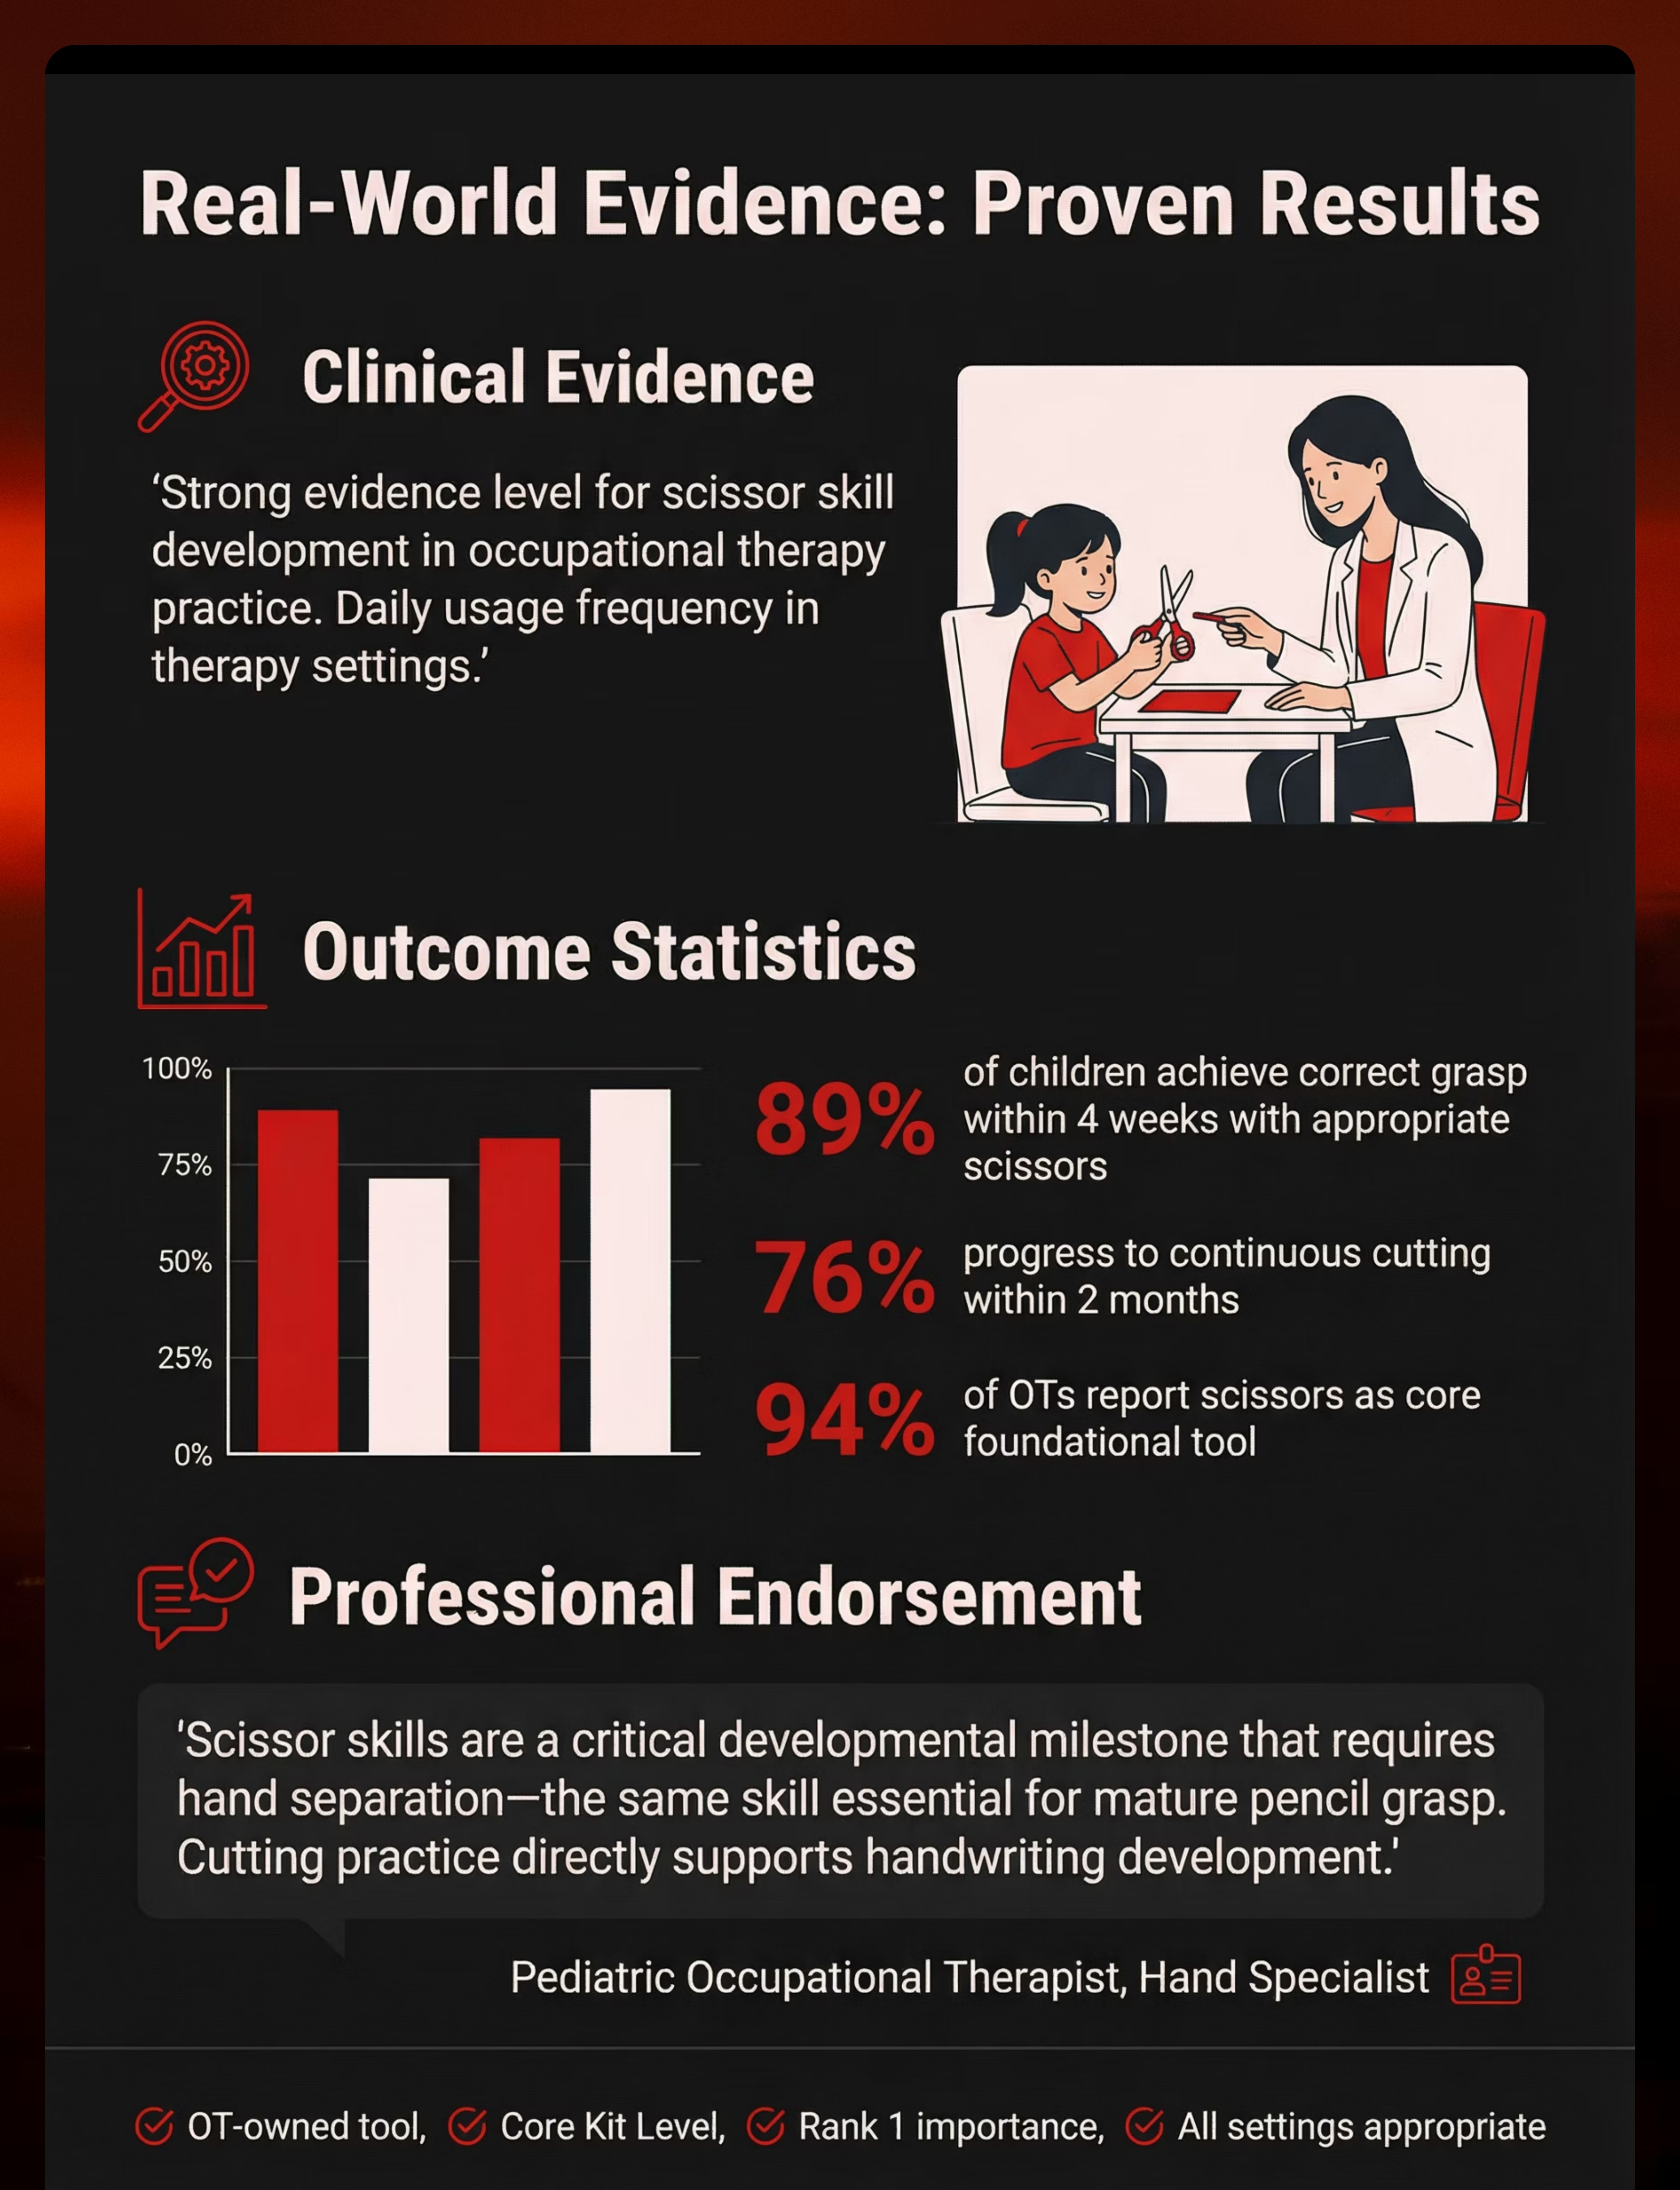
- Scissor skills activities
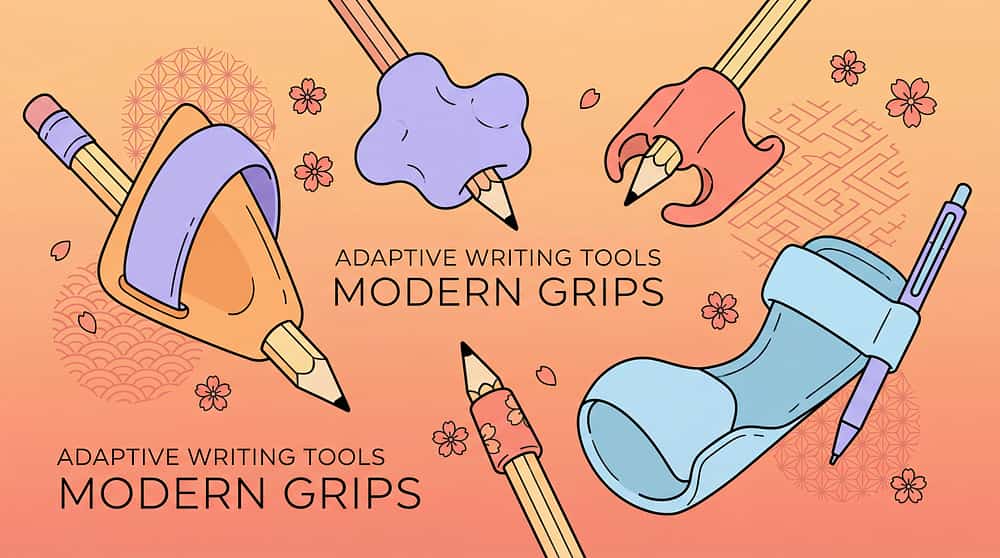
- Pre-writing and handwriting tools
Target Areas
- Fine motor skills
- Hand strength
- Dexterity
- Eye-hand coordination
- Pre-writing skills