


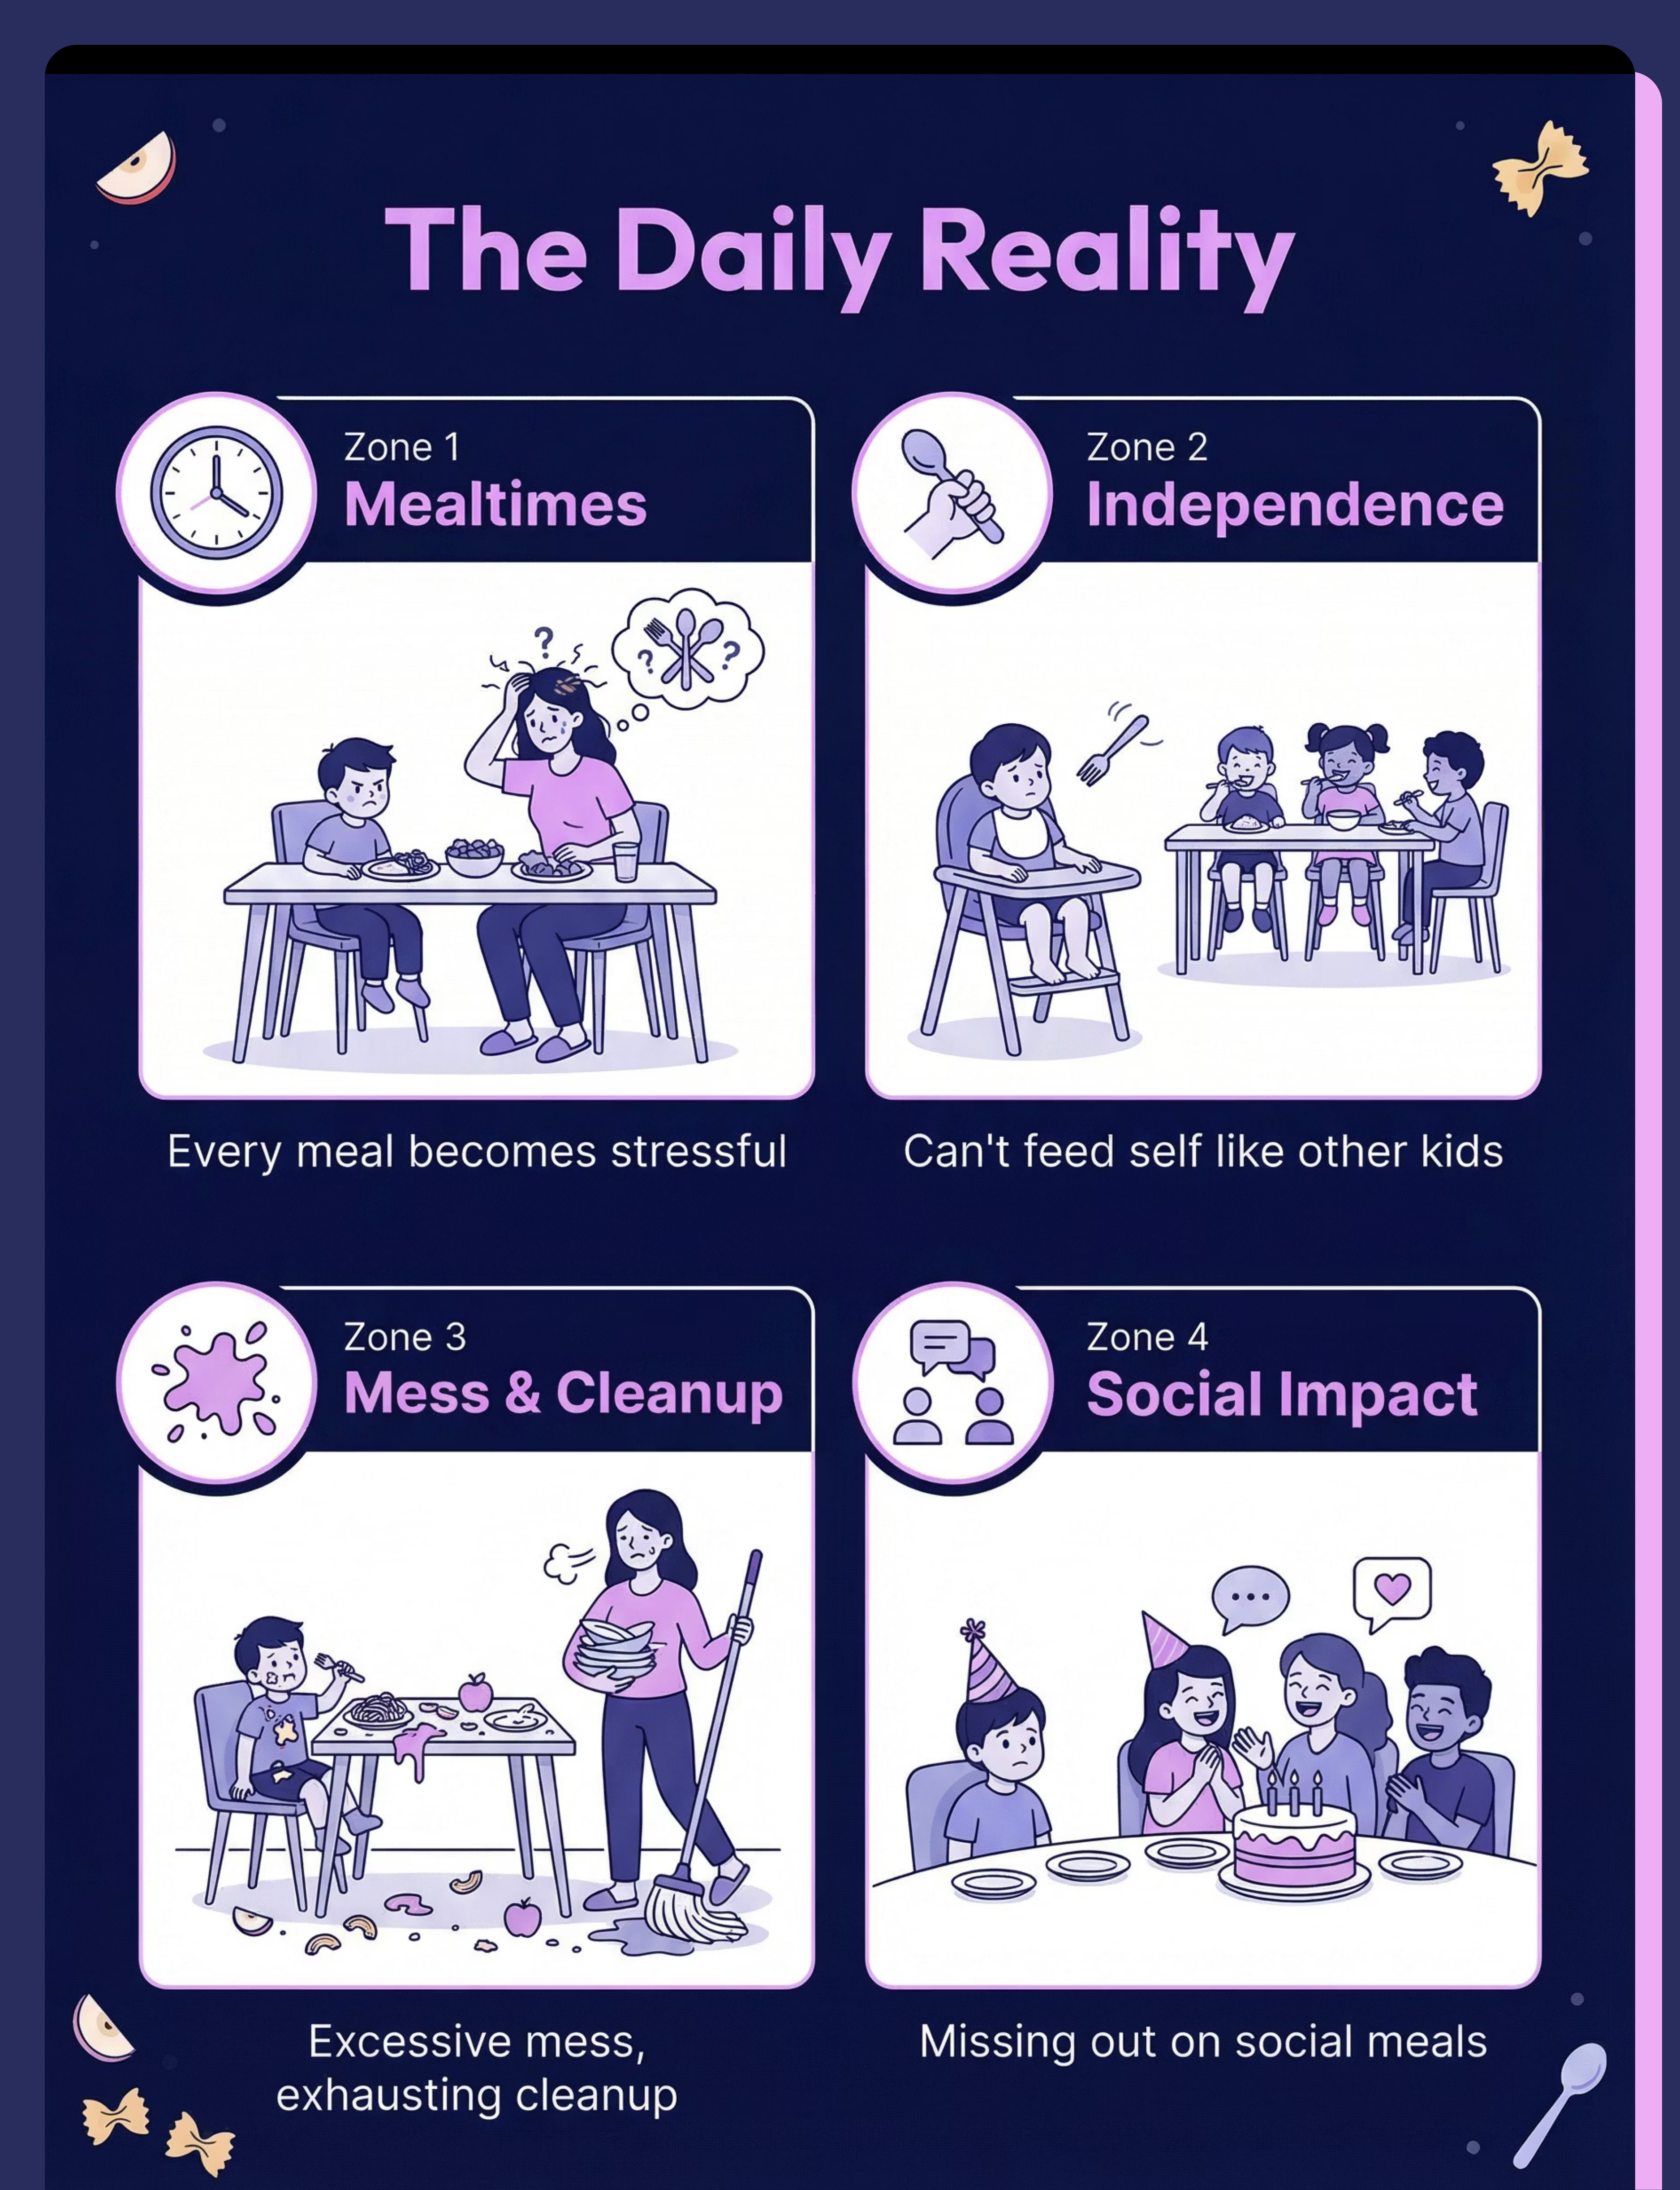
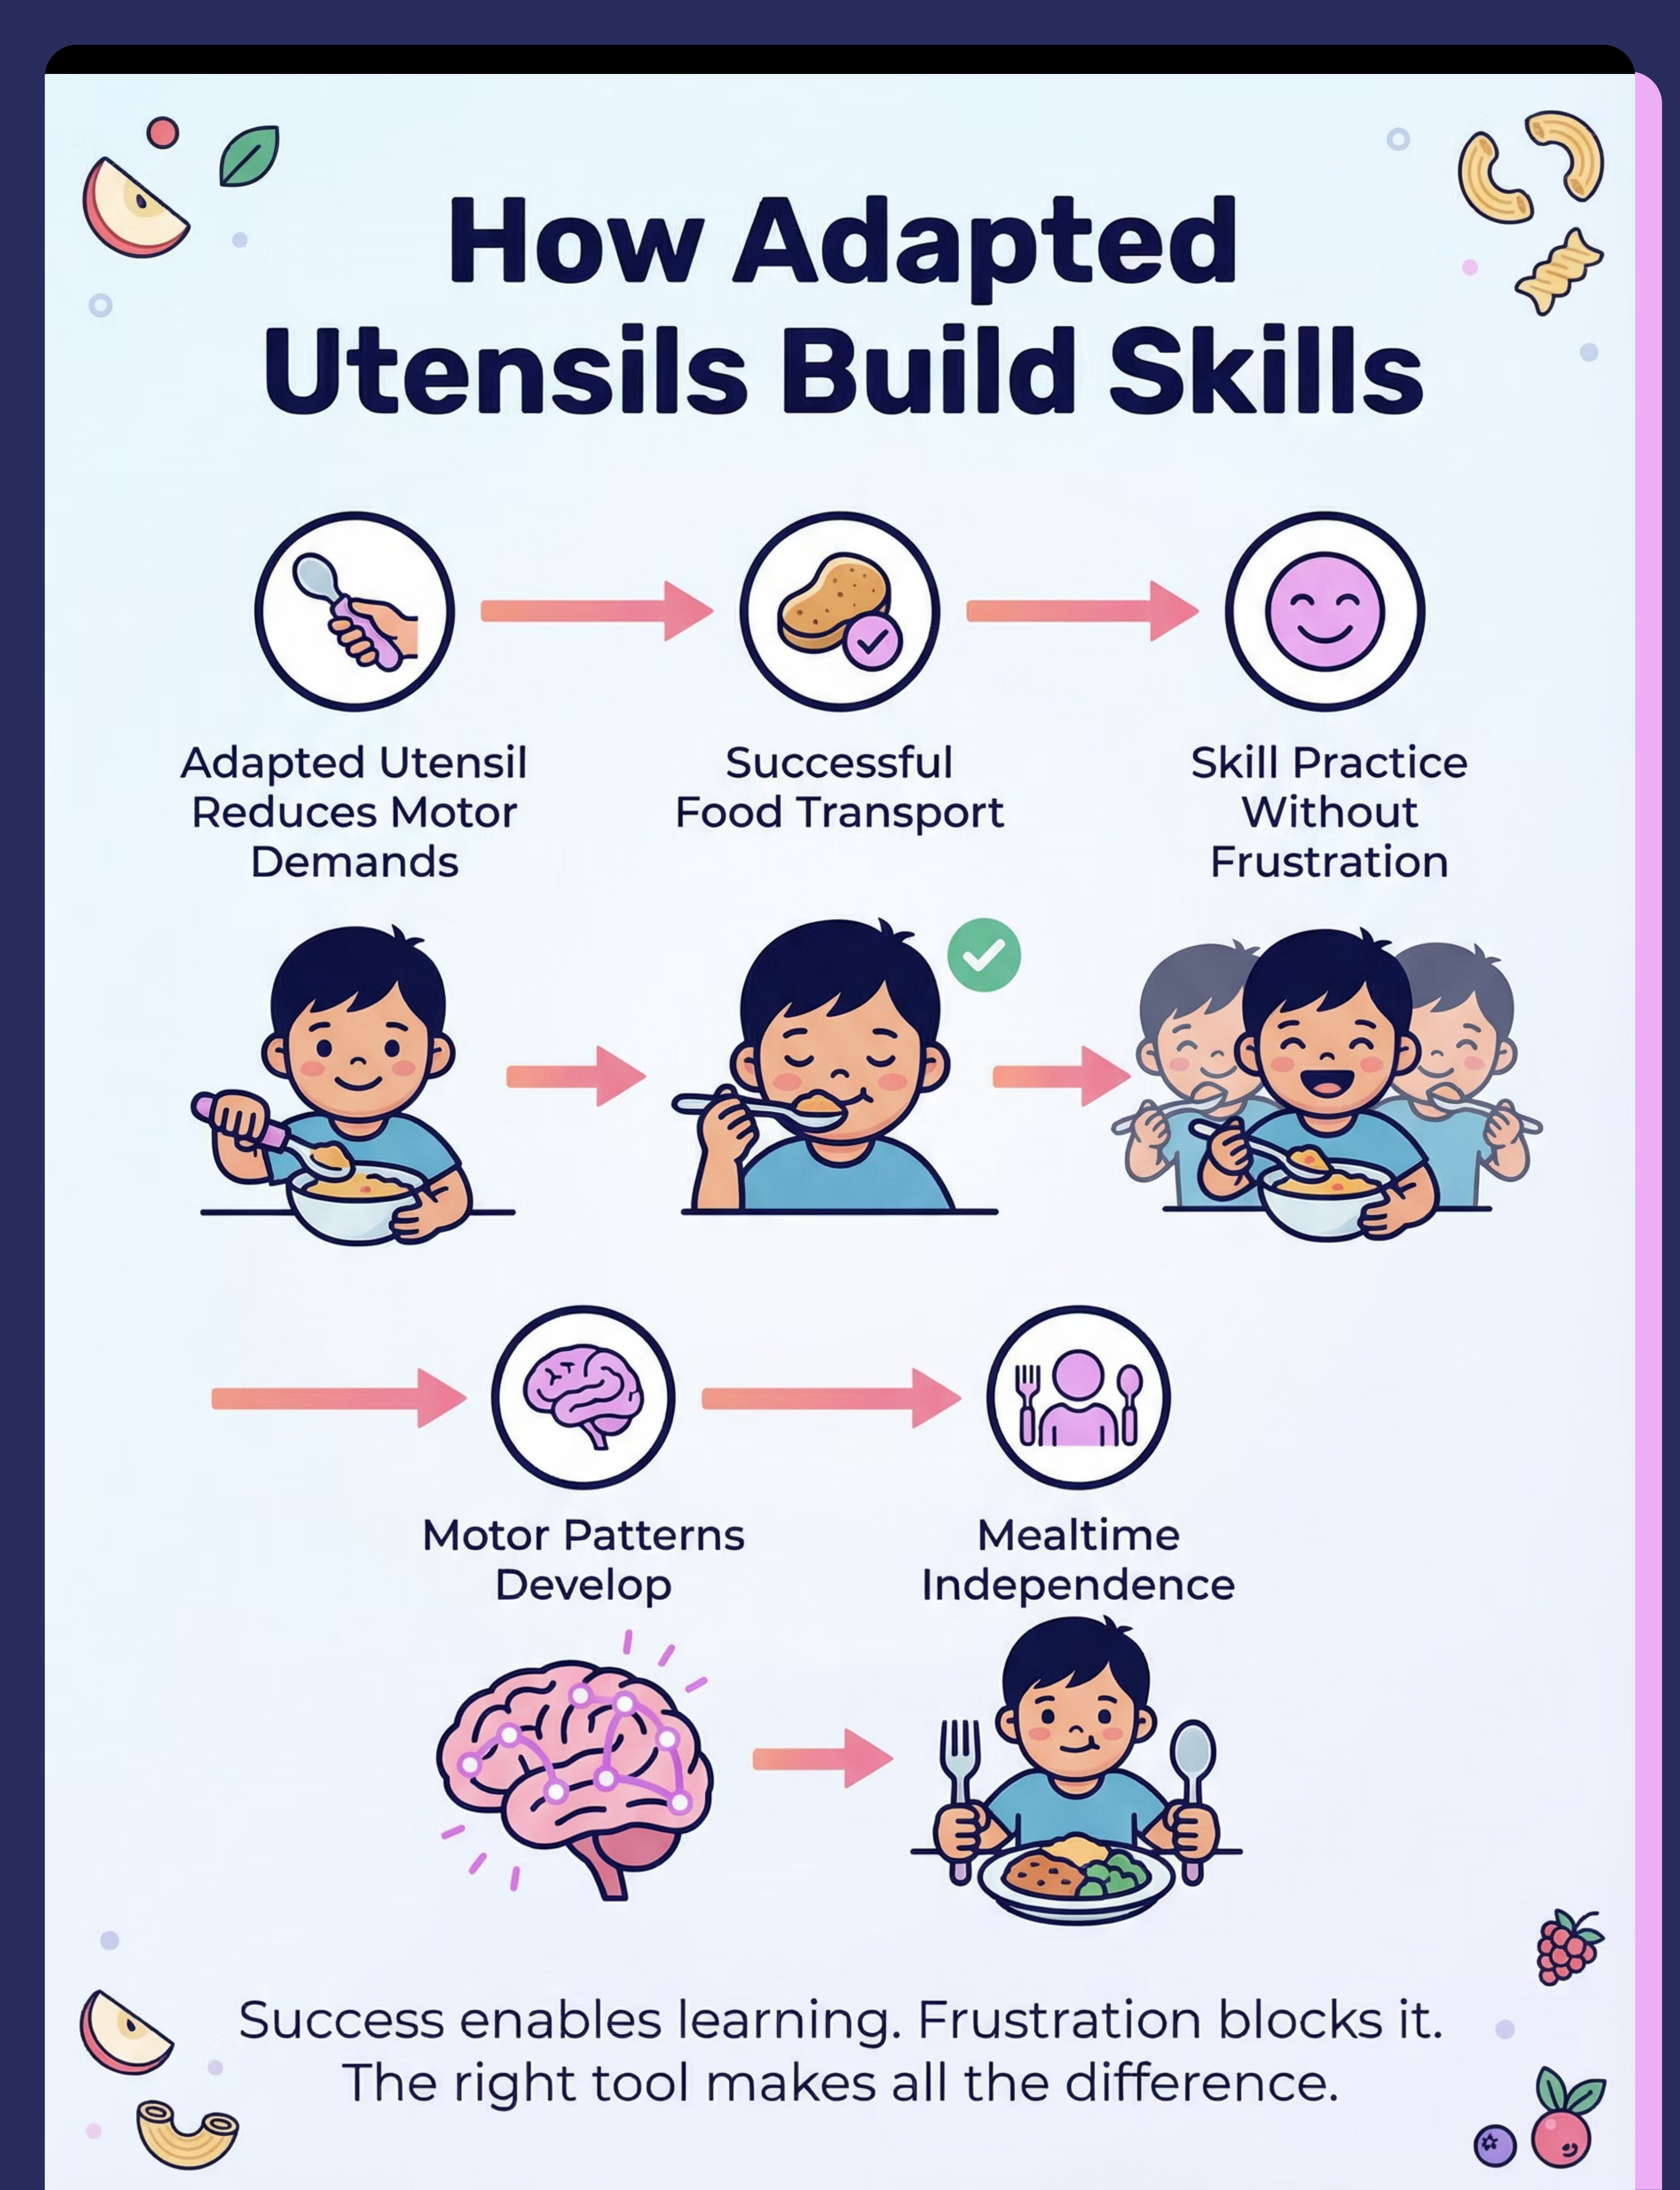
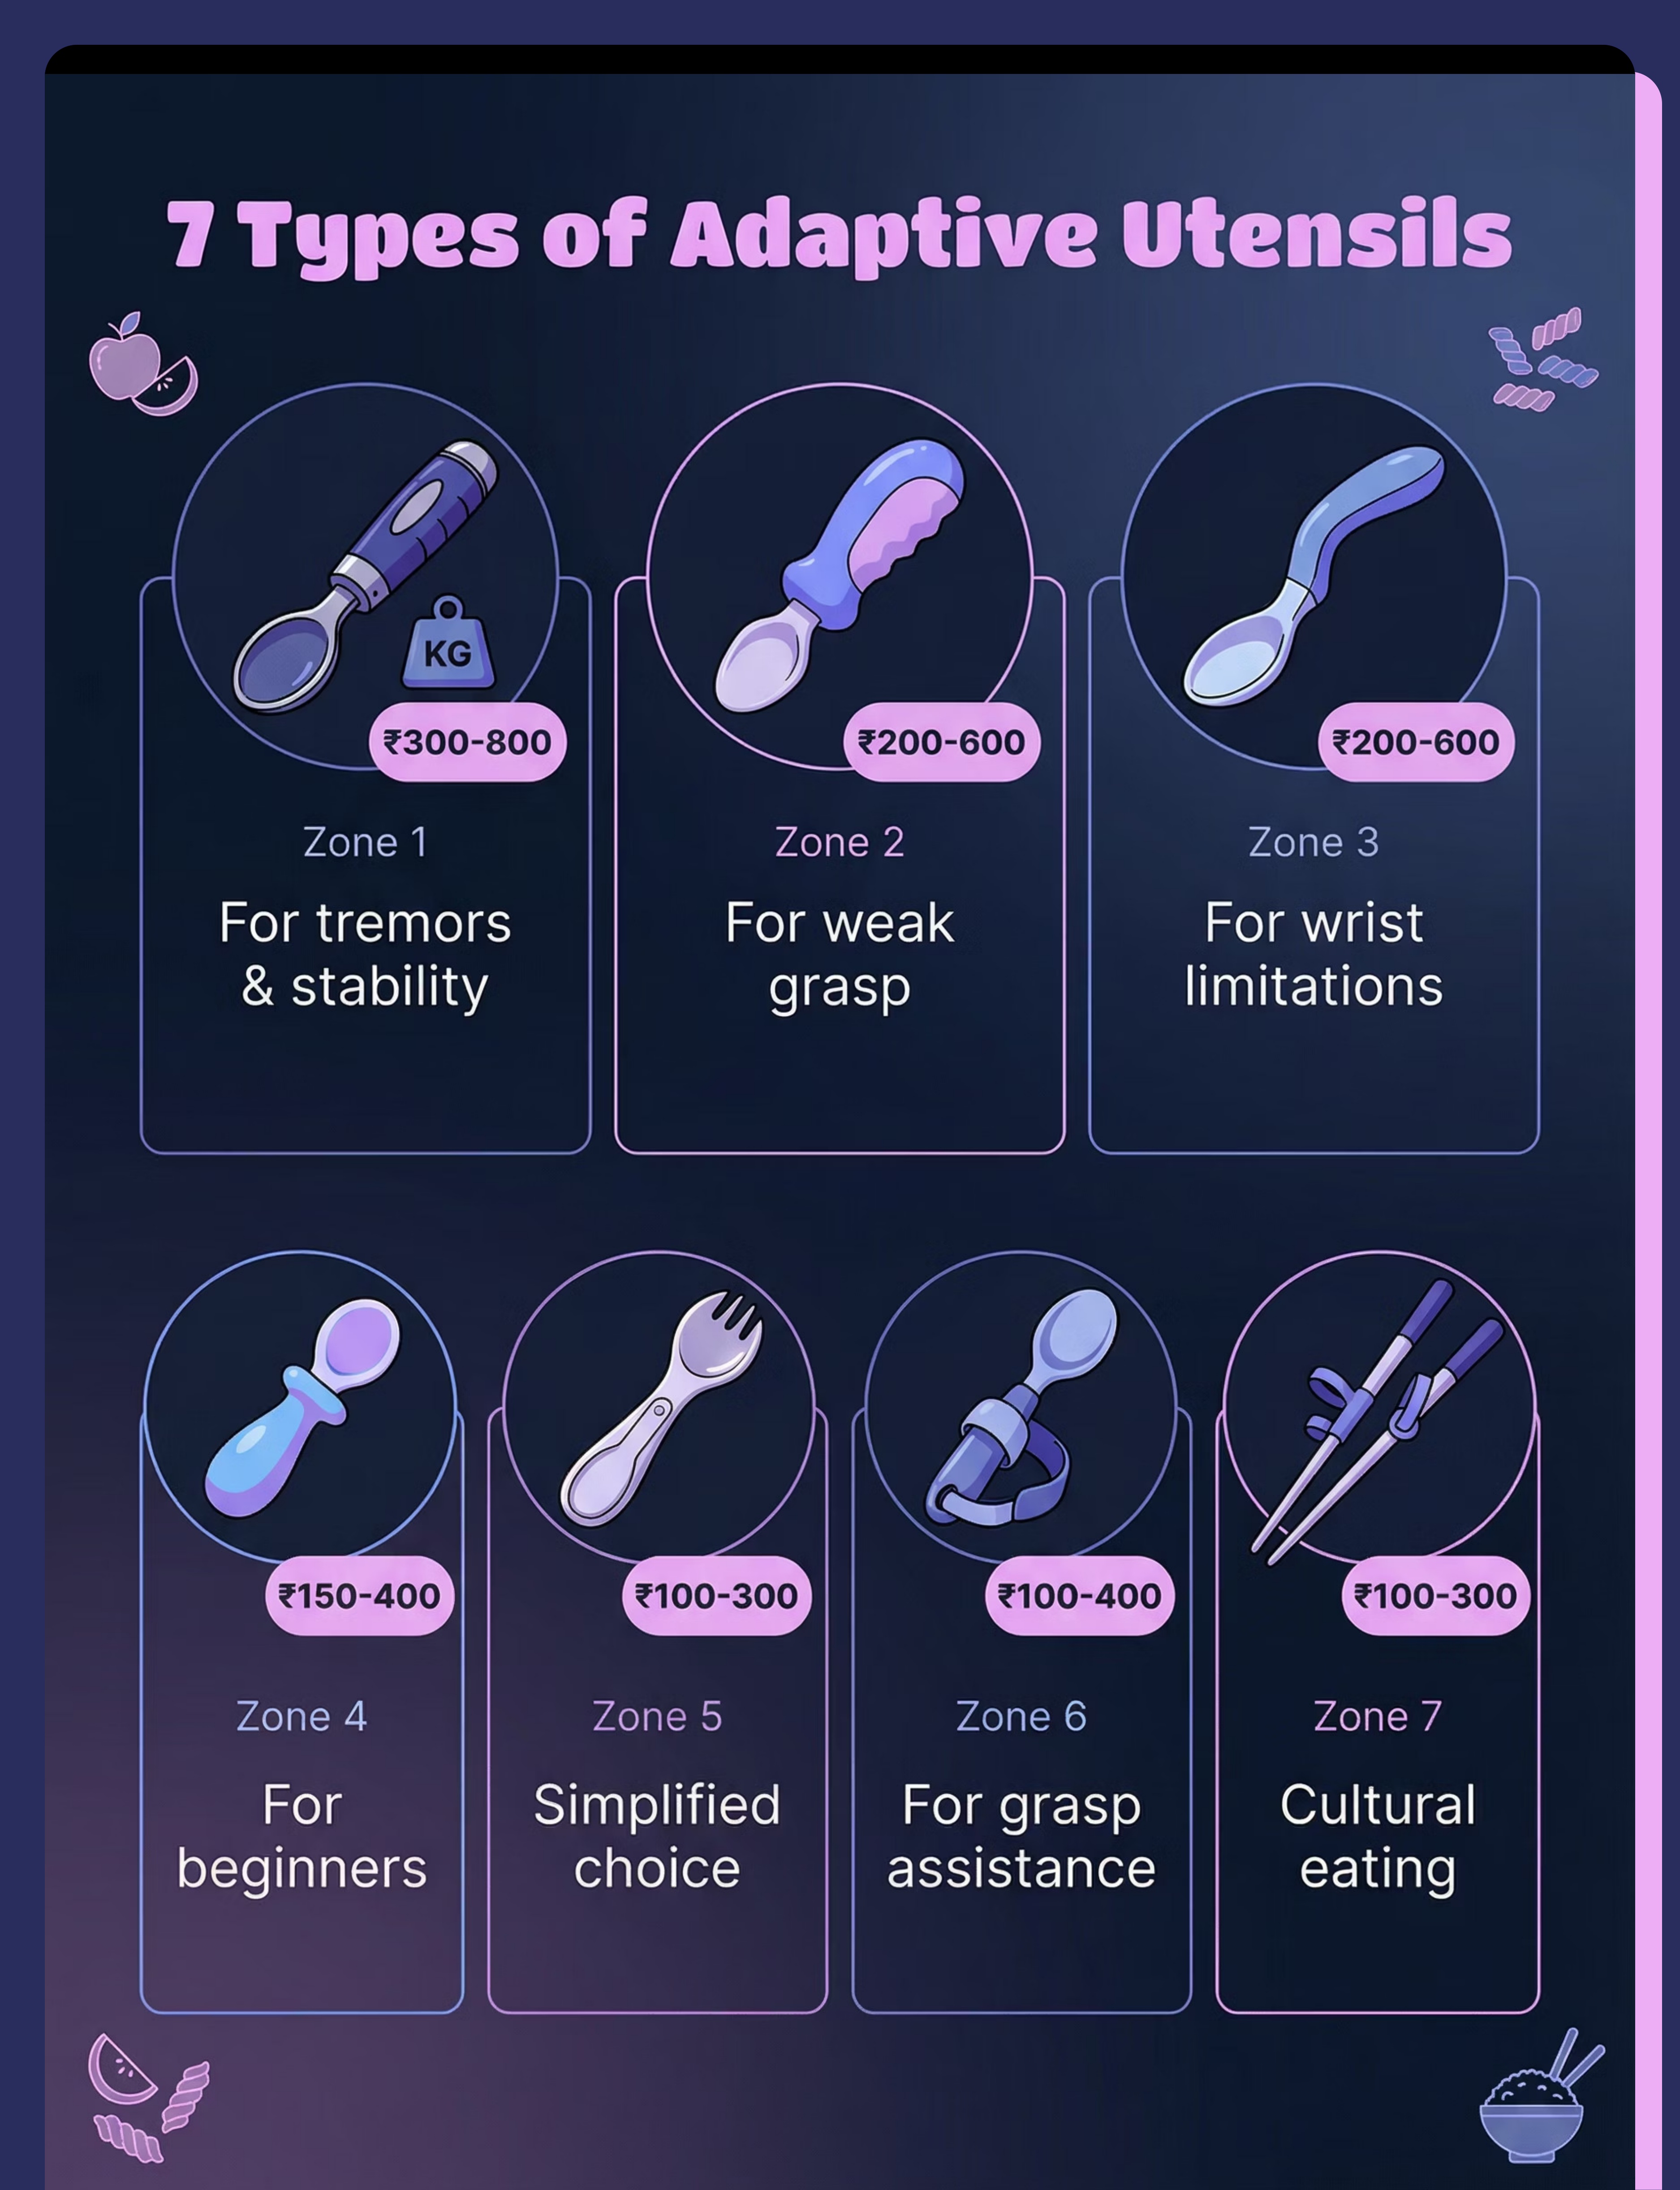
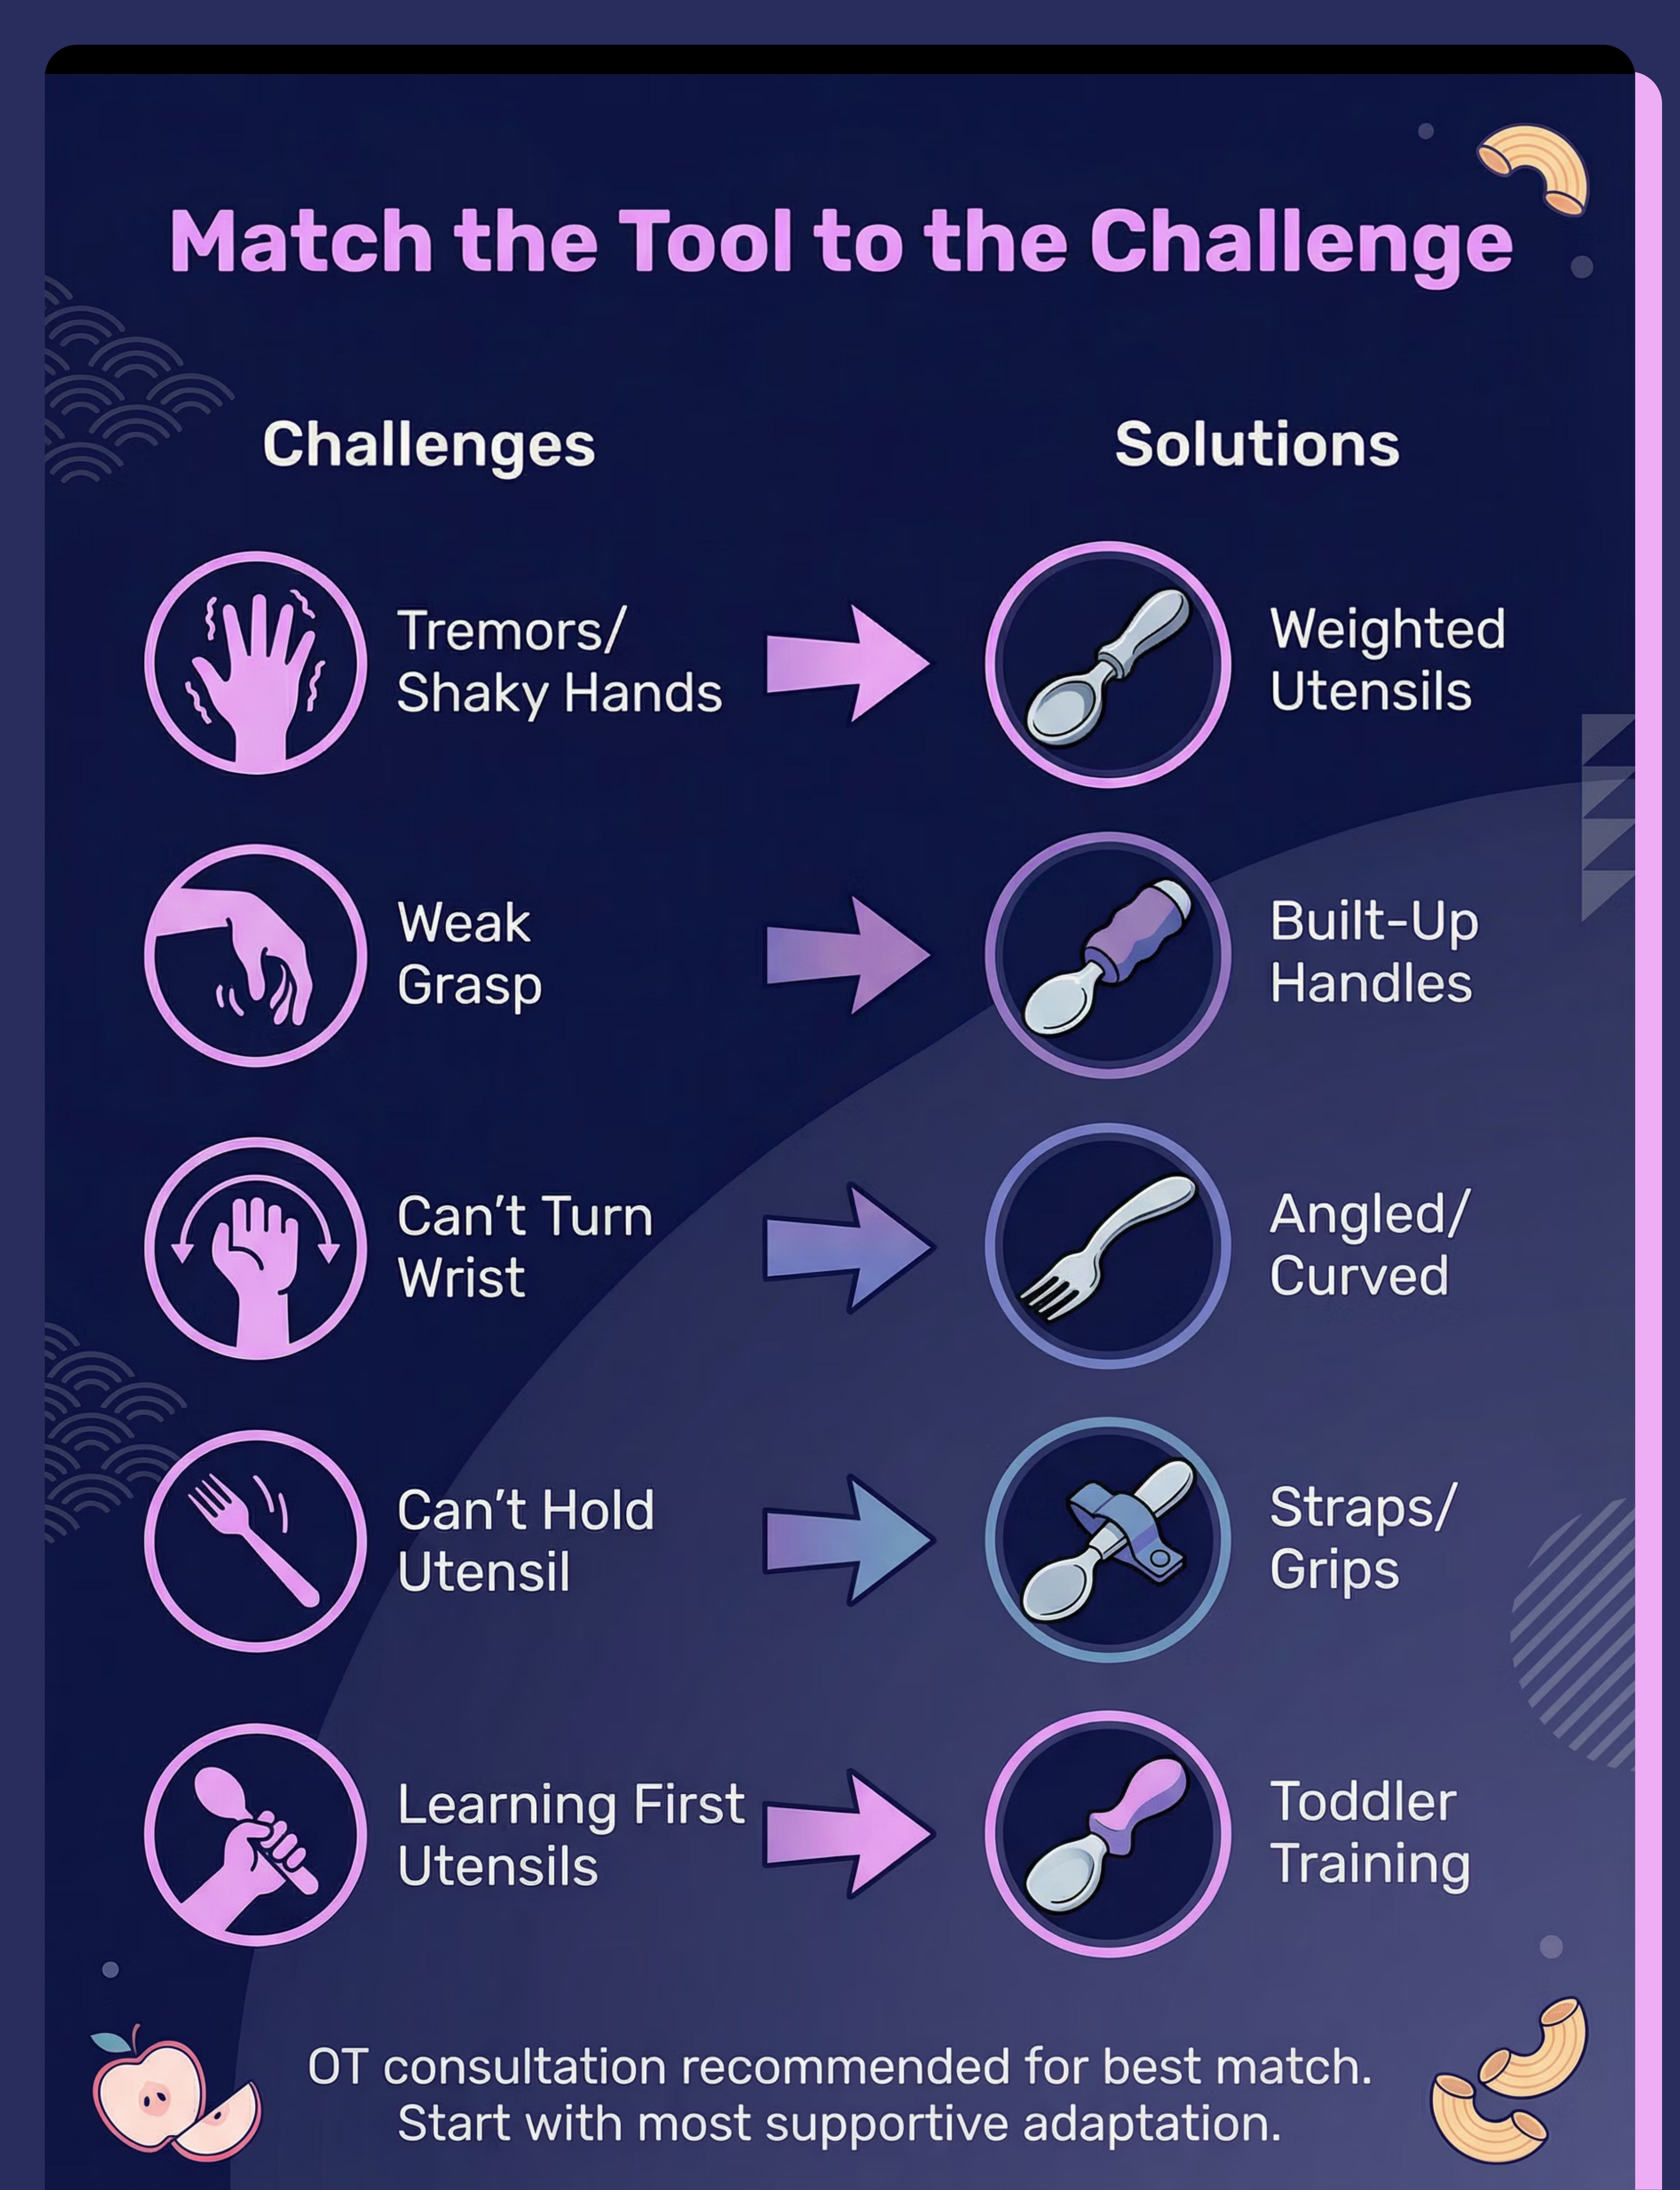
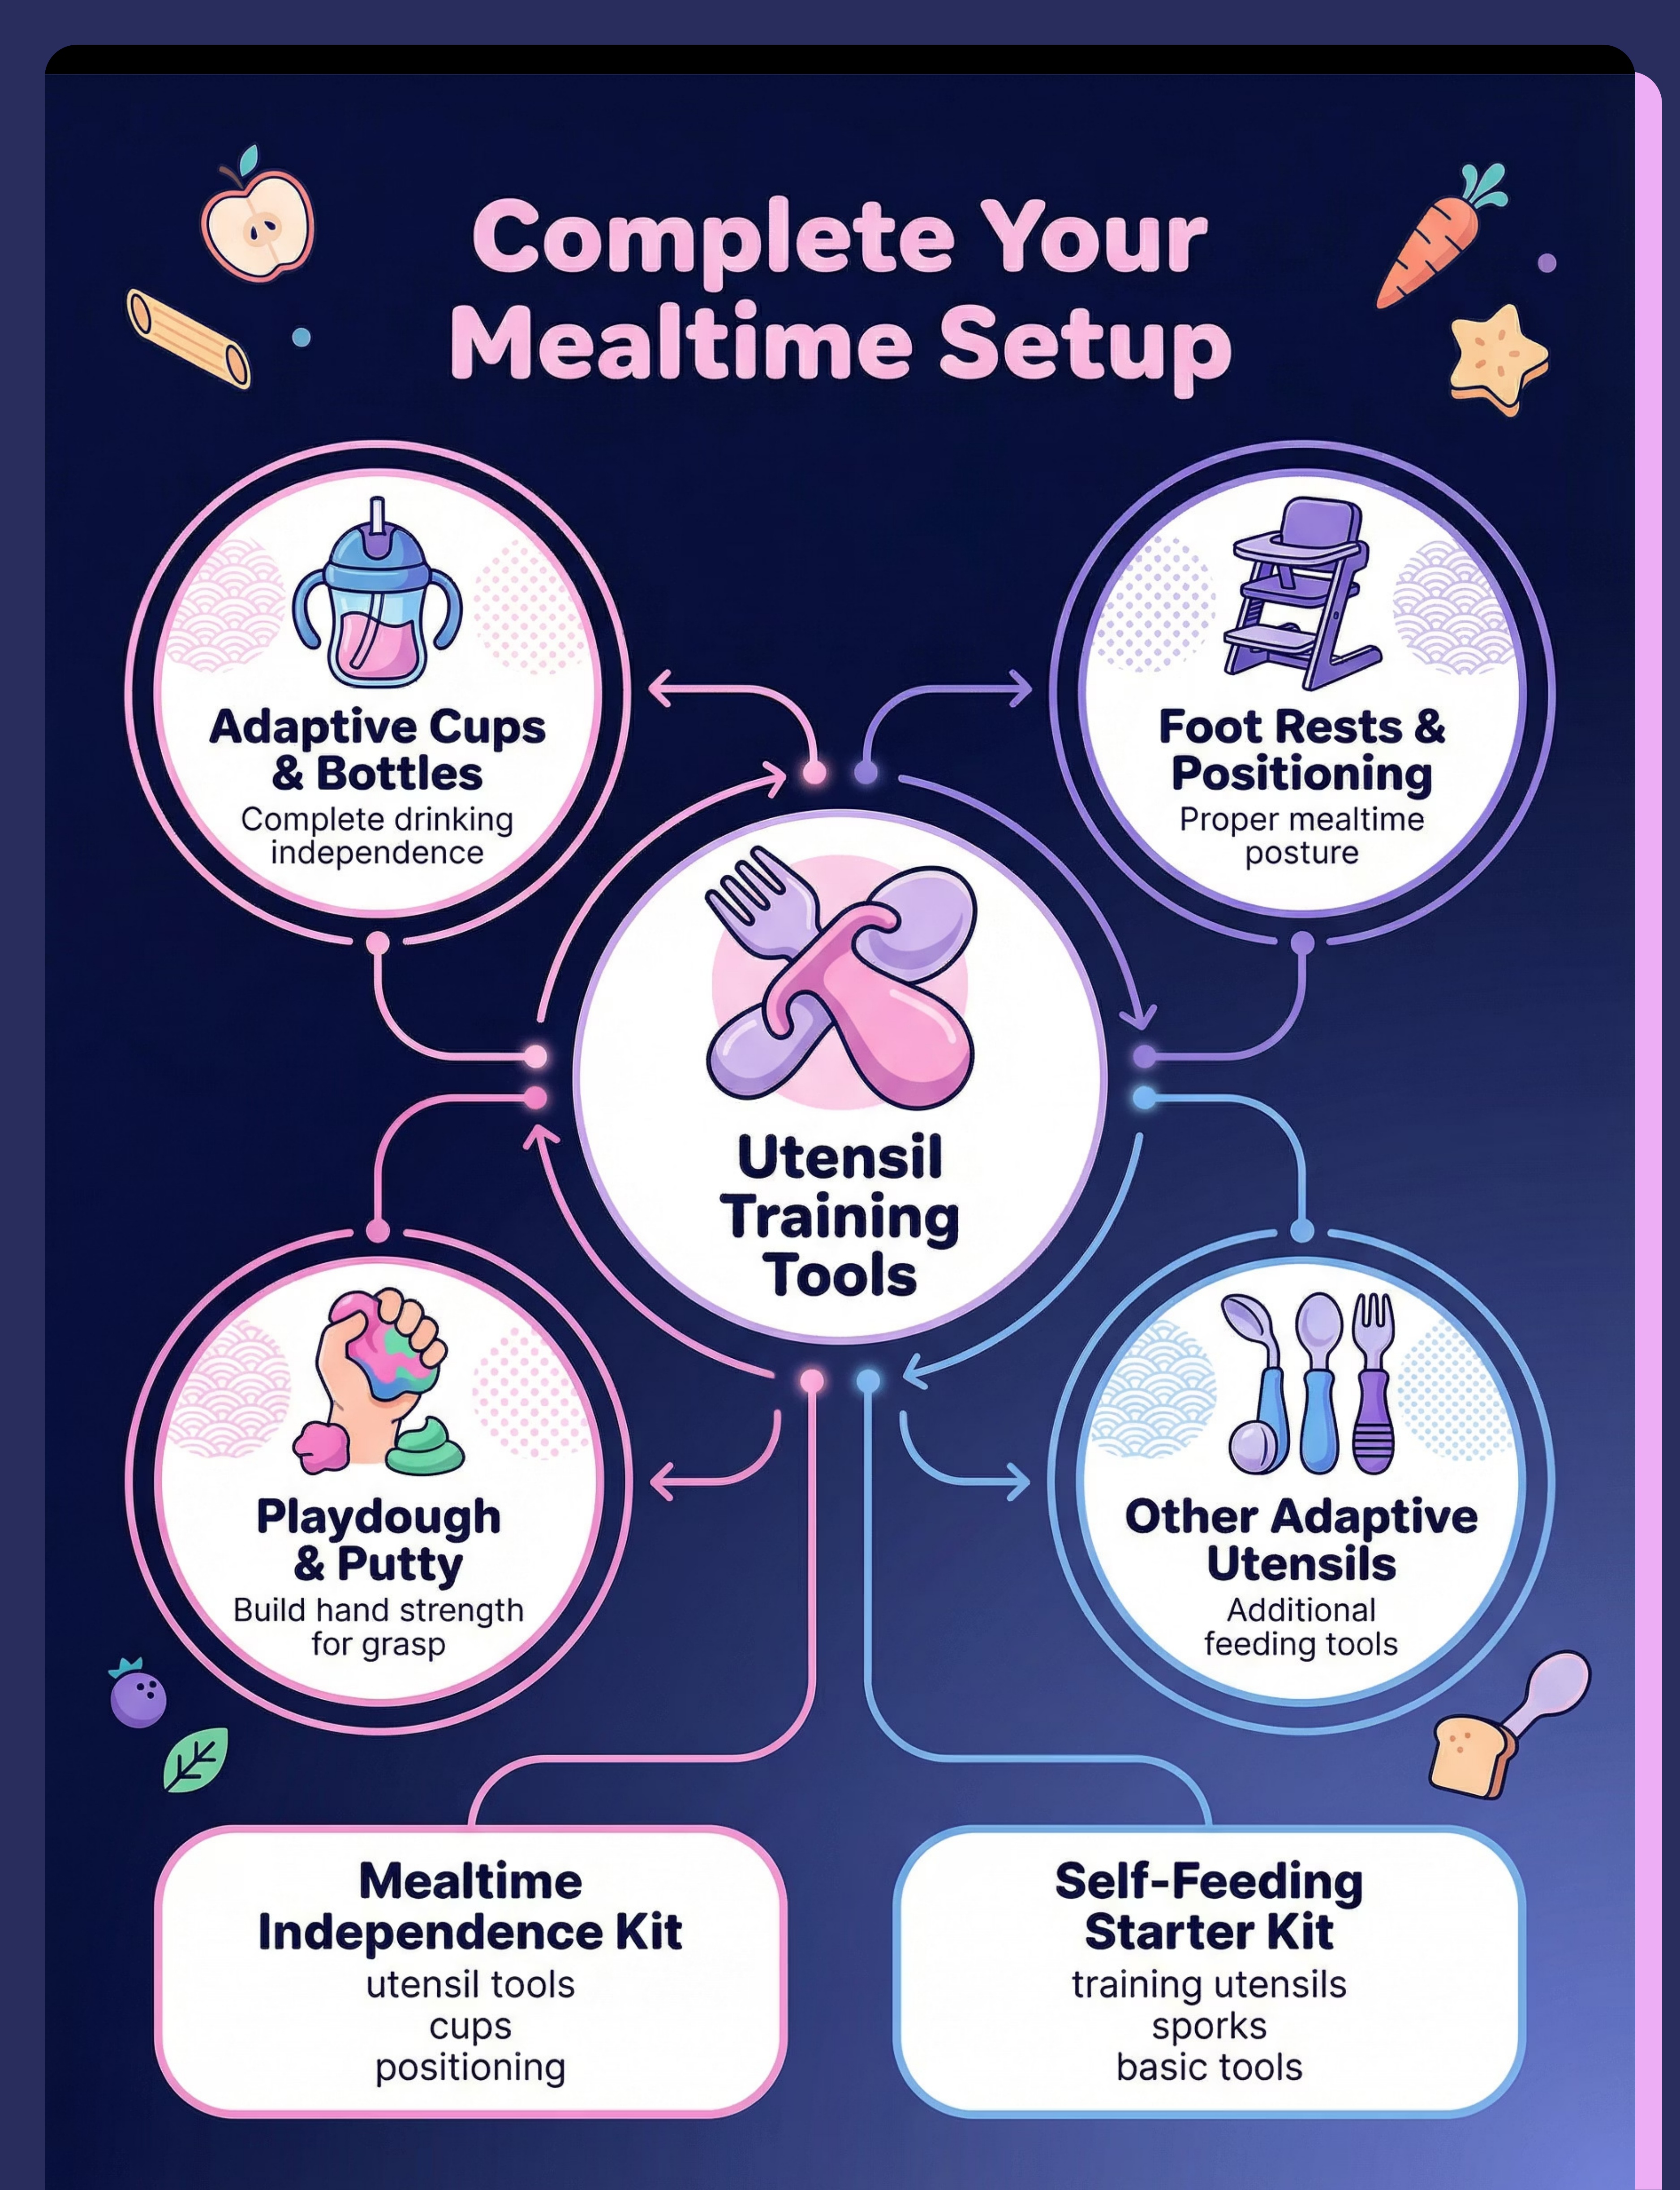
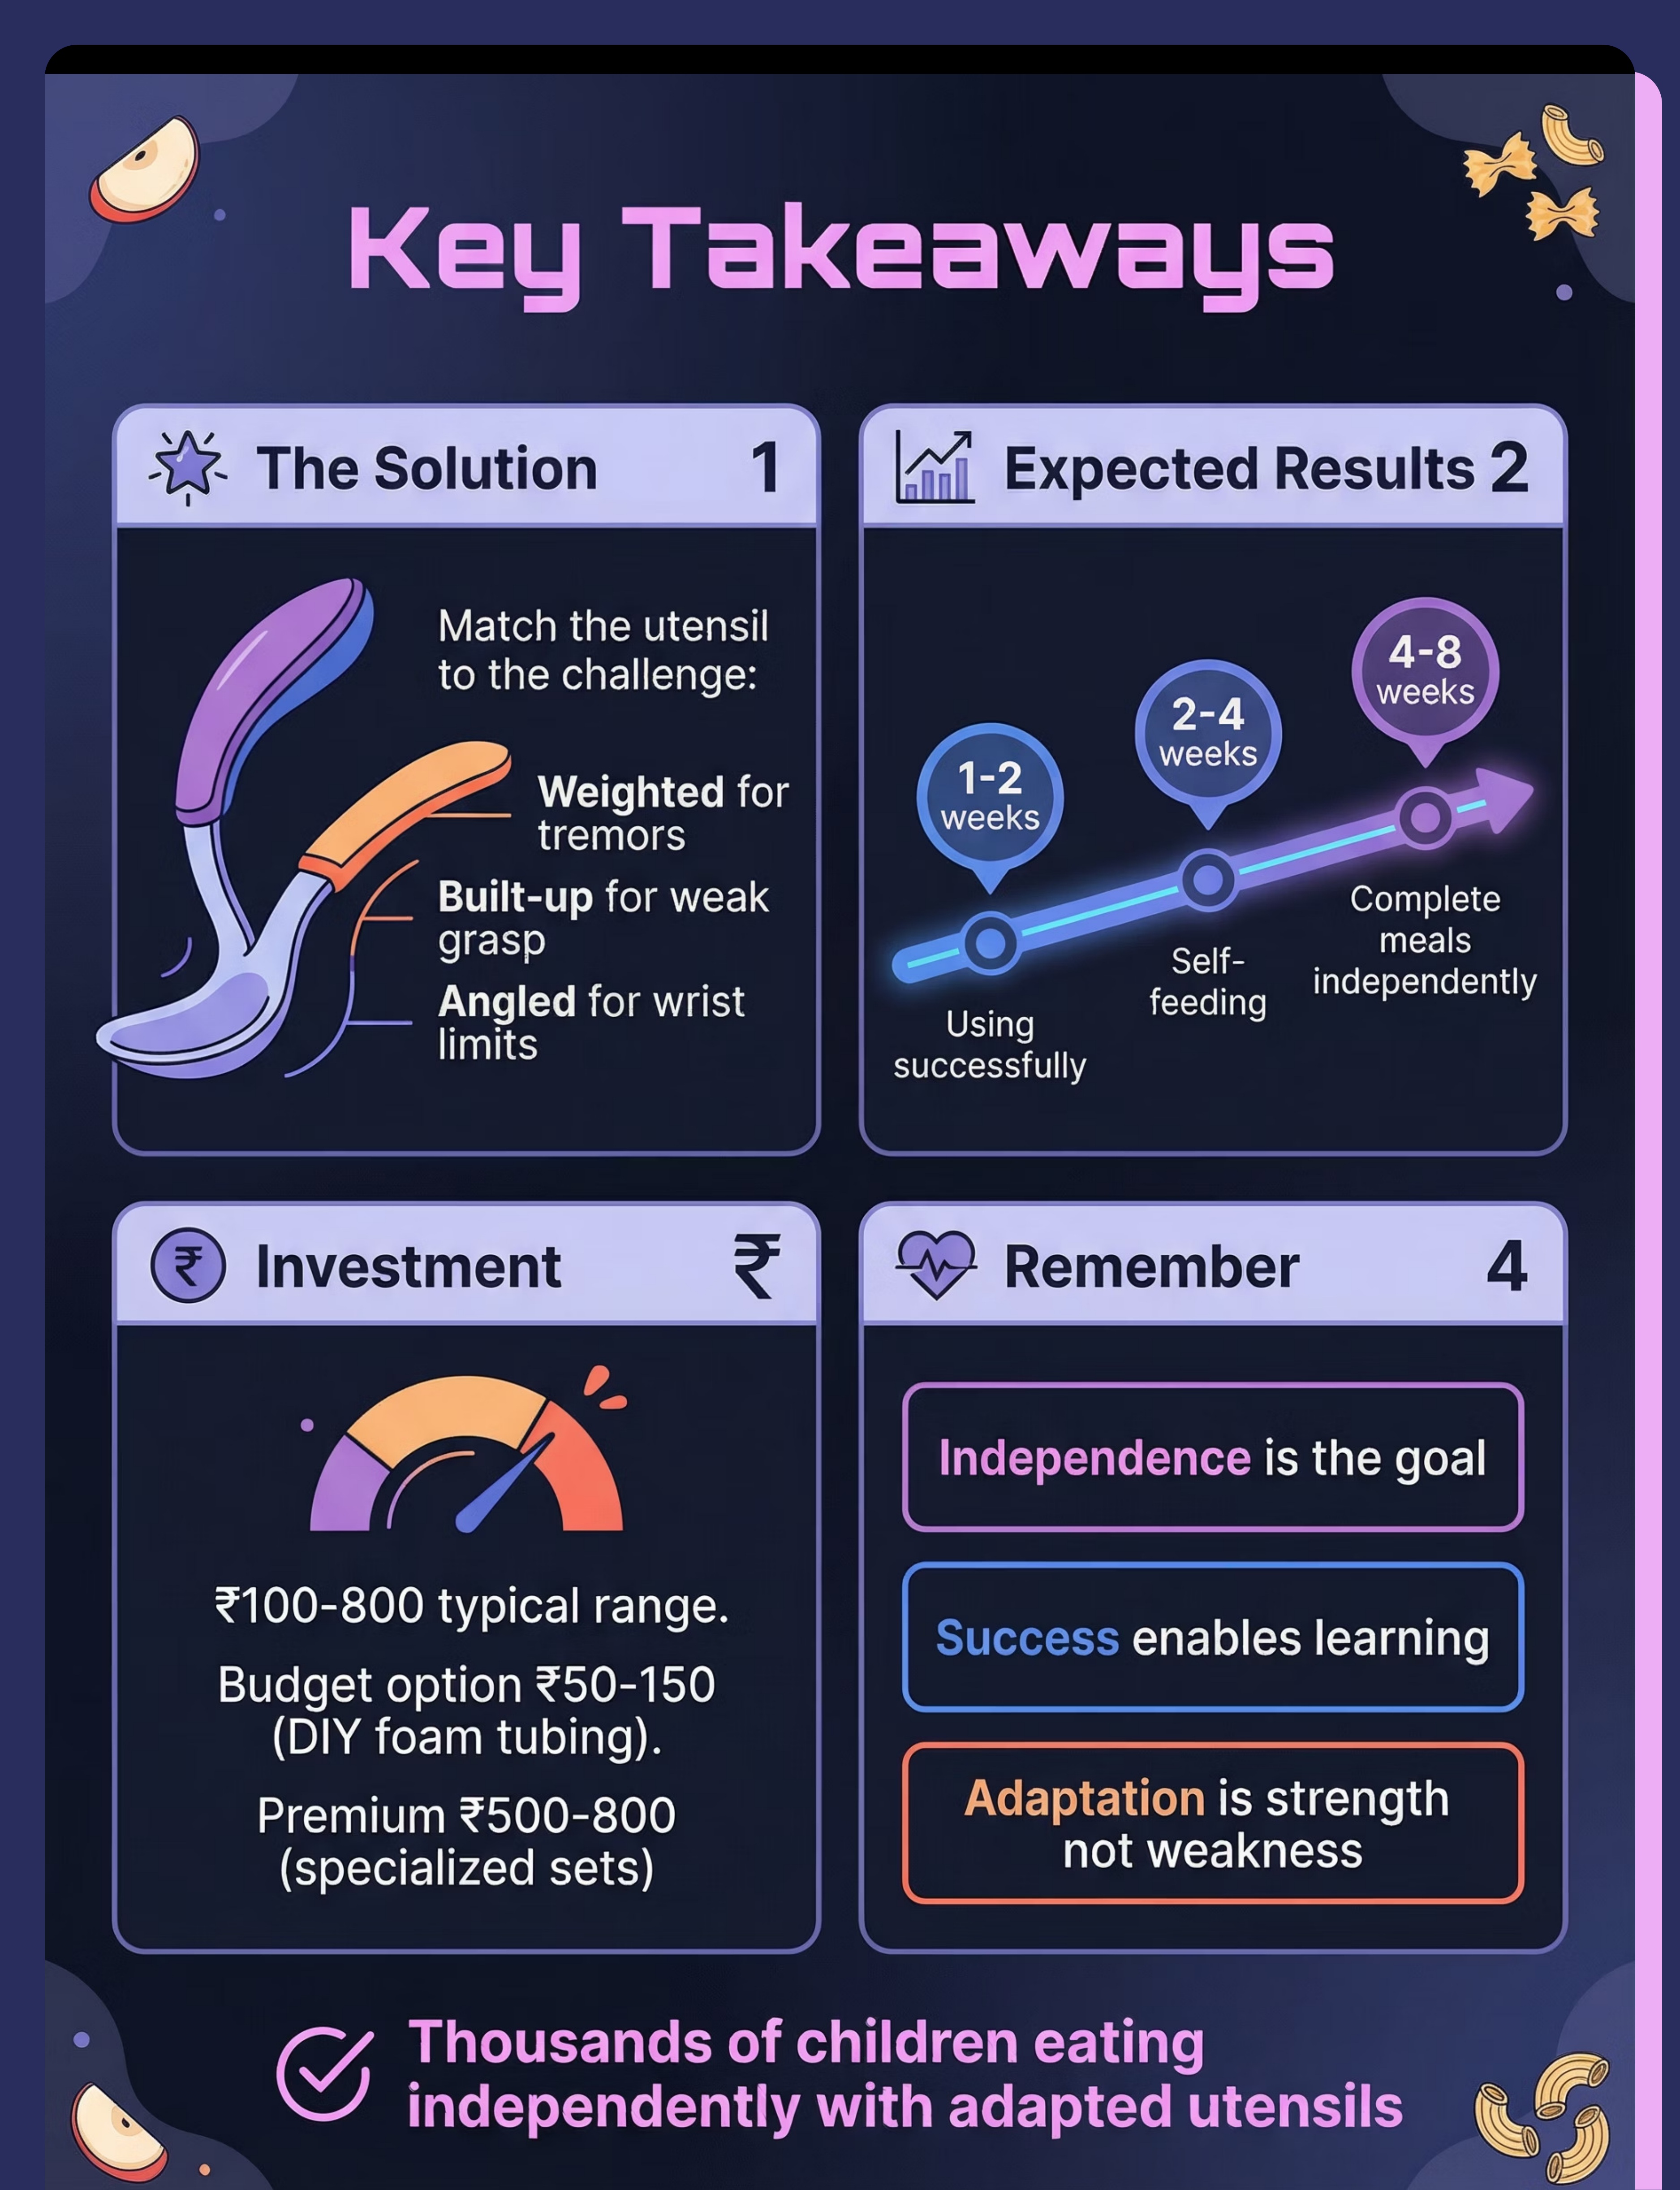
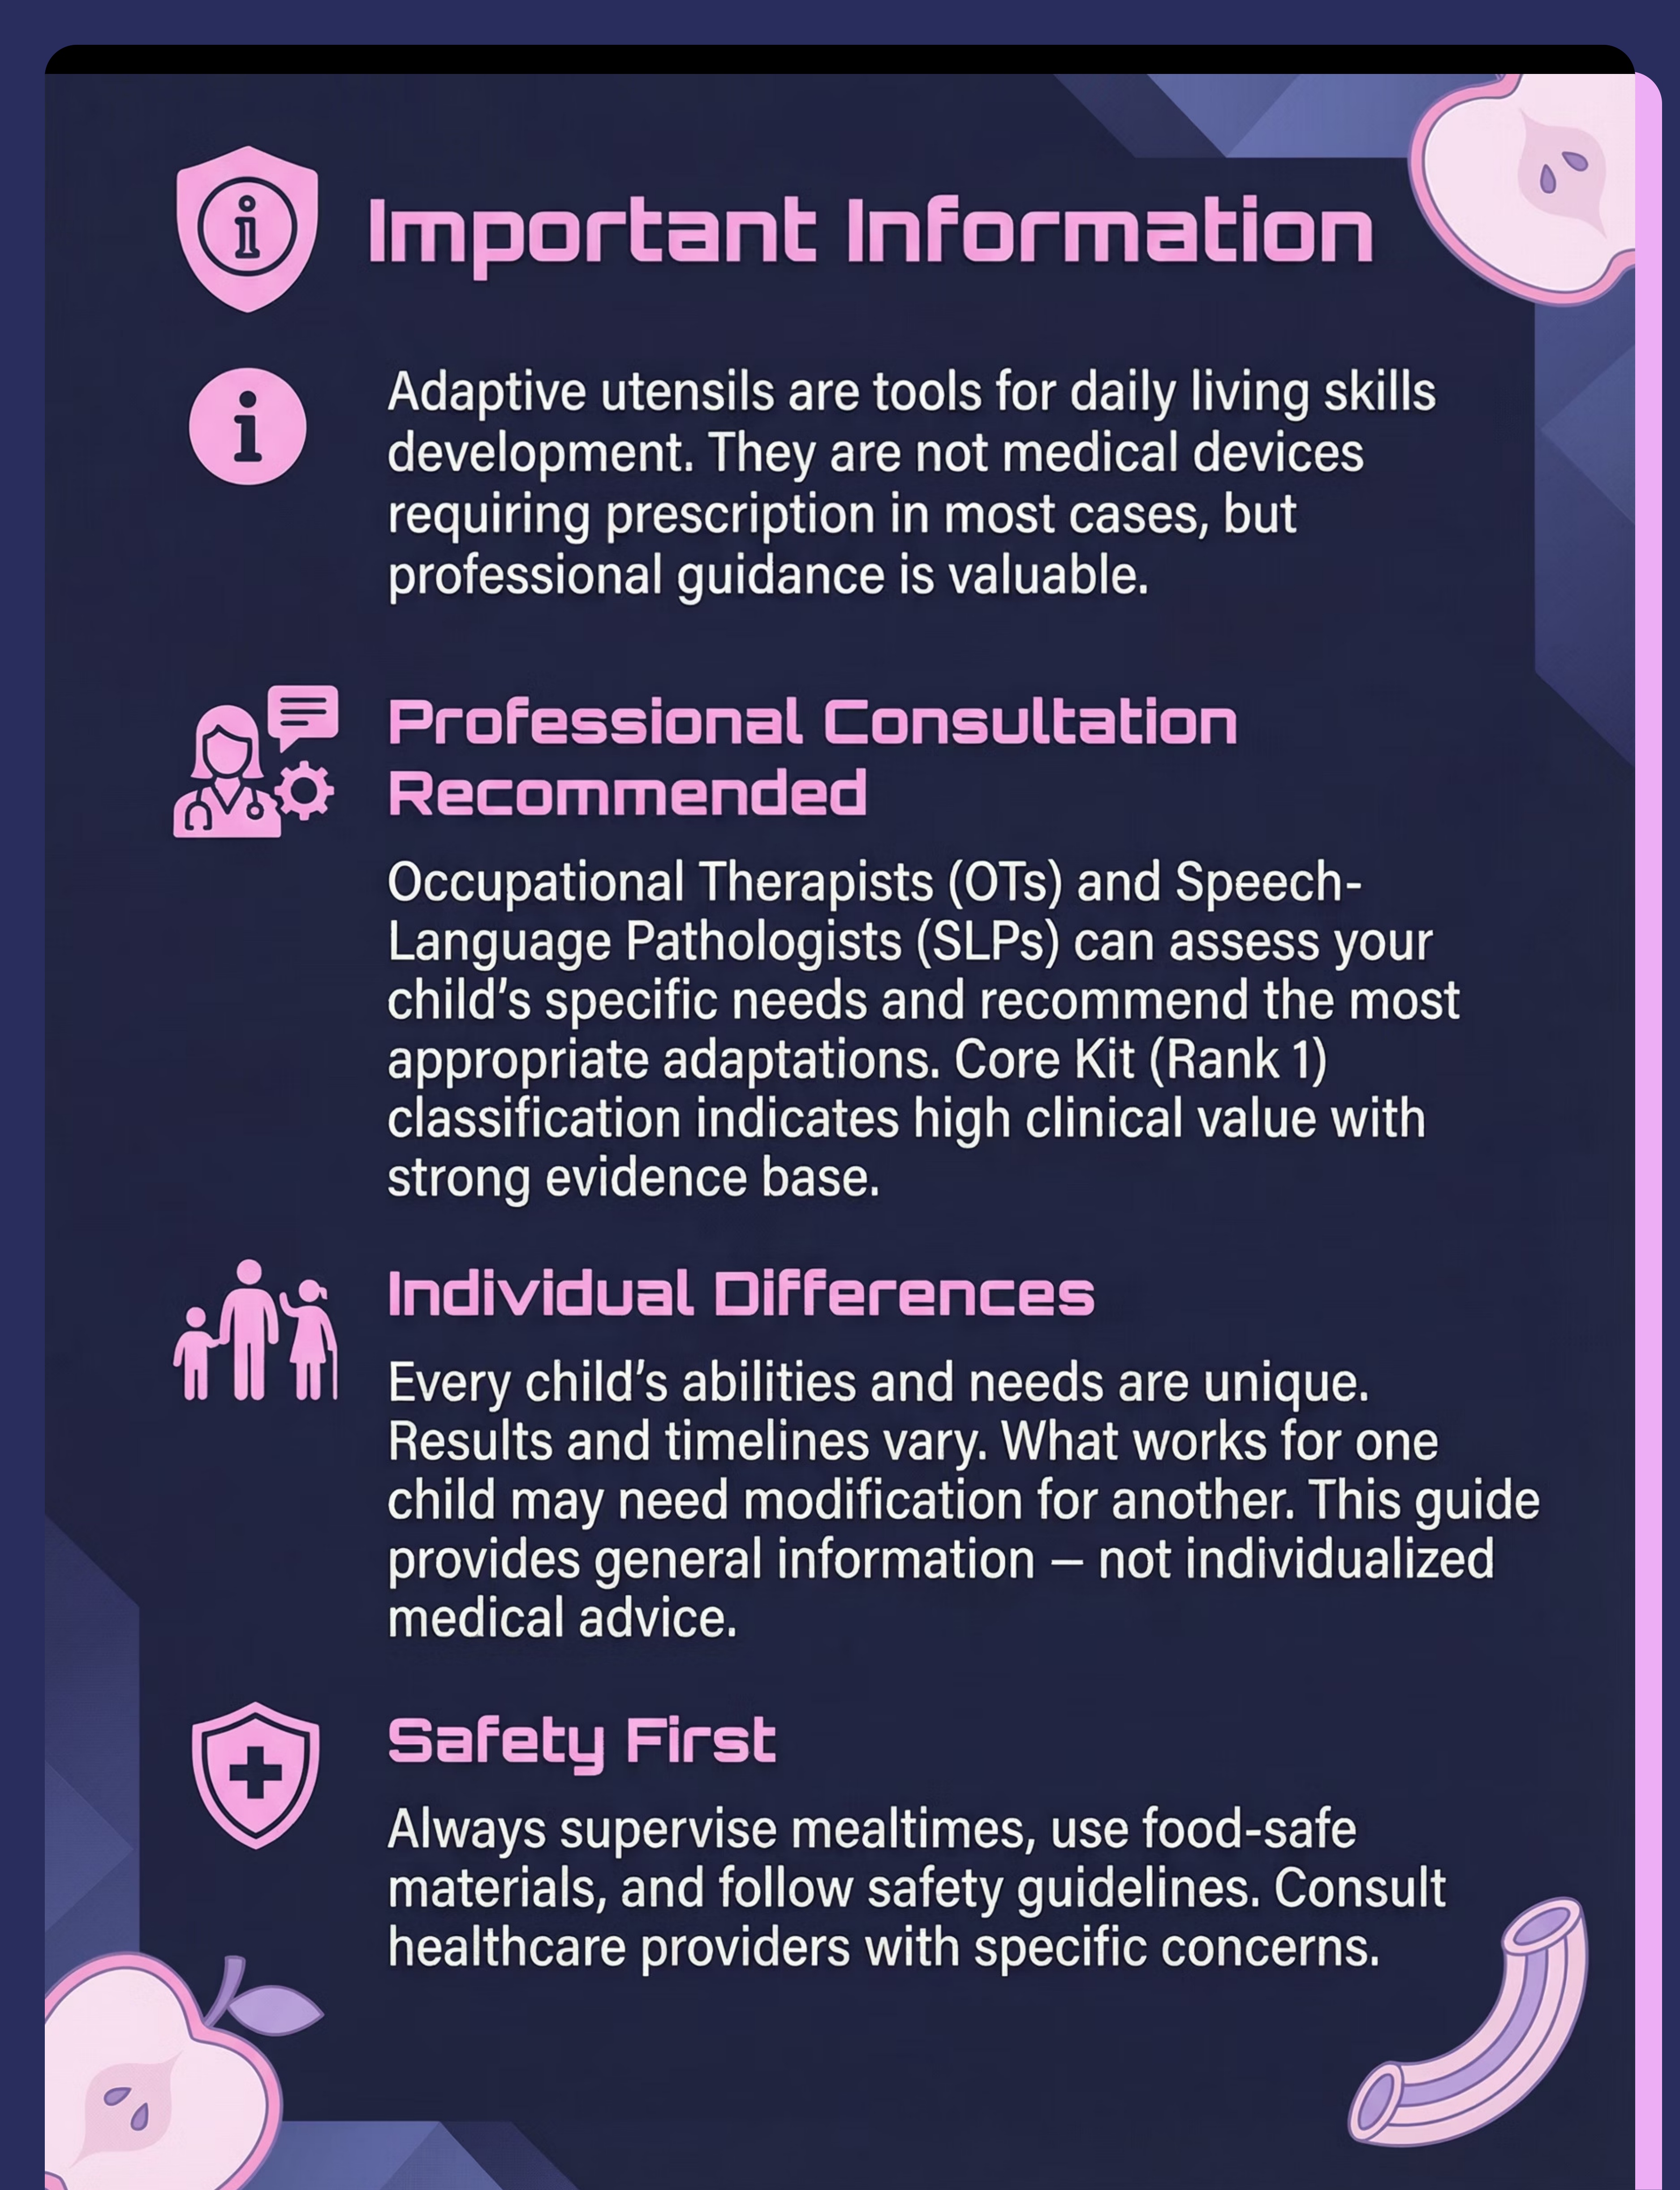
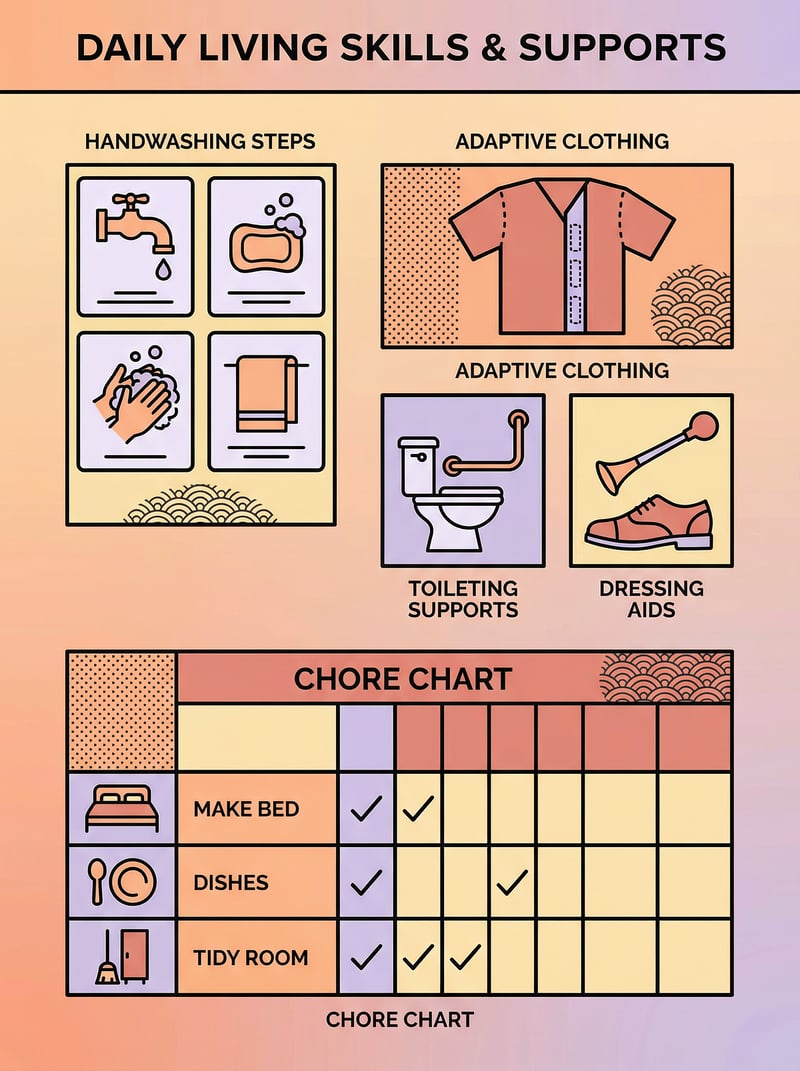
Category 9: Daily Living Skills
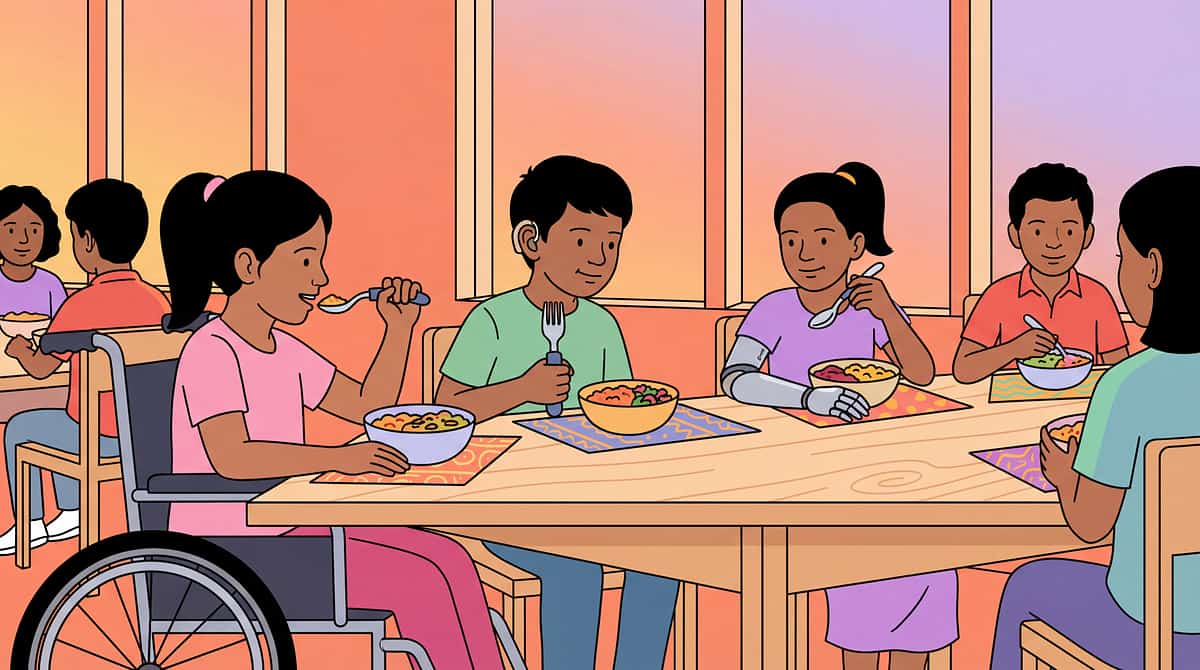
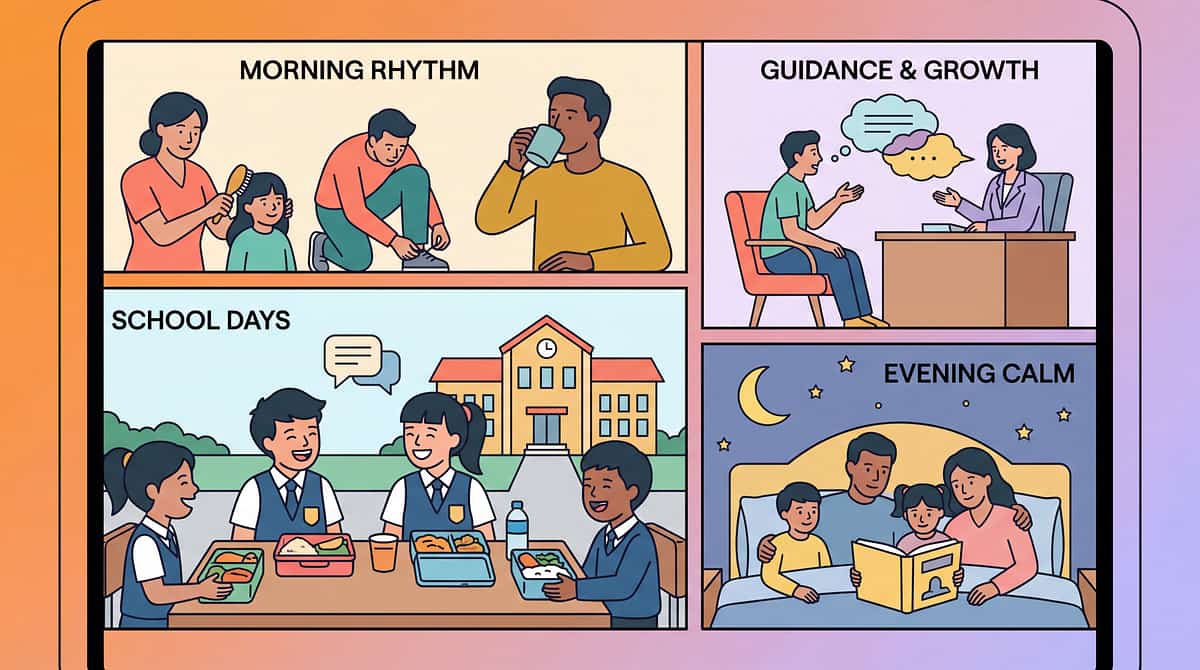
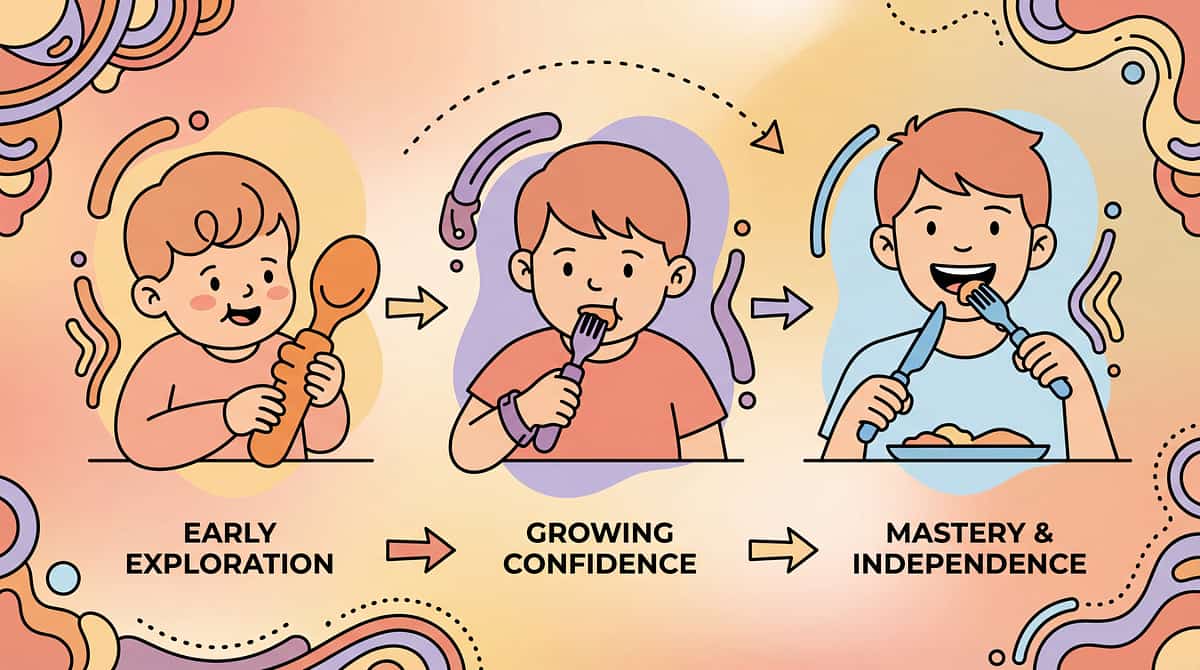
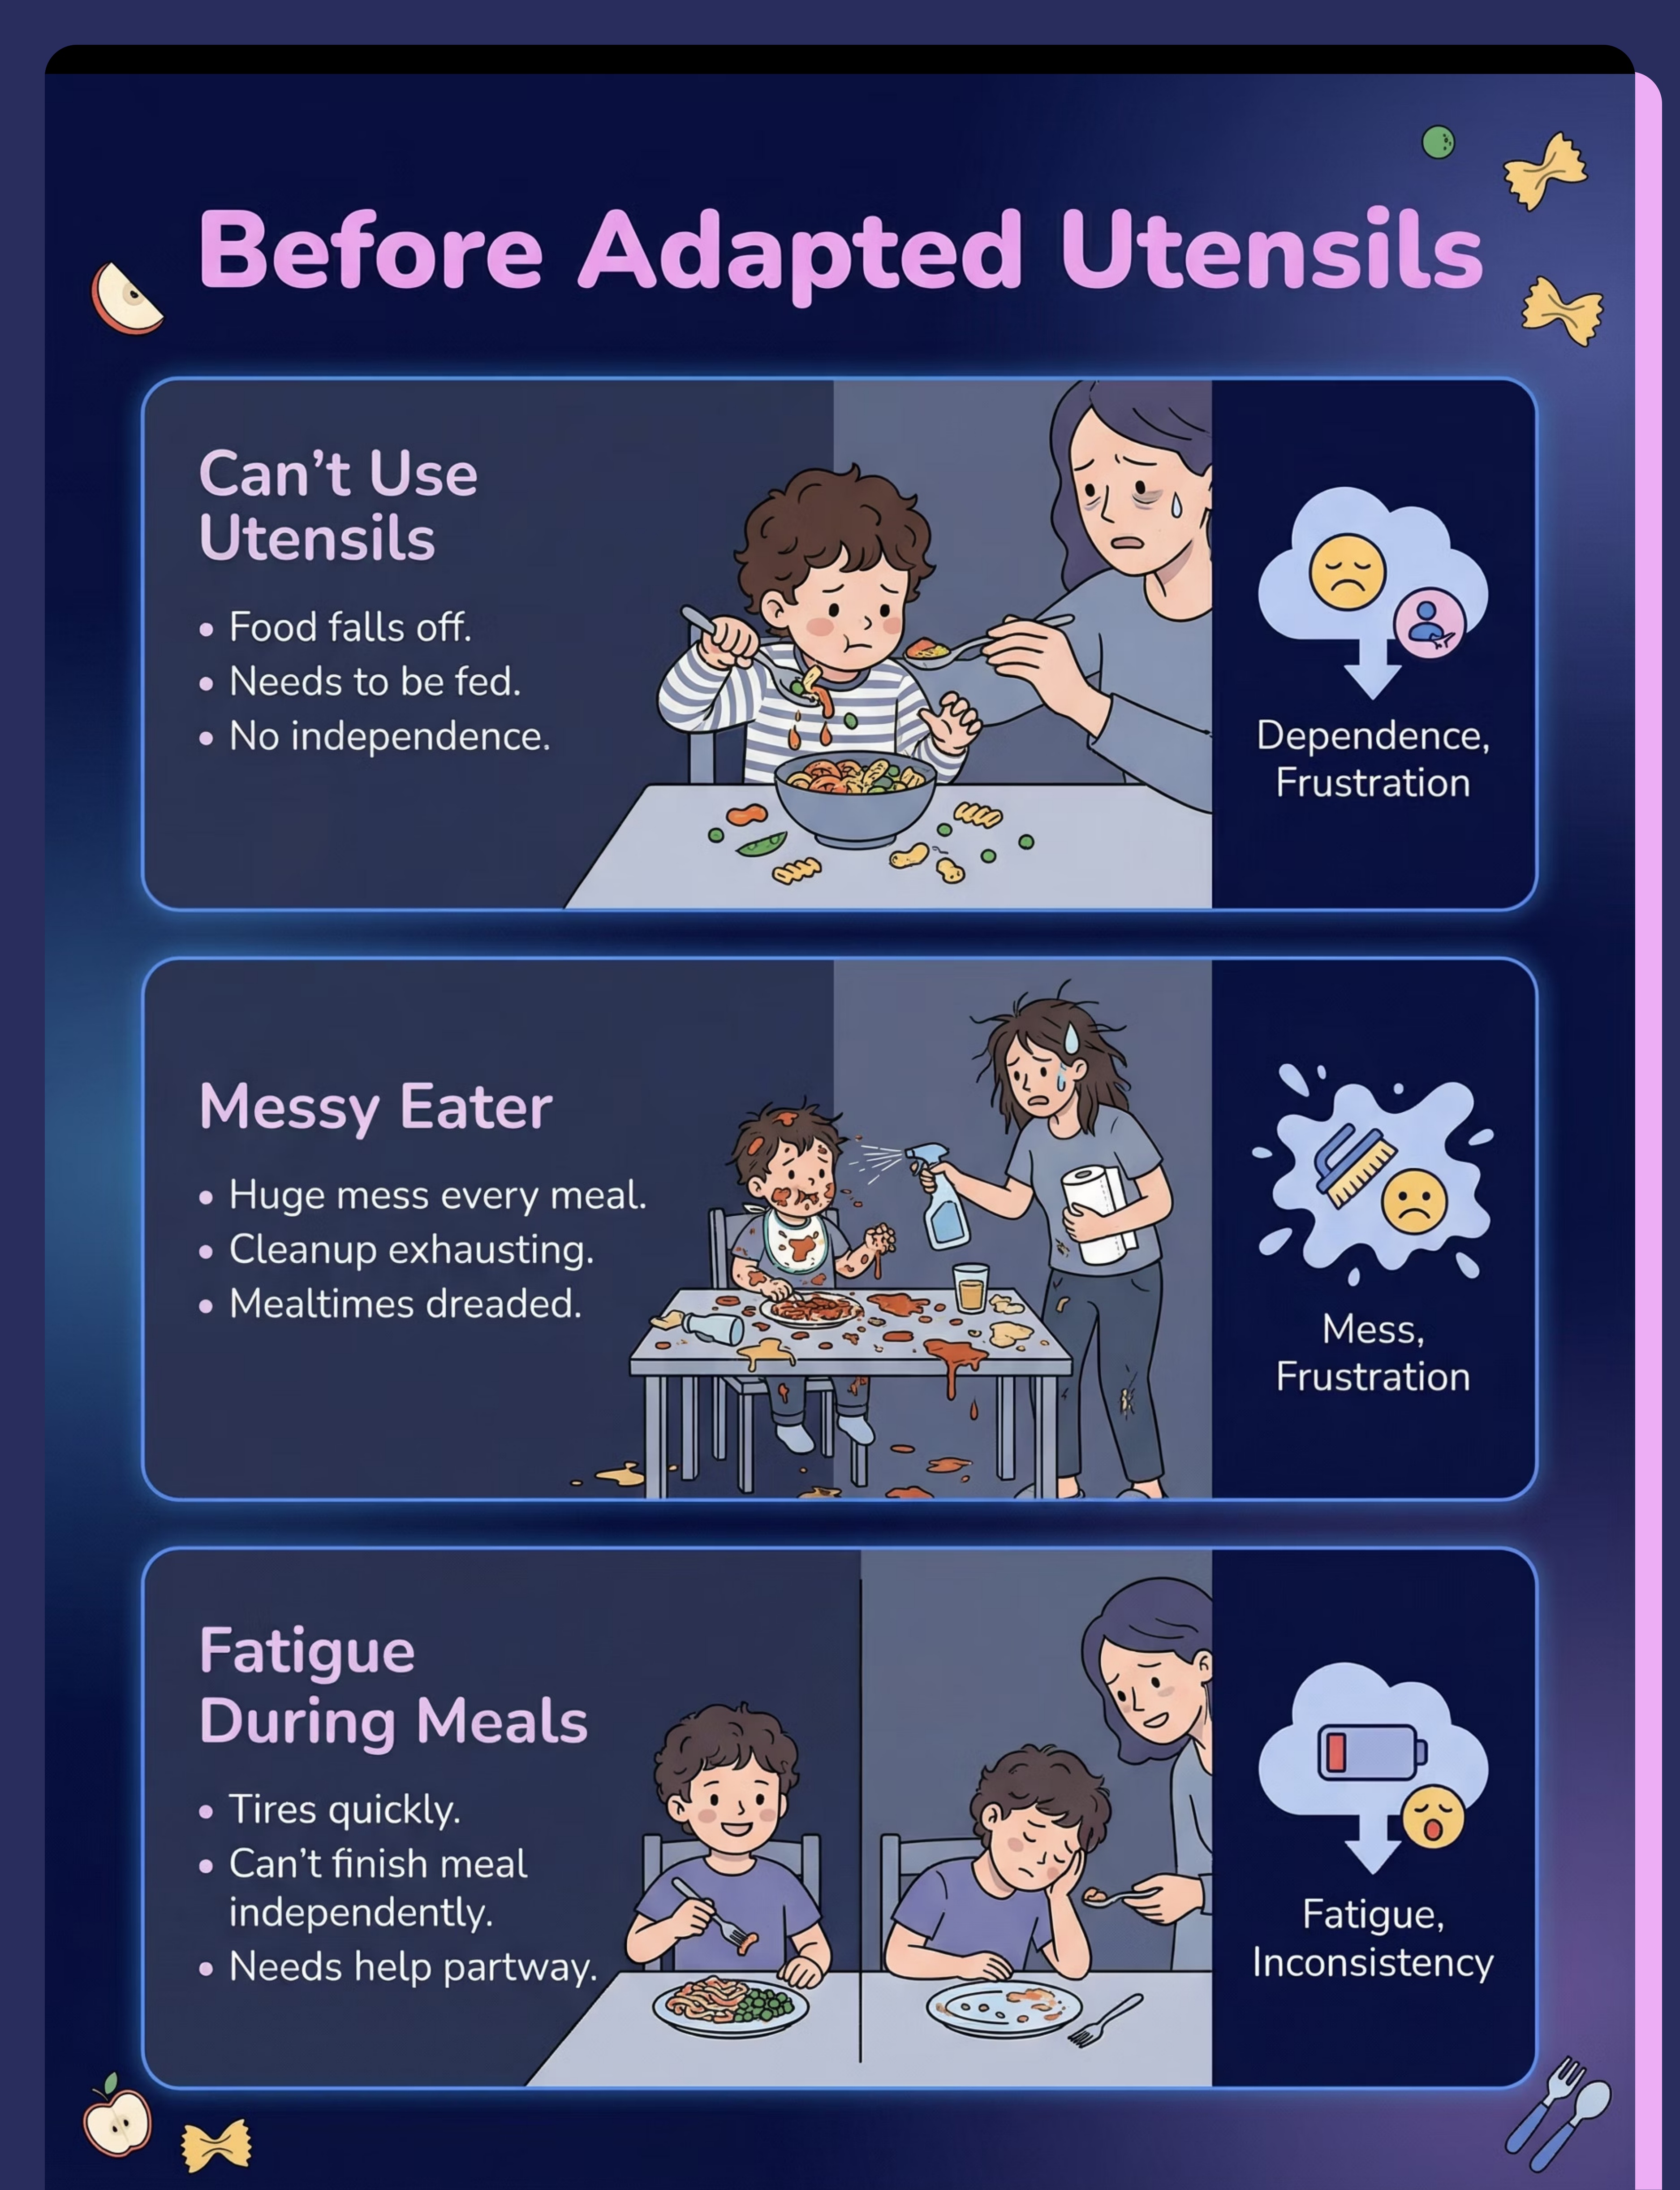
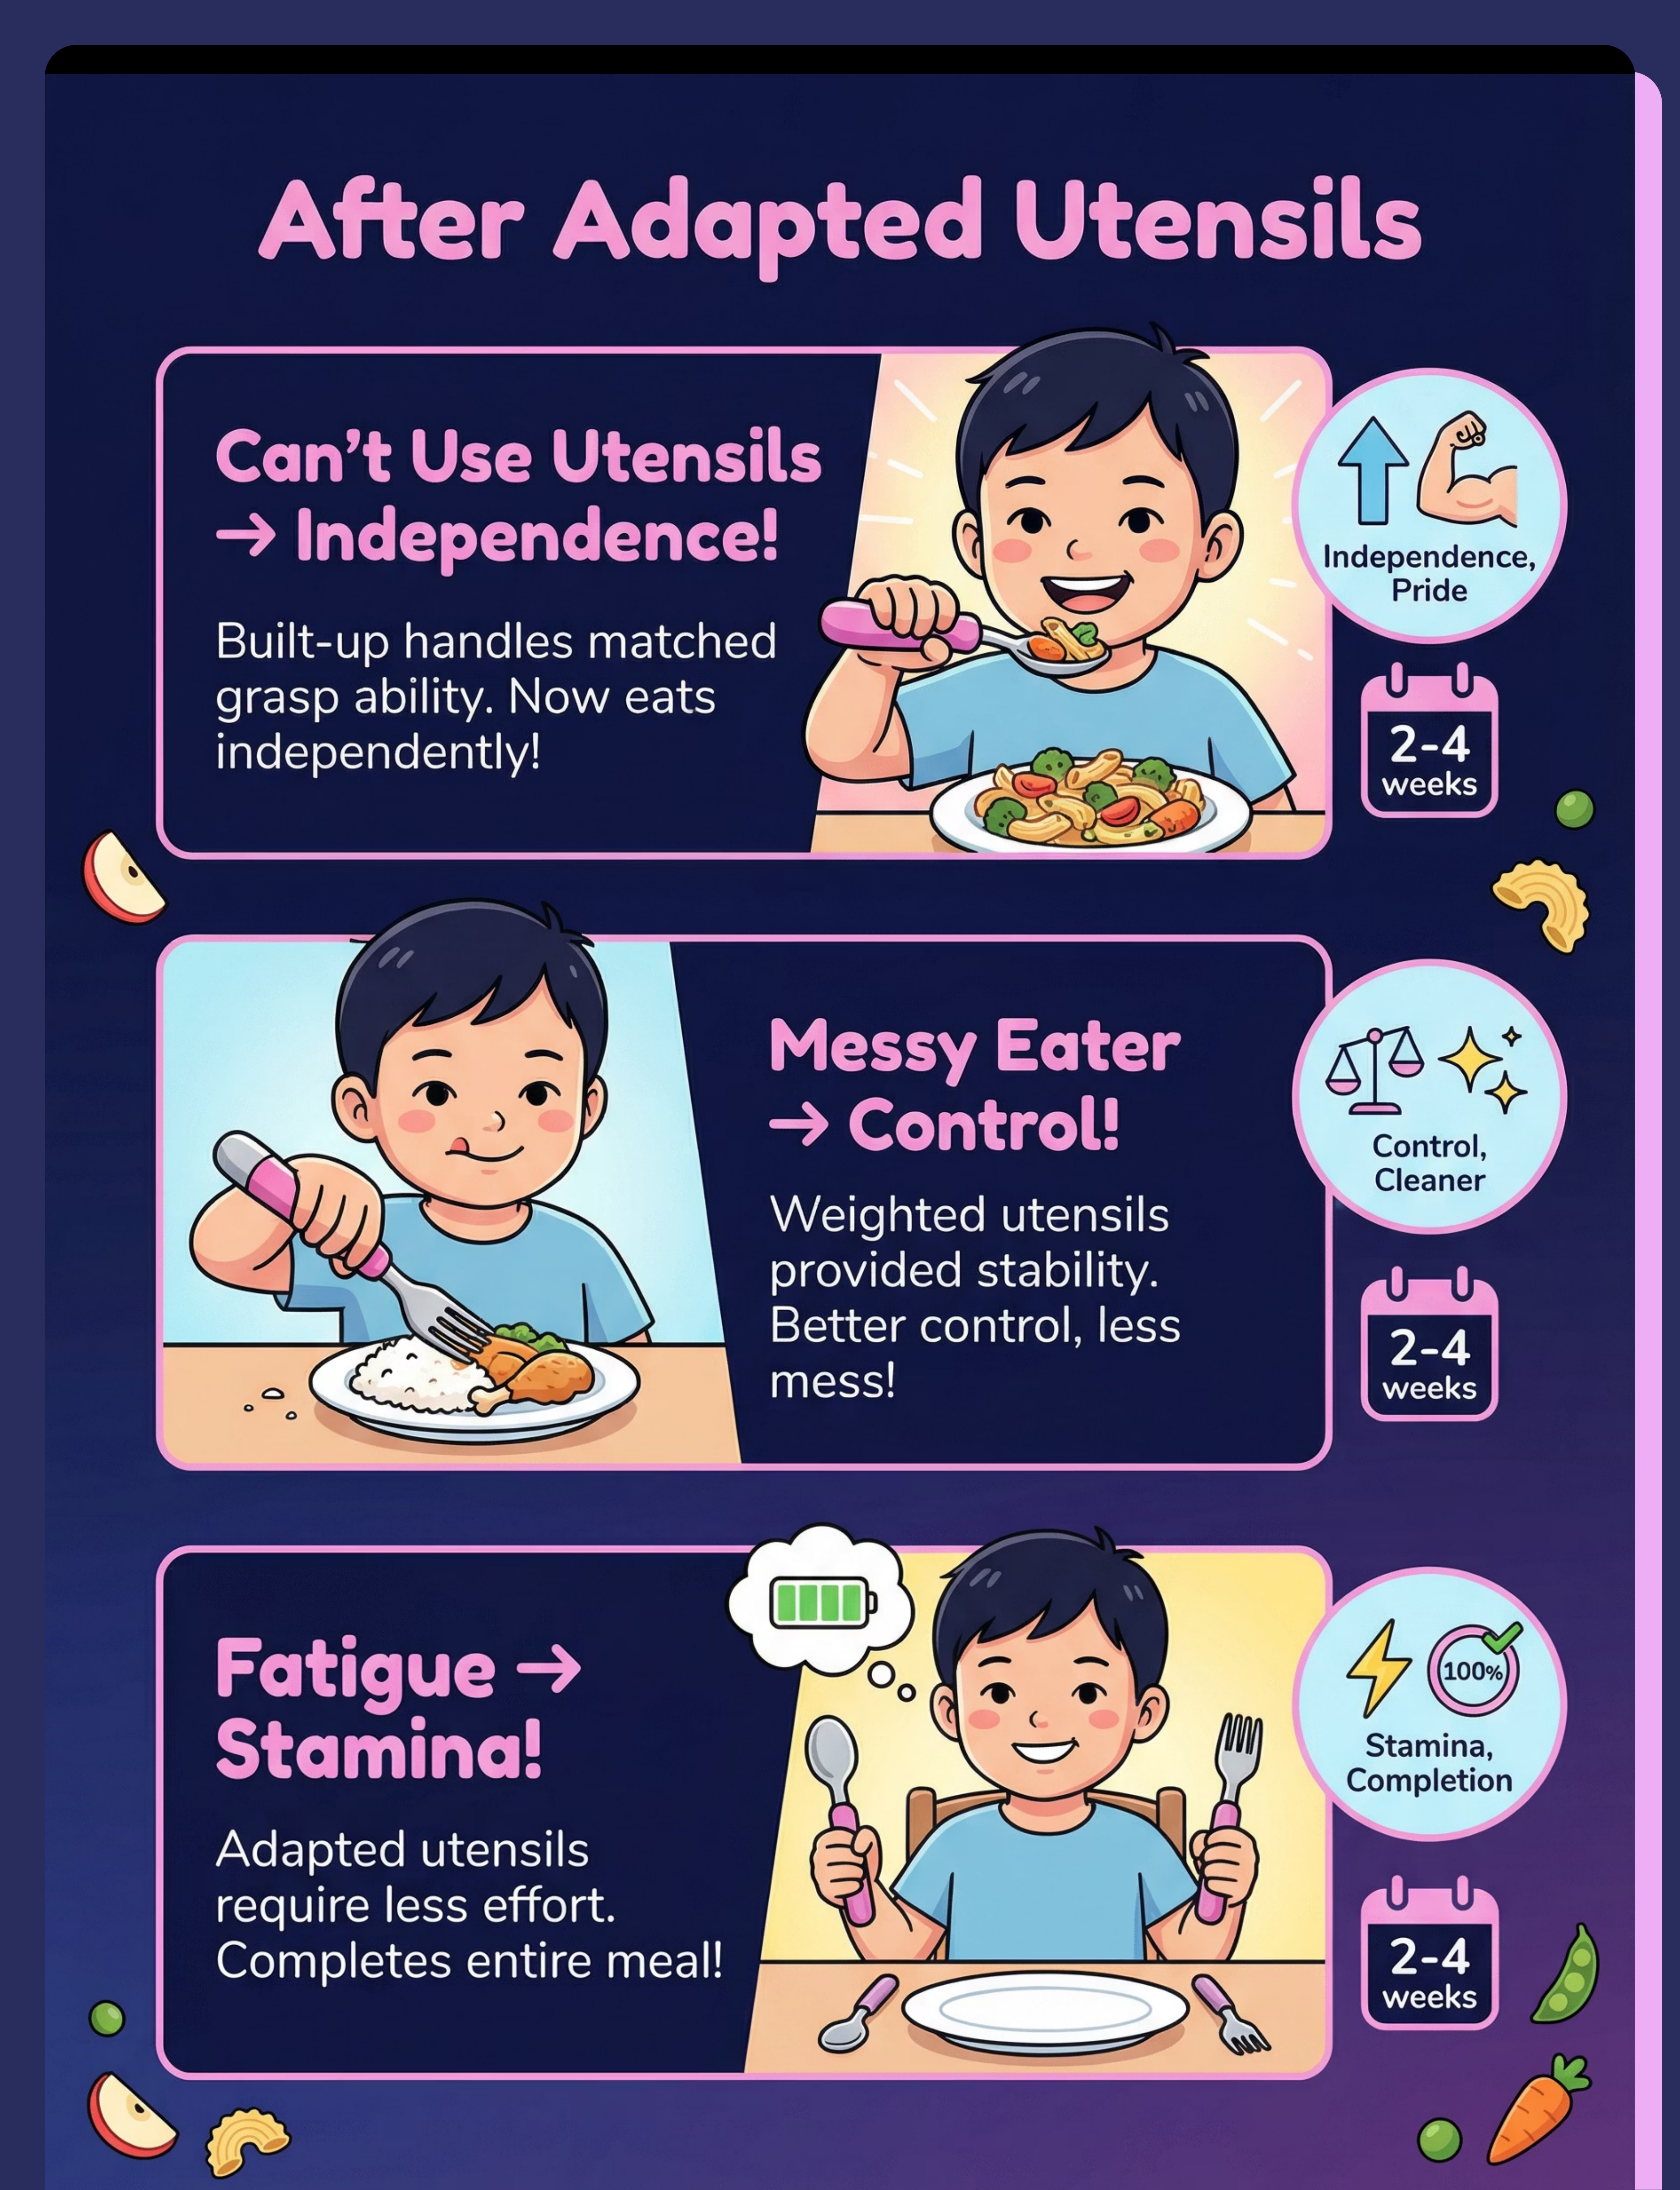
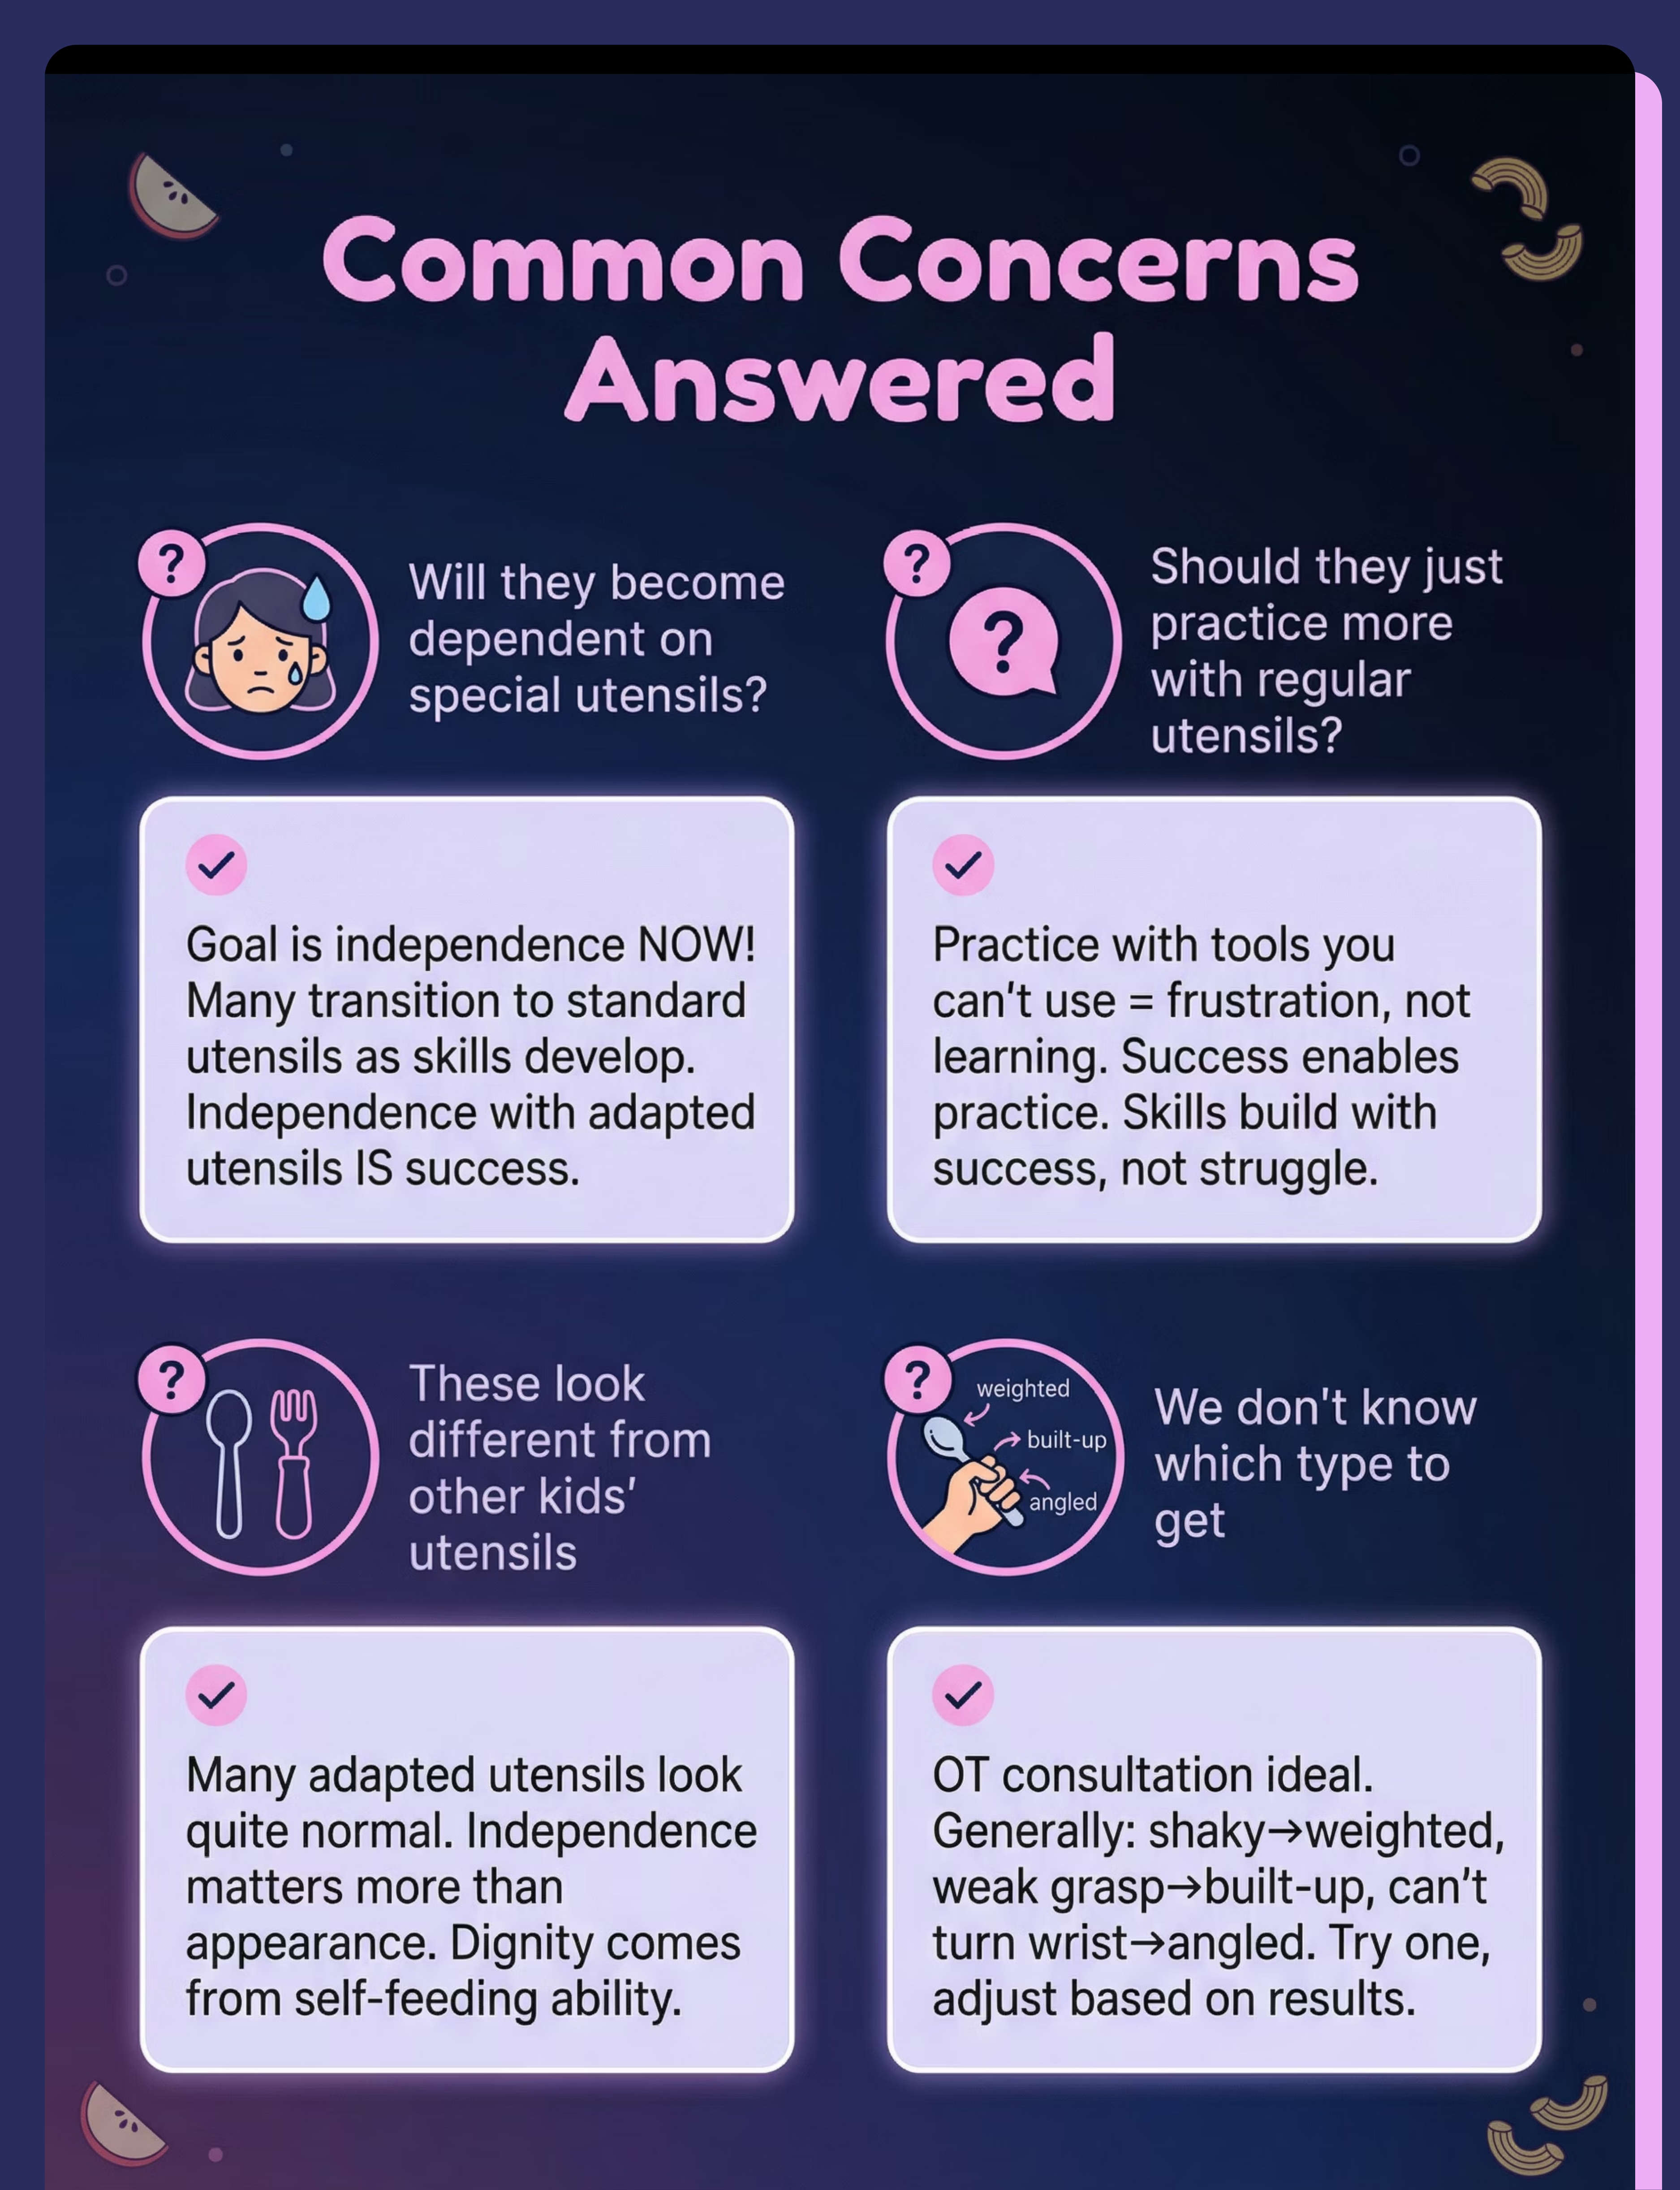
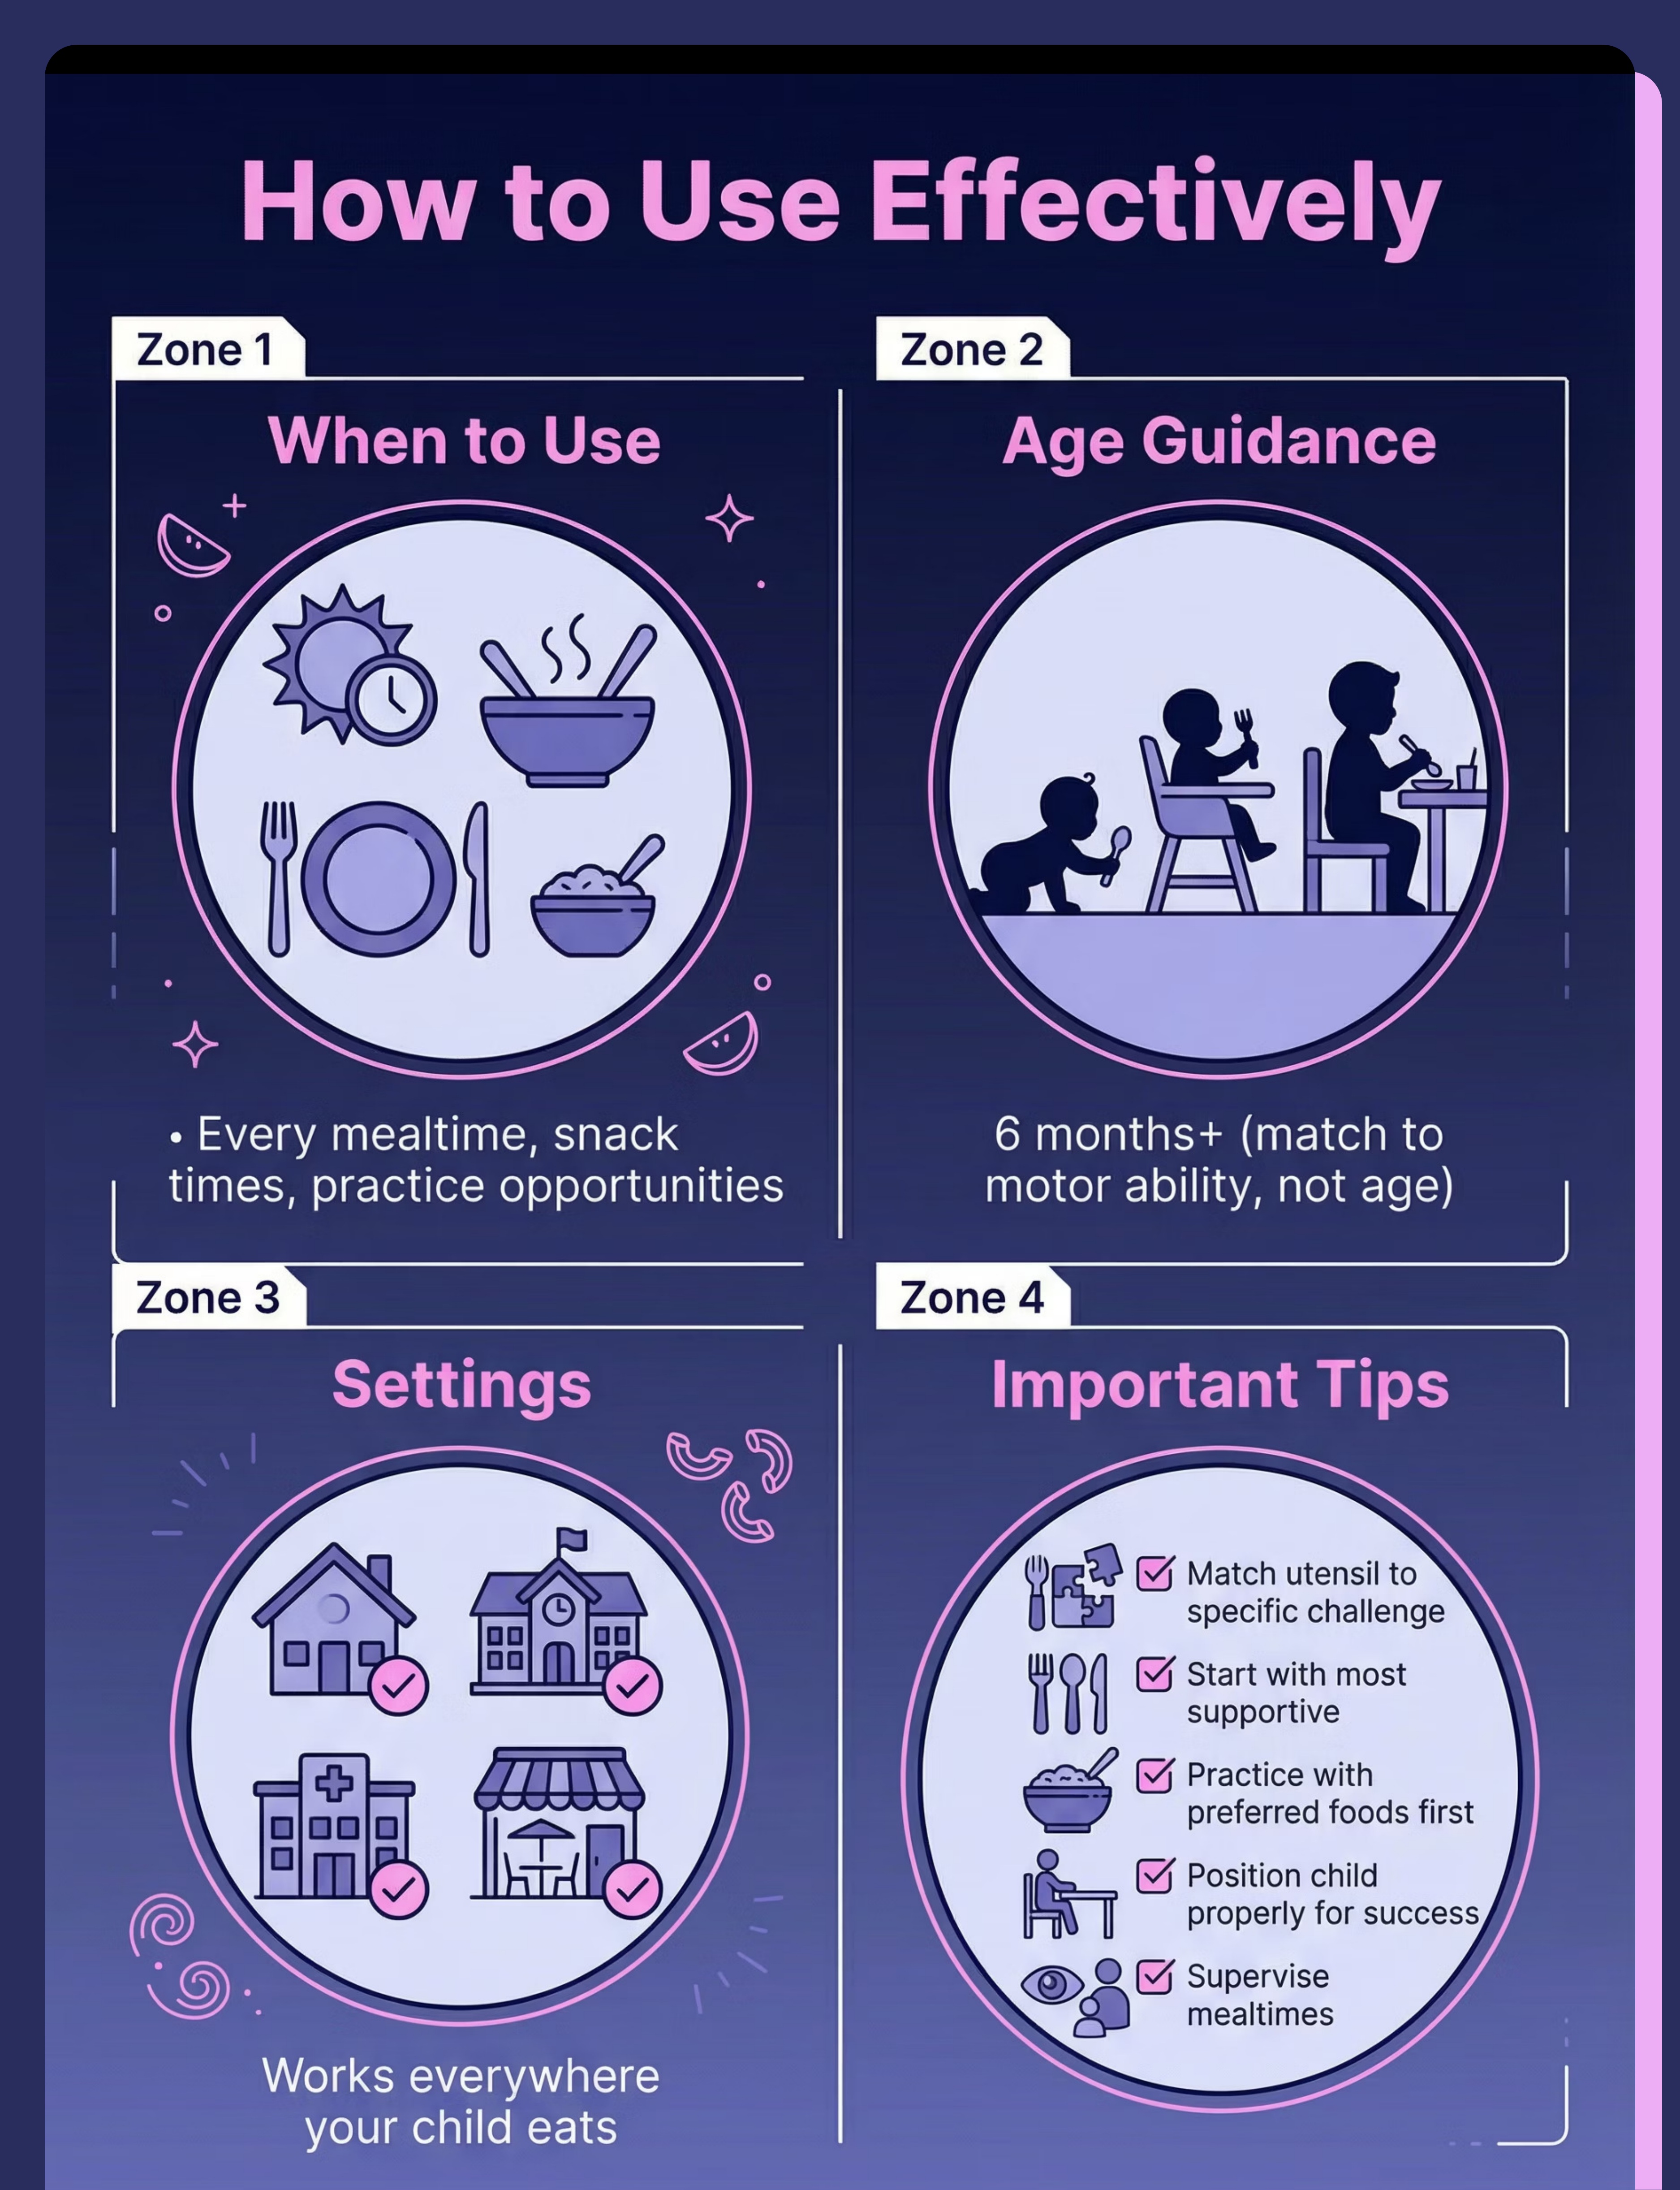
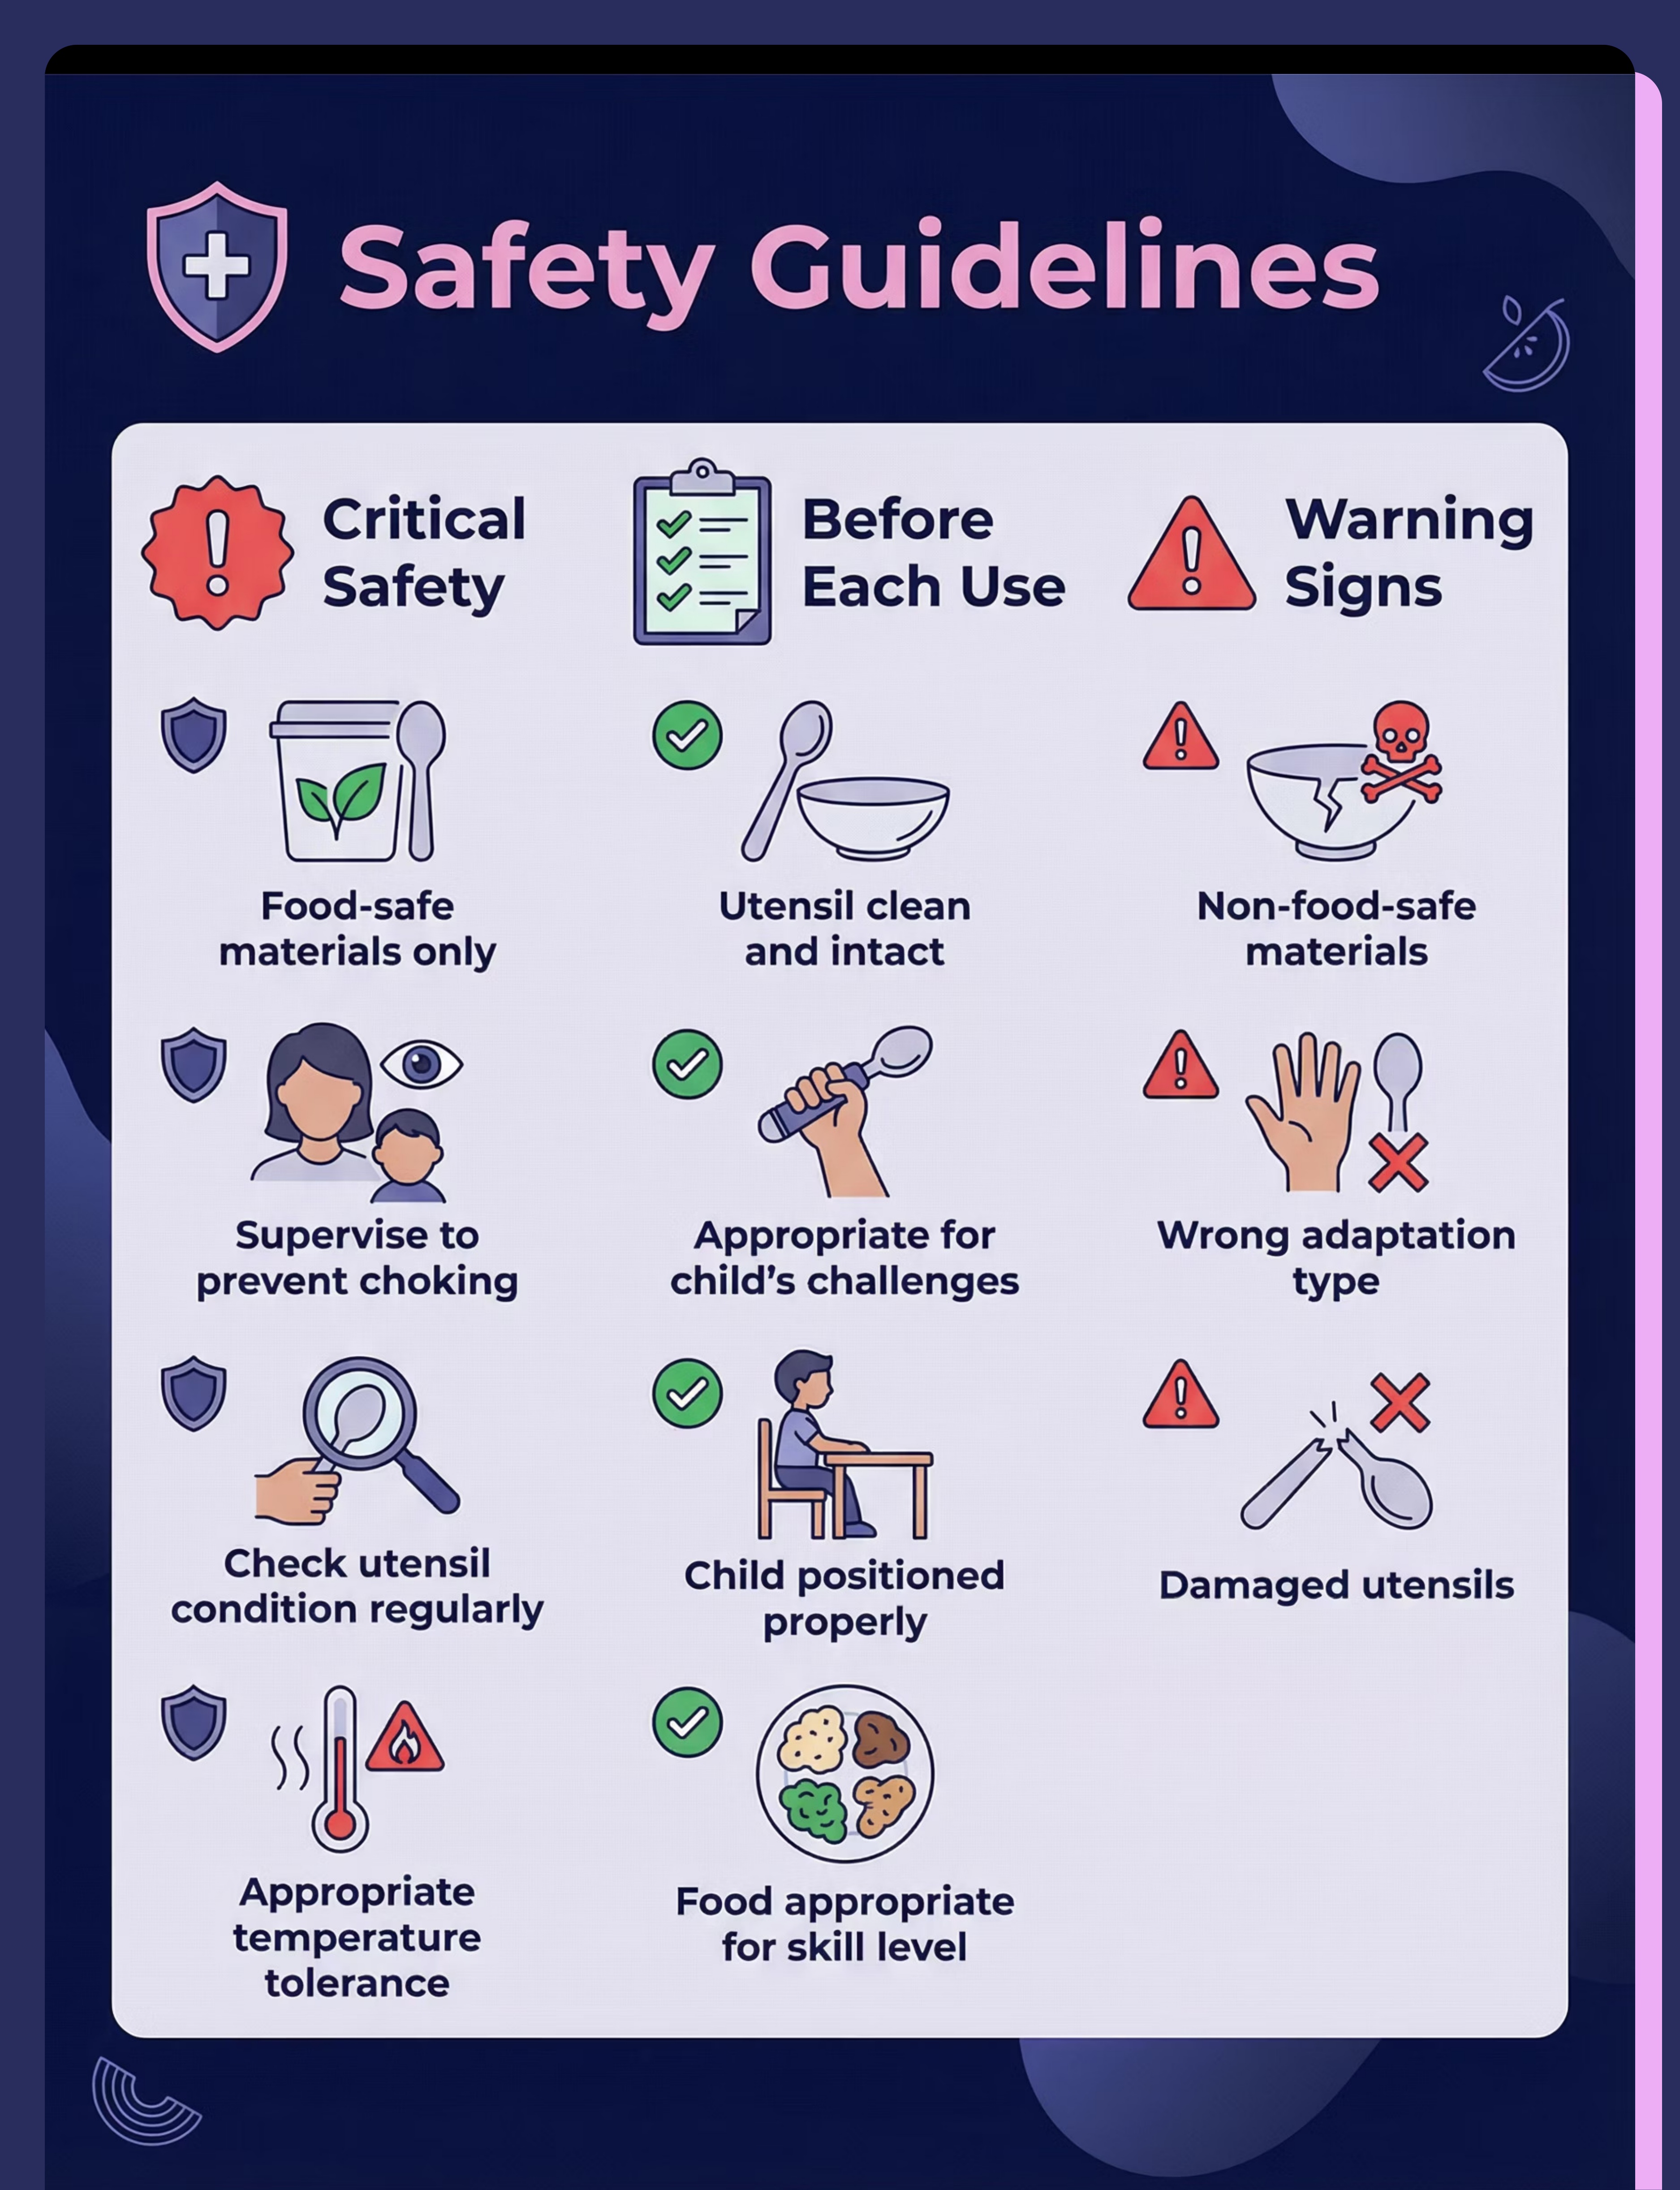
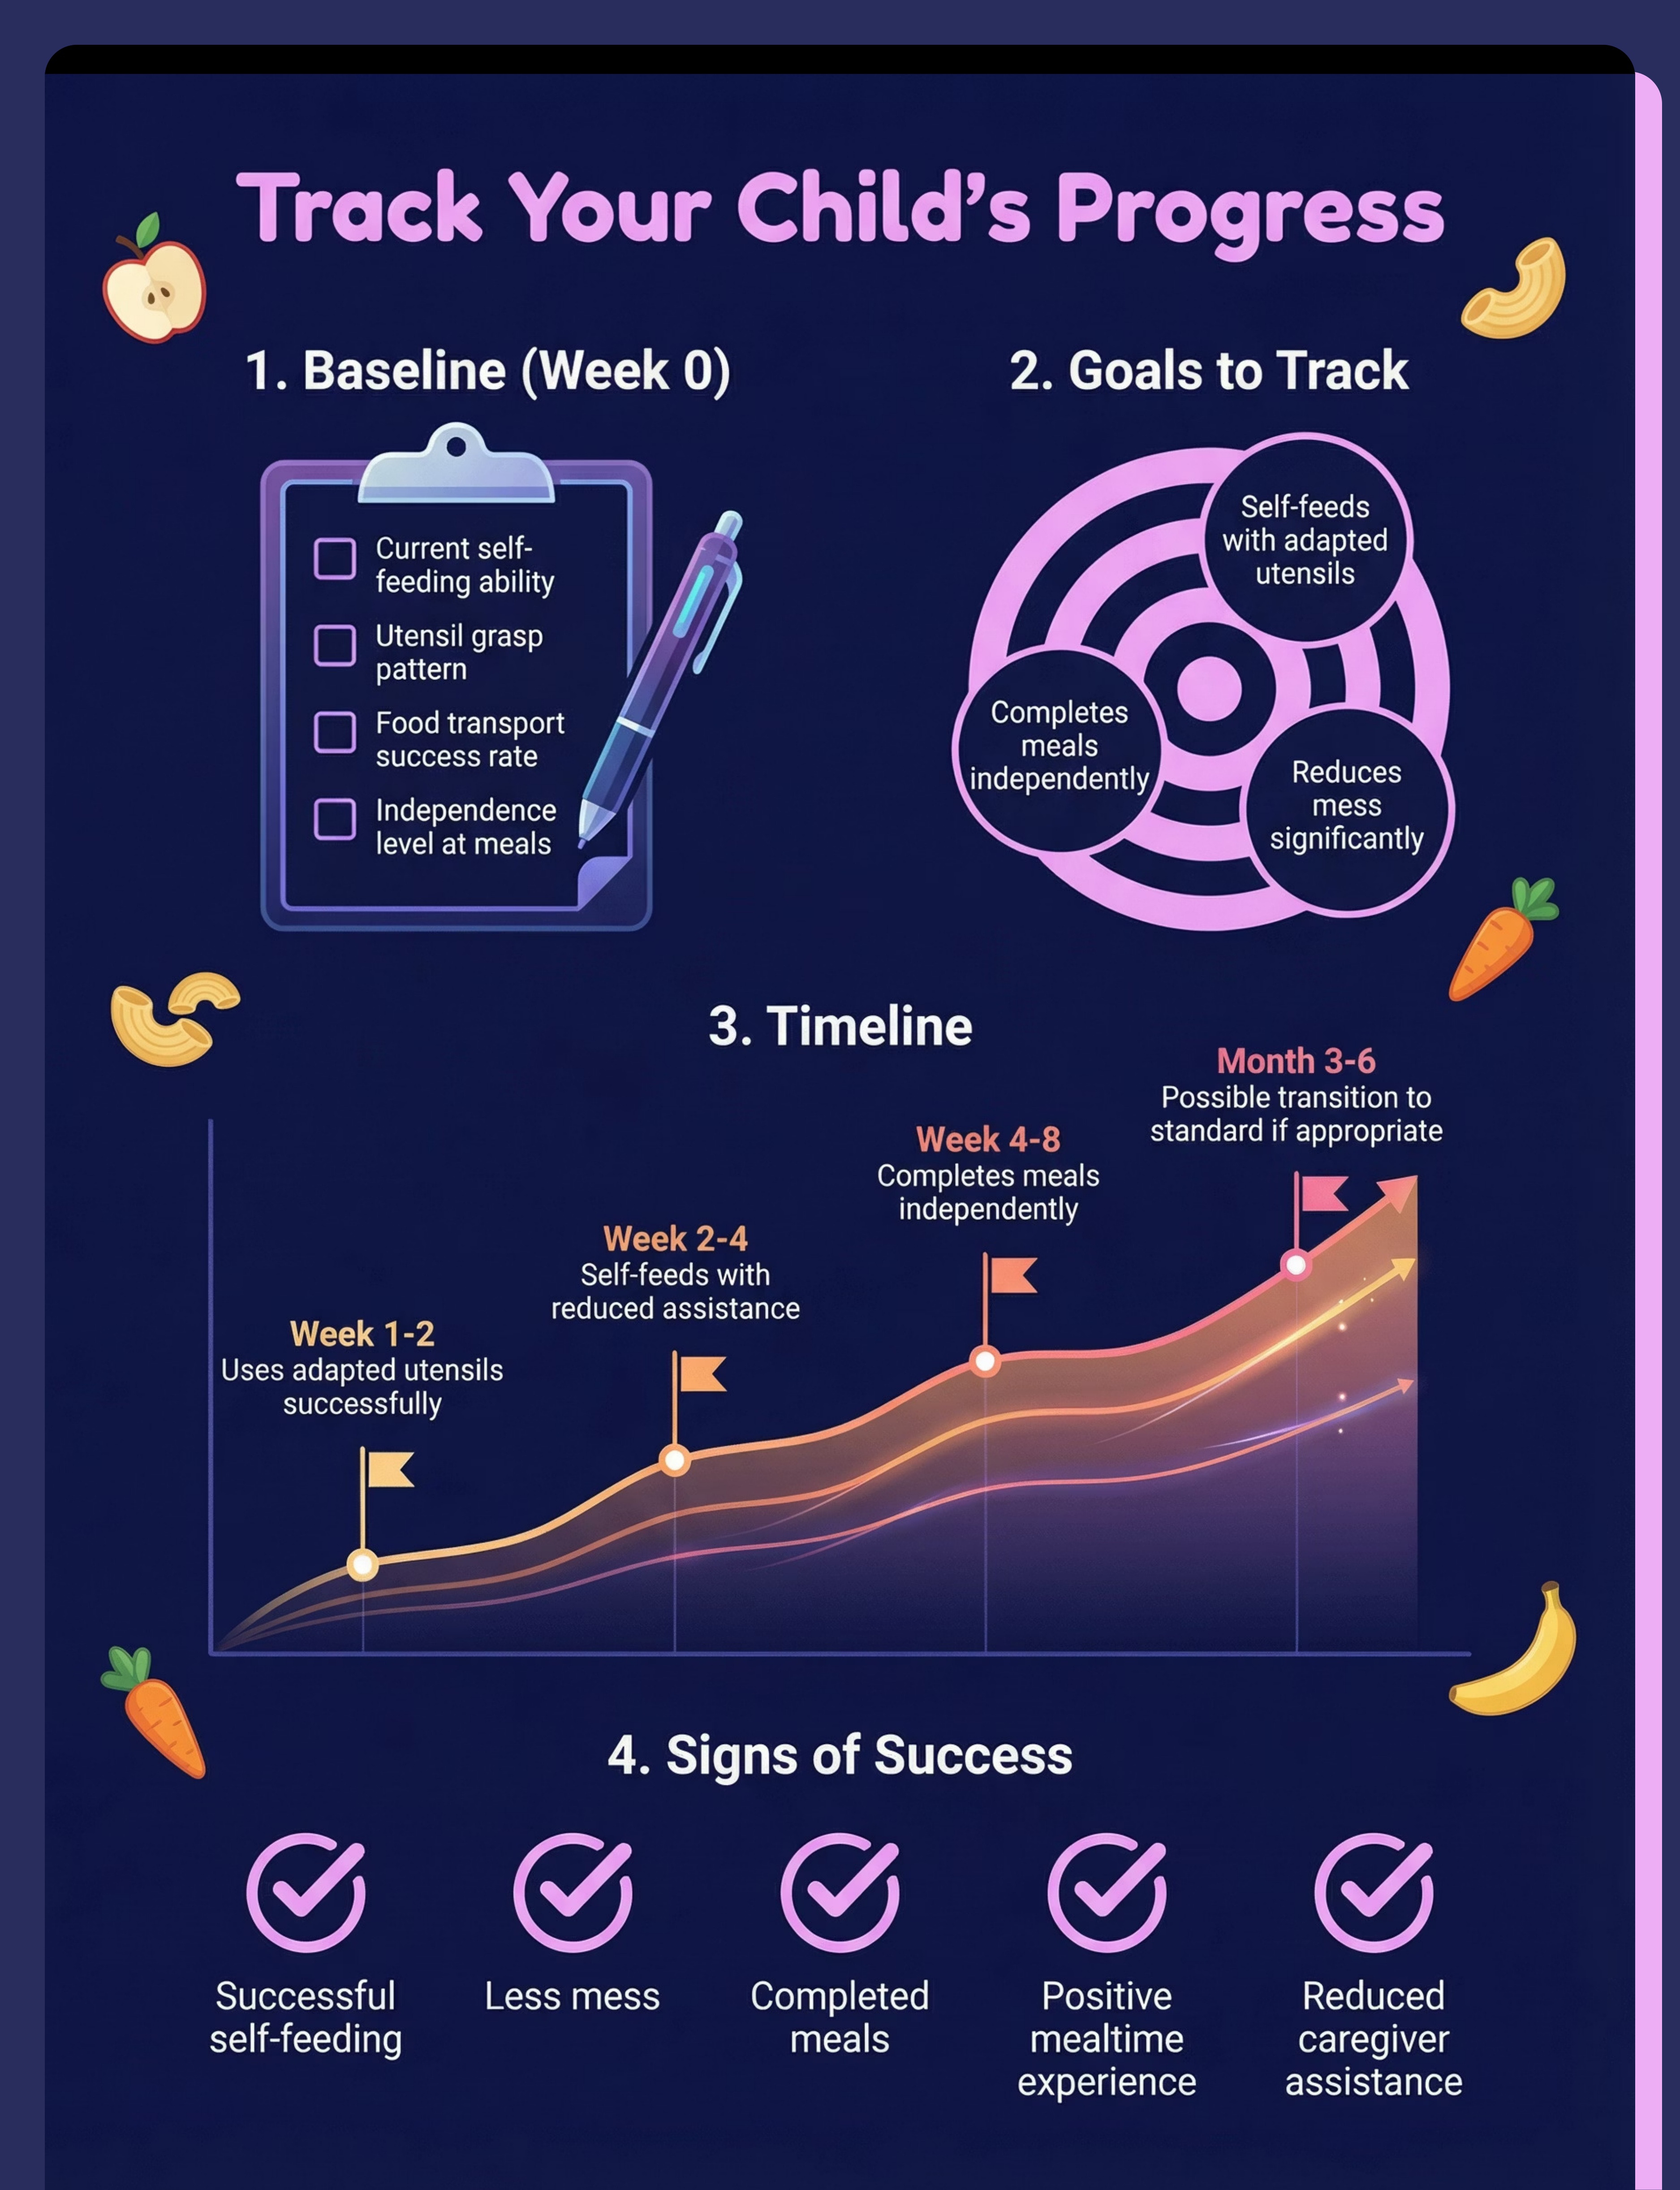
8 MATERIALSTools and supports developing independence in self-care, hygiene, dressing, toileting, and household tasks. These materials break down complex daily routines into manageable steps, promoting skill acquisition and increasing independence in essential life activities.
Key Materials
- Visual task analysis cards
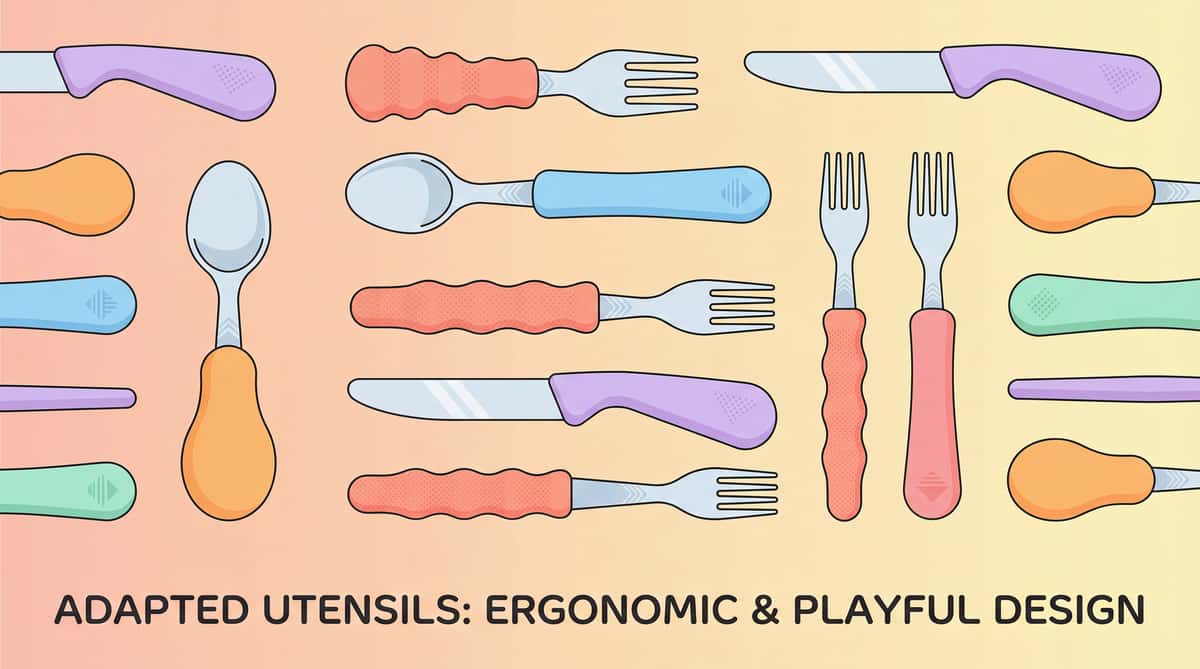
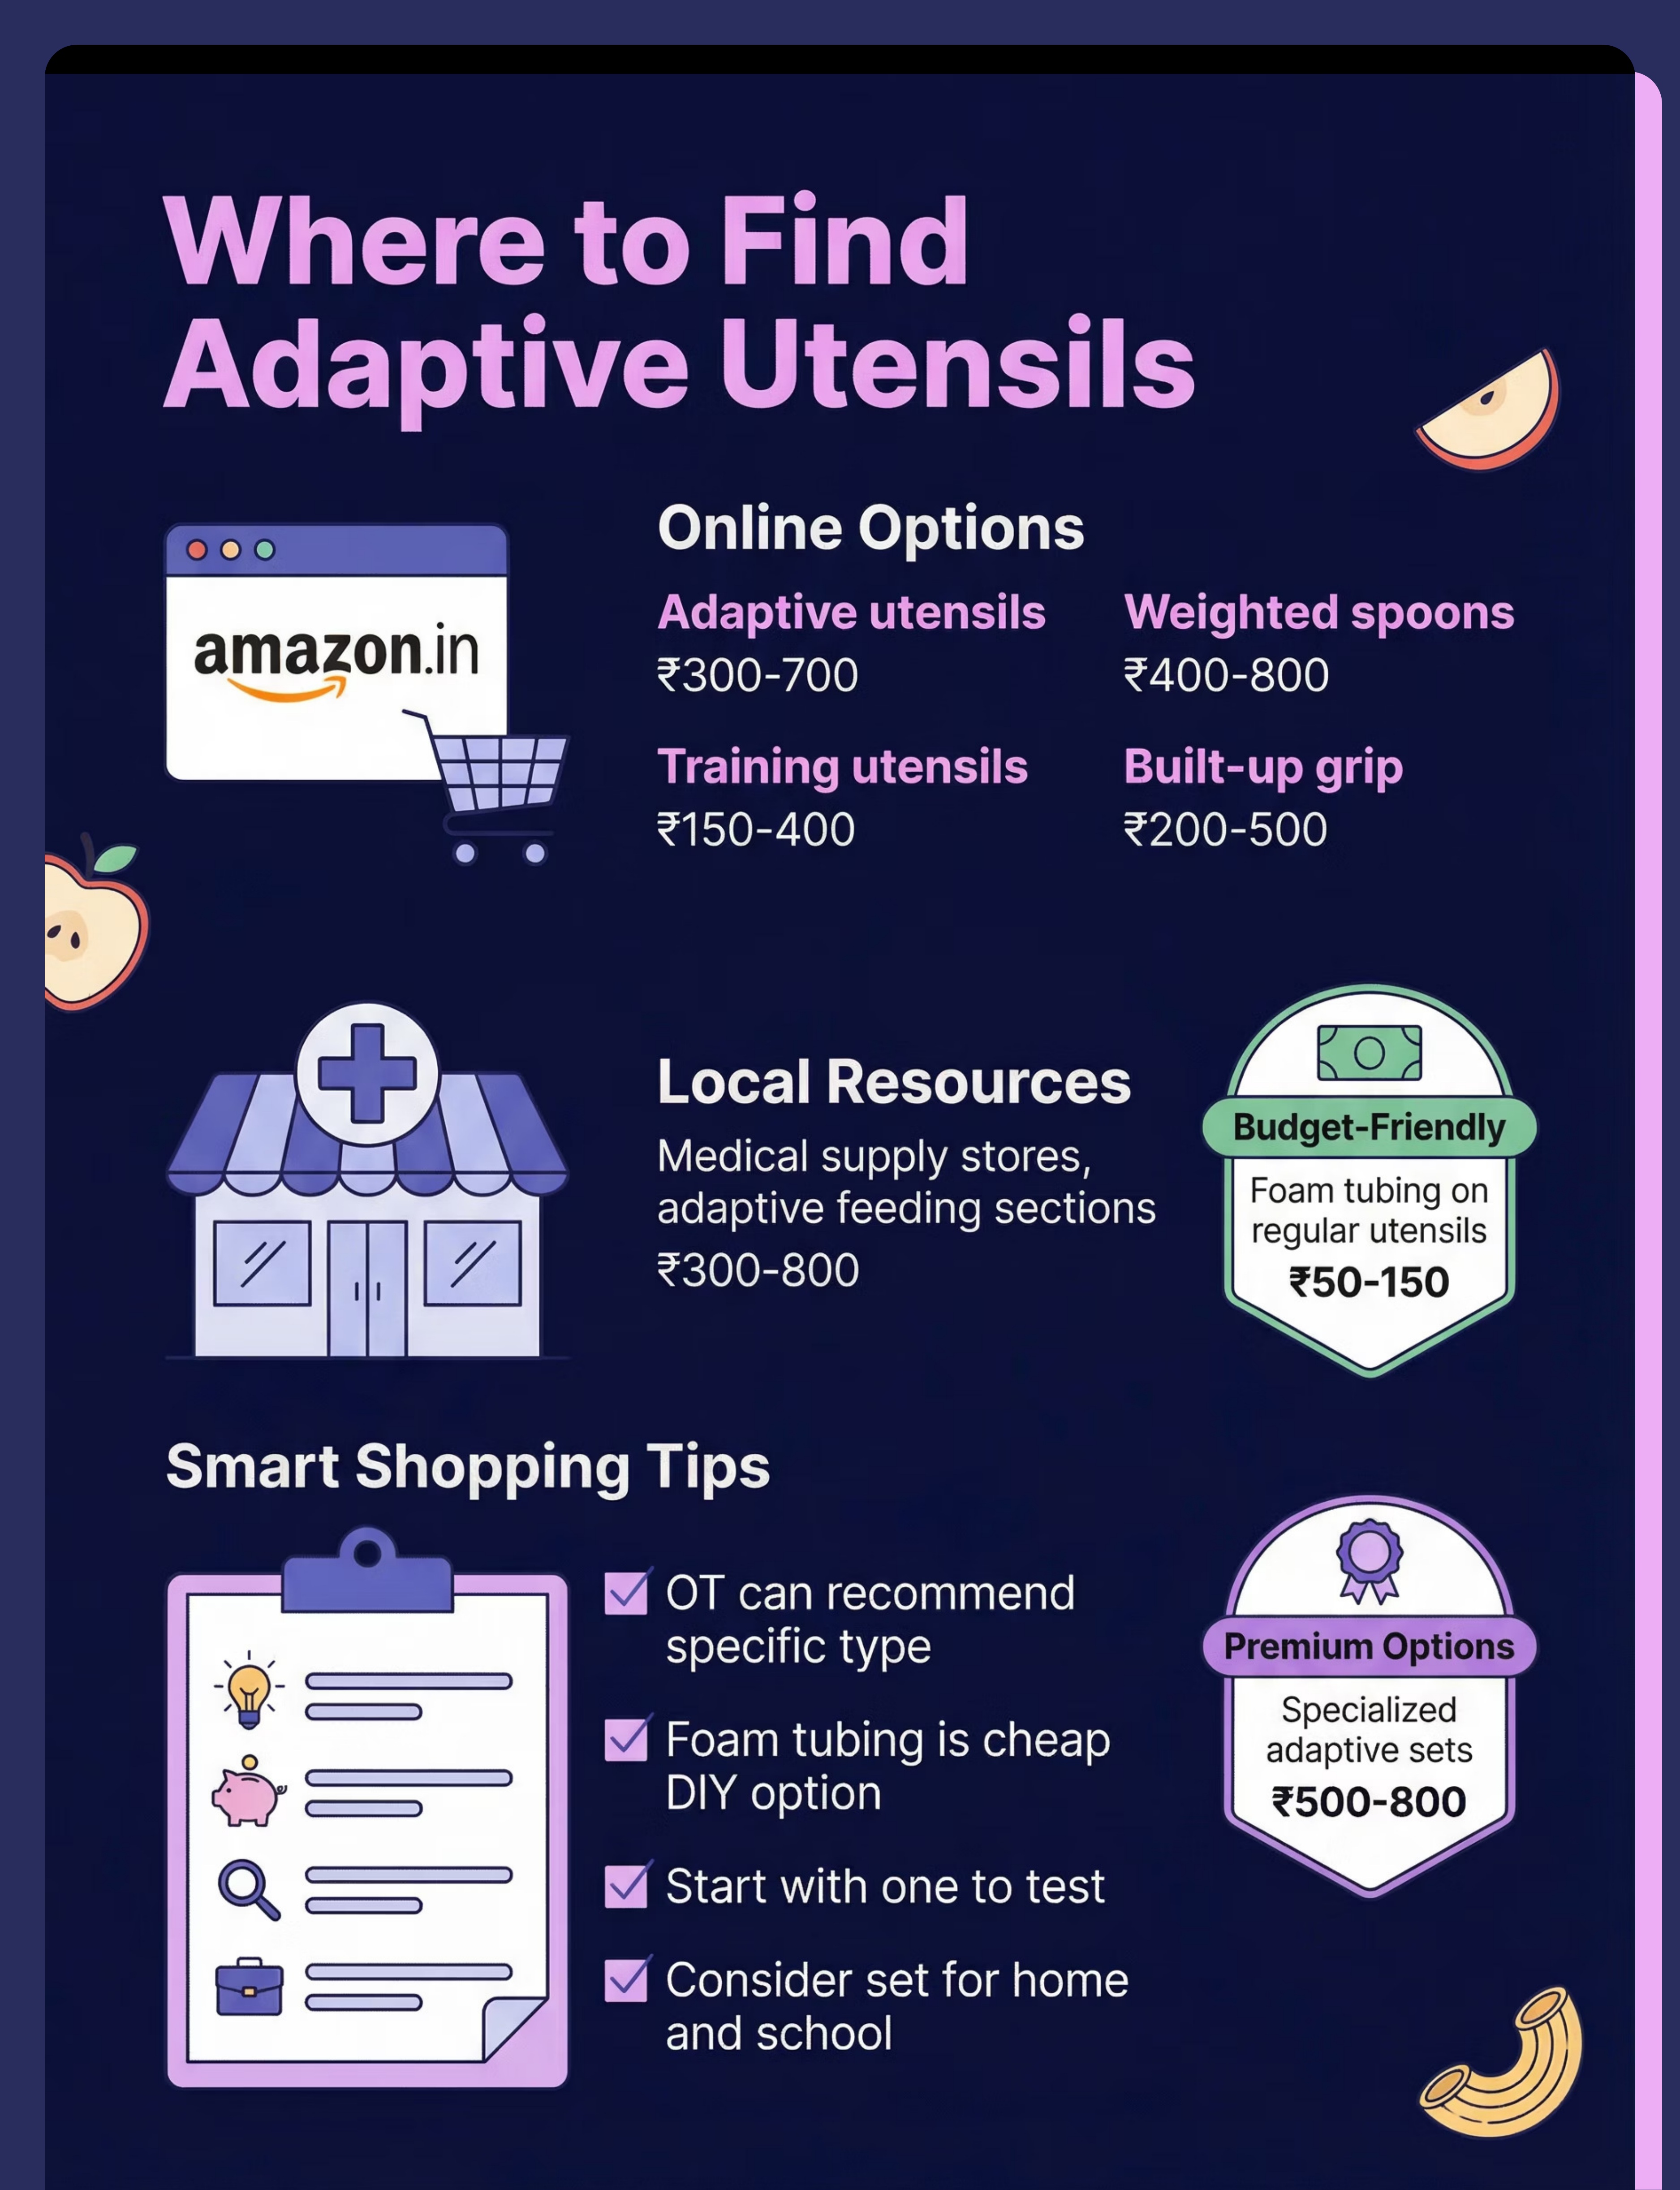
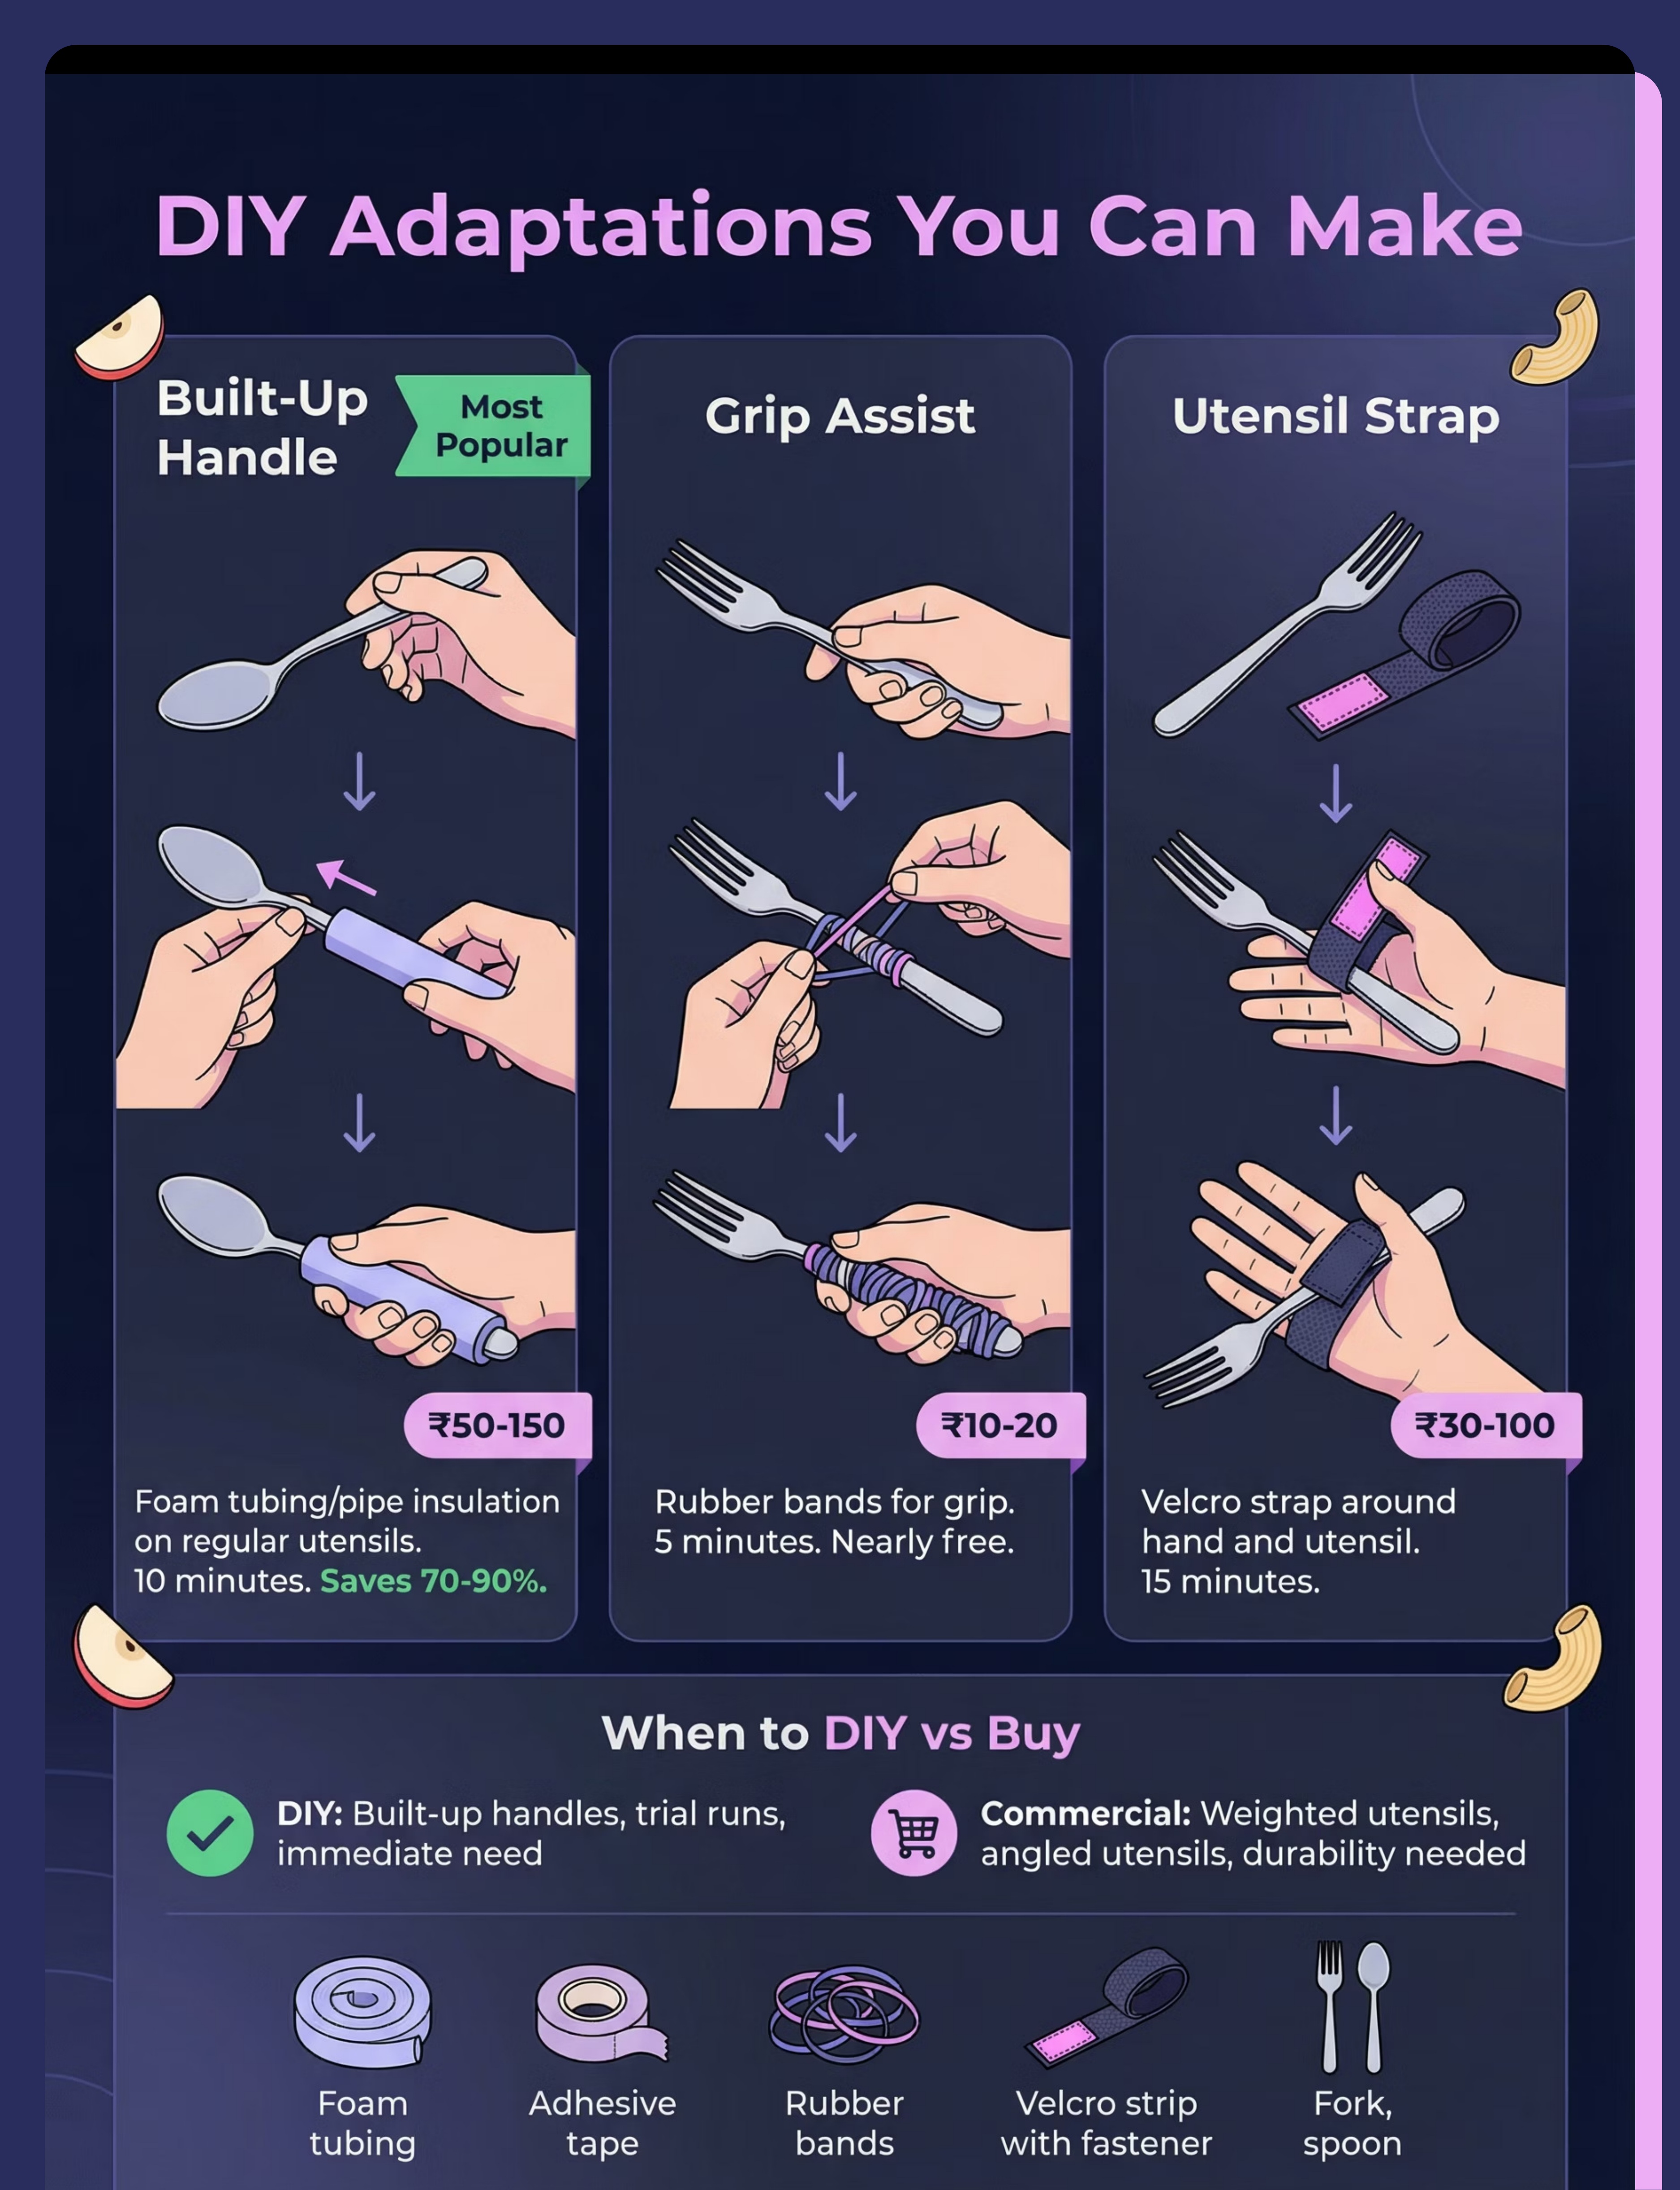
- Adaptive clothing and dressing aids
- Toileting supports and schedules
- Hygiene and grooming tools
- Household task supports
Target Areas
- Self-care skills
- Independence
- Hygiene
- Dressing
- Toileting